
Beautiful Plants For Your Interior
Beautiful Plants For Your Interior
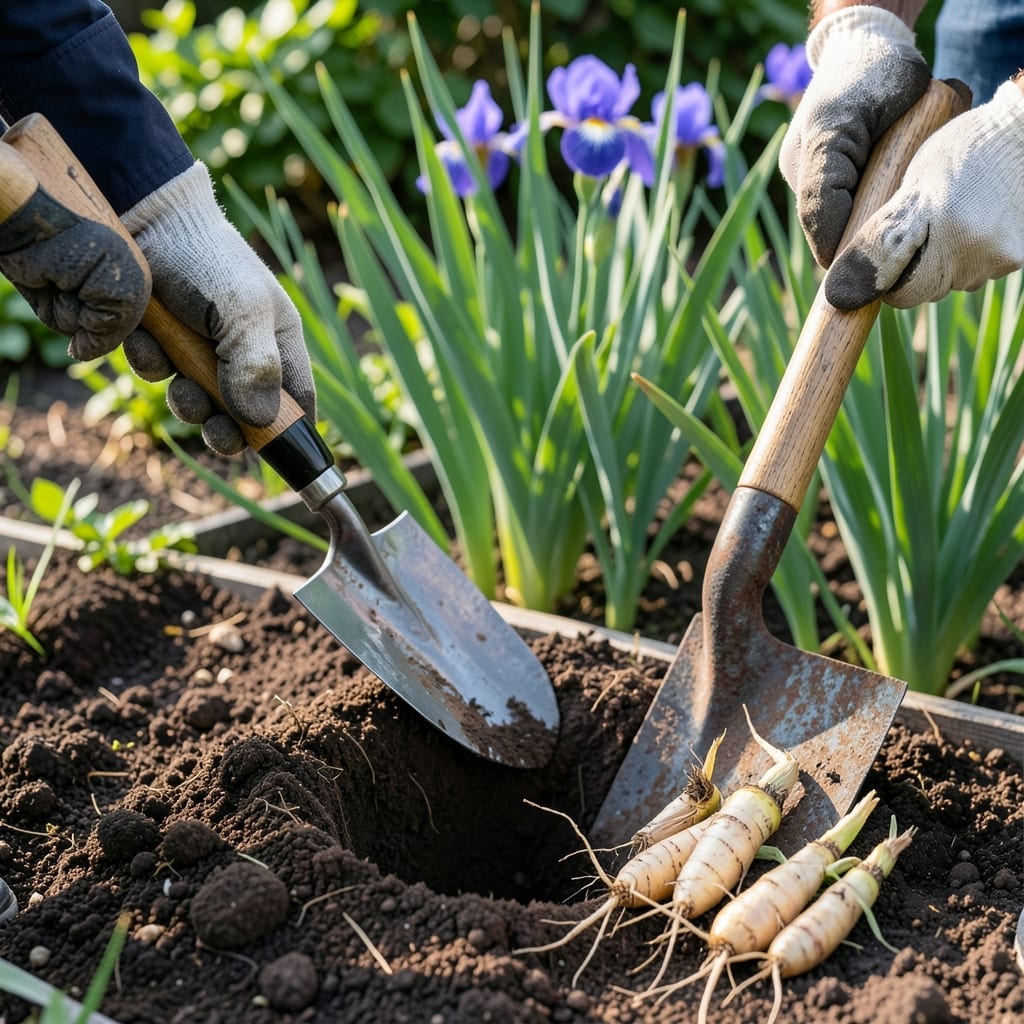
Timing is everything when it comes to giving your Iris 🌸 the best chance to thrive. Moving them at the wrong moment can set back their growth and delay those stunning blooms you love.
I’ve learned through trial and error that these hardy perennials have a specific window when they handle the stress of transplanting best. It’s all about working with their natural growth cycle.
Discover when to make your move and how to prepare both your plants and your soil for a seamless transition. Your garden will thank you.
The ideal window for transplanting irises is late summer to early fall, typically 6-8 weeks after blooming. This timing allows the rhizomes to establish roots before winter dormancy arrives. I always aim for July through September in most regions.
In warmer climates, you can stretch this to early October, but avoid transplanting too close to the first frost. The goal is giving your irises enough time to settle in before cold weather hits. This period also coincides with their natural growth cycle slowdown.
| Timing Factor | Best Practice |
|---|---|
| Primary Window | July-September |
| After Blooming | 6-8 weeks post-flowering |
| Before Frost | 4-6 weeks minimum |
| Regional Adjust | Early fall in warm zones |
The 6-week rule after blooming is my golden standard. This gives the rhizomes time to recover from flowering while still having warm soil to encourage new root growth. I’ve seen the best success when the soil temperature stays above 60°F.
For gardeners in cooler zones (USDA 3-5), aim to finish transplanting by early September. In warmer zones (7-9), you can often push this to mid-October. The key is watching your local first frost date and working backward.
Spring transplanting is possible but not ideal. If you must move irises in spring, do it very early before new growth appears. However, you’ll likely sacrifice that year’s blooms as the plant focuses on root establishment instead.
I always check the rhizome condition before transplanting. Healthy rhizomes should be firm and plump, not soft or shriveled. This is your plant’s energy storage system, so starting with strong rhizomes gives you the best chance for success.
The soil preparation is just as important as timing. I work the new planting area 2 weeks before transplanting, adding compost for nutrients and ensuring good drainage. Irises hate wet feet, so avoid any low spots where water pools.
After transplanting, I give my irises a deep watering to settle the soil around the roots. Then I hold off on watering again for 5-7 days unless we’re in a dry spell. This encourages the roots to grow deep in search of moisture.
Remember that divided clumps often bloom better the following year. If your irises have become overcrowded, transplanting is the perfect time to divide and conquer, giving each rhizome its own space to thrive.
Moving irises doesn’t have to be stressful for you or the plants. I’ve found that proper preparation makes all the difference. Start by selecting a sunny location with well-draining soil, as irises thrive in 6+ hours of direct sunlight daily.
Begin by preparing the new site a couple weeks ahead. Work in compost or aged manure to boost fertility. Then, carefully dig up the rhizomes with a garden fork, keeping as much soil intact as possible.
When dividing clumps, look for natural separation points. Each division should have healthy rhizome and a fan of leaves. I use a sharp knife to cleanly separate sections if needed, always sterilizing between cuts.
Plant the rhizomes shallowly, with the top partially exposed to sunlight. Space them 12-24 inches apart to allow for growth. In hot climates, light afternoon shade can prevent scorching during establishment.
After planting, give them a deep watering to eliminate air pockets. Then hold off on watering for a week unless it’s extremely dry. This encourages deep root growth as they search for moisture.
I always avoid fertilizing immediately after transplanting. The rhizomes need time to establish without the stress of new growth. Wait until next spring to resume your normal feeding schedule.