
Beautiful Plants For Your Interior
Beautiful Plants For Your Interior
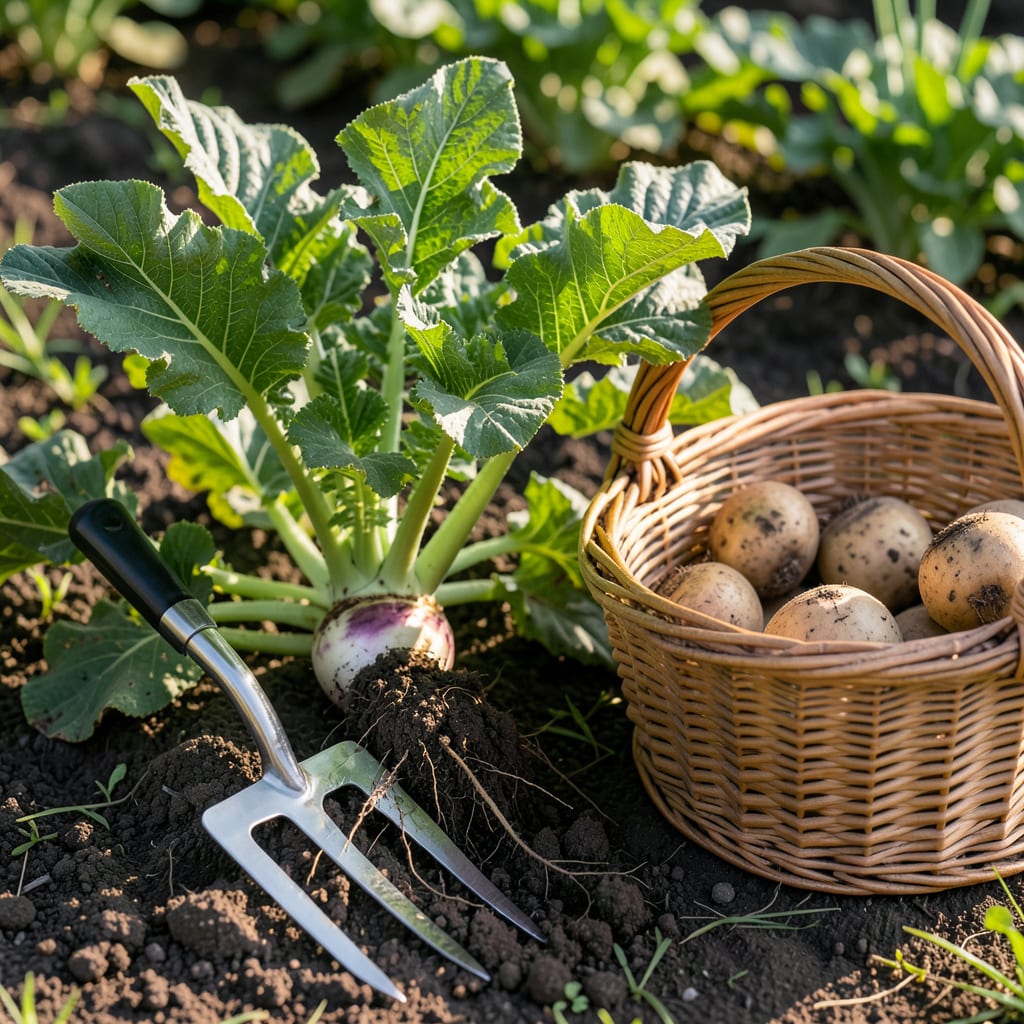
Timing your turnip harvest perfectly makes all the difference between a bitter disappointment and a sweet, crisp reward. The 🥬 Turnip doesn’t announce when it’s ready, but there are clear signs to watch for.
From root size to foliage clues, I’ll show you exactly what to look for. Whether you’re a beginner or seasoned gardener, these tips will help you pick at peak flavor every time.


I always check for visual cues when my turnips are nearing maturity. The root diameter is the most reliable indicator—2-3 inches is the sweet spot for most varieties. Anything smaller, and they haven’t reached their full potential.
Another sign I look for is the shoulders of the roots peeking above the soil. This means they’ve grown enough to start pushing upward, which typically happens around 30-60 days after planting, depending on the variety. 🌱
| Sign | Description |
|---|---|
| Root Size | 2-3 inches in diameter |
| Days to Maturity | 30-60 days after sowing |
| Foliage Height | 4-6 inches tall, healthy green |
| Soil-Level Check | Shoulders visible above soil |
| Root Texture | Firm and smooth skin |
If you’re growing turnips for their greens, you can start harvesting the leaves when they’re 4-6 inches tall. This doesn’t harm the root development, so I often do this to enjoy both parts of the plant.
For the roots, I gently brush away the soil at the base to check their size. If they’re still too small, I give them 5-7 more days and check again. Patience pays off here!
The skin of the turnip should feel firm and smooth when pressed lightly. If it’s soft or spongy, the turnip isn’t ready. Overly large roots, beyond 3 inches, can turn woody and bitter. 🌿
I also pay attention to the color of the foliage. Healthy, vibrant green leaves indicate a thriving plant. Yellowing or wilting leaves might mean it’s past its prime or struggling with pests or disease.
In cooler climates, turnips can tolerate light frosts, which can even enhance their sweetness. However, in warmer regions, I harvest them sooner to prevent them from bolting or becoming tough.
For storage varieties, which take 70+ days to mature, I wait until the roots are larger and the weather starts to cool. These types are perfect for keeping in a root cellar over winter.
Remember, the exact timing can vary based on your growing conditions and the specific variety. When in doubt, pull one or two to test their readiness—it’s the best way to learn for future harvests. ✂️
I always start by loosening the soil around the turnips with a garden fork. This prevents the roots from breaking when I pull them out, especially in compacted or clay-heavy soil. Work 6-8 inches away from the base to avoid stabbing the roots.
Next, I grasp the greens firmly near the base and pull gently but steadily. The roots should slide out easily if the soil is loose. If resistance is strong, I use a hand trowel to dig around the root before trying again. ☀️
Once the turnip is out, I trim the greens to about 1 inch above the root to prevent them from drawing moisture out of the vegetable. If the greens are healthy, I set them aside to use in salads or cooked dishes.
I avoid leaving turnips in the sun after harvesting. Instead, I rinse off any soil and let them dry in a shaded area for an hour or two. This keeps them fresh longer and prevents splitting or softening. 🌱
For storage turnips, I cure them in a dry, well-ventilated space for 1-2 weeks before moving them to a root cellar or refrigerator. This step toughens the skin, extending their shelf life significantly.
If I notice any bruised or damaged roots during harvest, I set those aside to use first. They won’t store as well as intact turnips. Always handle them with care to maximize their freshness and flavor. ✂️
Not all turnips mature at the same rate, so I always check the seed packet for specific days to maturity. Early varieties like ‘Tokyo Cross’ are ready in as little as 30 days, perfect for quick harvests. 🌱
For main crop turnips, such as ‘Purple Top White Globe’, I wait 50-60 days. These are my go-to for fresh eating and short-term storage. They develop that classic sweet, earthy flavor we all love.
| Variety Type | Days to Maturity | Best Use |
|---|---|---|
| Early Types | 30-40 days | Quick harvest, tender |
| Main Crop | 50-60 days | Fresh eating, storage |
| Storage Turnips | 70+ days | Long-term storage |
Storage turnips like ‘Winter Bor Kale’ take 70+ days to mature. I plant these in late summer for a fall harvest, as they handle light frosts beautifully and store well into winter.
In warmer climates, I adjust my timing. I harvest 10-15 days earlier to prevent the roots from becoming woody or bitter in the heat. Cooler regions allow me to extend the growing season slightly.
I also consider succession planting for continuous harvests. By sowing new seeds every 2-3 weeks, I ensure a steady supply of fresh turnips throughout the growing season. ☀️
Picking them before they reach 2-3 inches in diameter results in underdeveloped, less flavorful roots. The texture will be more fibrous, and the sweetness won’t have fully developed yet.
Yes, overmature turnips often become woody and bitter. Roots larger than 3 inches or left past 70 days (for storage types) may split or develop a tough texture.
Healthy, vibrant green leaves 4-6 inches tall are a good sign. If the tops look yellowed or wilted, the roots may be past their prime or struggling.
Light frosts can actually enhance sweetness and are tolerated well by turnips. In fact, some gardeners wait for a frost before harvesting for the best flavor.
