
Beautiful Plants For Your Interior
Beautiful Plants For Your Interior
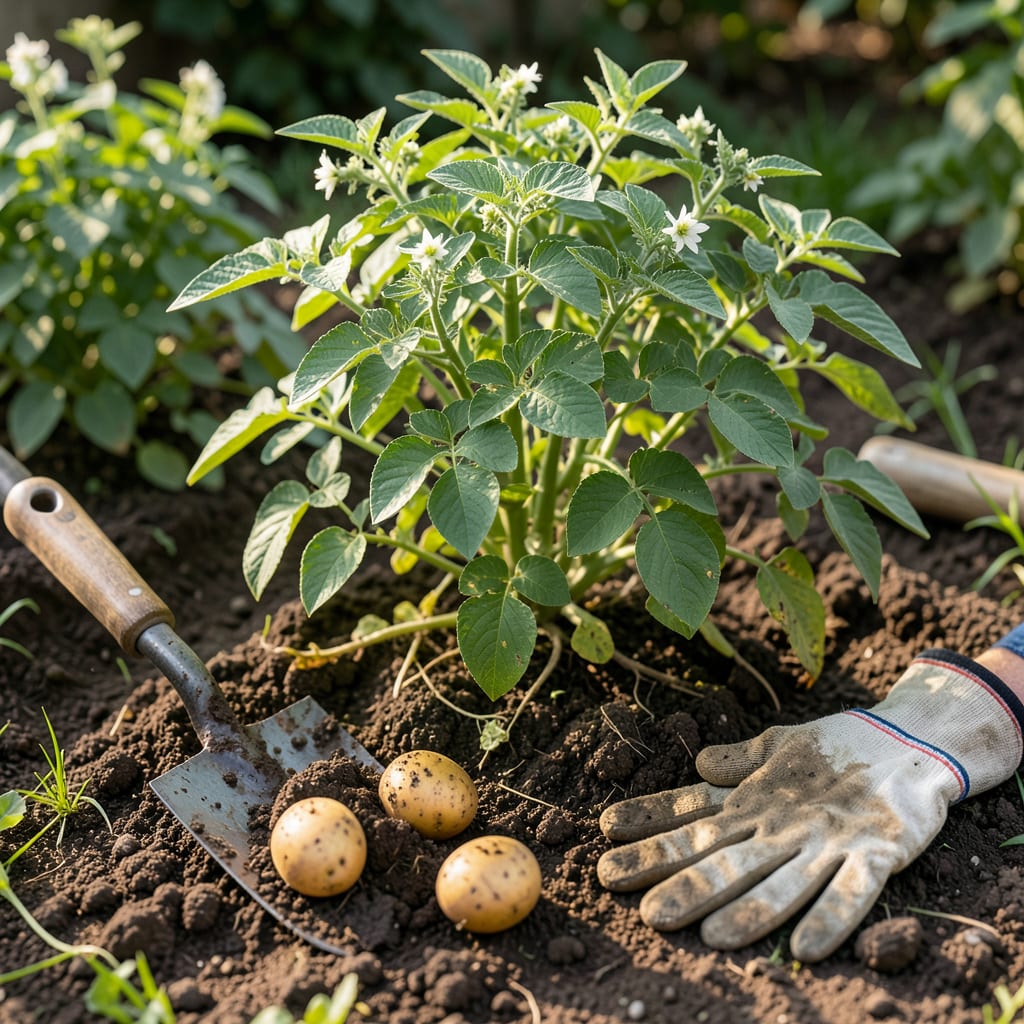
I remember the first time I dug up Potato 🥔 plants too early – what a disappointment. Timing your harvest perfectly makes all the difference between tiny, underdeveloped spuds and a bumper crop of flavorful tubers.
There are clear signs to watch for that tell you exactly when your potatoes are ready. I’ll show you how to spot them and why waiting for these cues matters so much.


I always watch for the first clear sign: flowering plants with yellowing lower leaves. This tells me the tubers are starting to mature underground. Don’t rush though—wait until the entire plant shows these changes.
For new potatoes, you can gently dig around the base when you see first flowers. These will be small and tender, perfect for immediate use. The skin will be thin and rub off easily at this stage.
| Sign | Description |
| 🟡 Yellowing Foliage | Lower leaves turn yellow first |
| 🛡️ Firm Skin | Doesn’t rub off when handled |
| ✅ Mature Size | 1-3 inches for new, 3-5 inches for storage |
| 🌼 Flowering | First blooms signal early harvest option |
For mature potatoes, I wait until the entire plant has died back completely. The foliage turns brown and withers, which usually happens 2-3 weeks after the plant finishes flowering.
The skin test is my go-to confirmation. Gently rub a dug tuber with my thumb—if the skin stays intact, it’s ready. If it peels off easily, the potatoes need more time in the soil.
Size matters too. Most varieties reach 1-3 inches for new potatoes and 3-5 inches for storage. I use a hand trowel to check a few without disturbing the whole plant.
I’ve learned that early varieties mature faster, often in 60-70 days, while late varieties can take 100-120 days. Always check your seed packet for specific timelines.
Another pro tip: stop watering 1-2 weeks before harvest. This helps the skins toughen up and reduces the chance of rot during storage. The soil should be dry but not dusty when you dig.
I always harvest on a dry, sunny day when the soil is workable. Wet soil can make the tubers rot, and hard soil makes digging difficult. A garden fork works better than a shovel for lifting the plants.
Remember that green skin means the potatoes were exposed to light. These contain solanine and should be discarded. Always cure harvested potatoes in a dark, well-ventilated area for 1-2 weeks before storage.☀️
I’ve found that harvest timing varies greatly by potato variety. Early varieties like Yukon Gold or Red Pontiac are ready in 60-70 days, perfect for fresh eating. These often signal readiness with first flowers.
Mid-season potatoes, such as Kennebec, take 80-90 days. I watch for yellowing foliage and firm skins. Late varieties like Russet or Sweet Potatoes need 100-120 days and full die-back.
| Variety Type | Days to Harvest | Best Use |
| Early | 60-70 days | New potatoes |
| Mid-Season | 80-90 days | Boiling, baking |
| Late | 100-120 days | Storage, frying |
I always check the seed packet for exact maturity days. Cool spring plantings may take longer than summer crops. Soil temperature and moisture levels also affect growth speed significantly.
For early harvests, I use the flowering cue as my green light. But for storage potatoes, I wait until all foliage dies and the skins set. This ensures the best keeping quality.
In my experience, late varieties benefit from stopping water 2 weeks before harvest. This toughens skins and prevents rot during curing. I also avoid harvesting during wet weather.
Remember that frost can damage exposed tubers. In colder zones, I mulch heavily or harvest before the first frost. In warmer areas, heat stress can cause premature die-back, so I monitor plants closely.🌱
I’ve made my share of harvesting mistakes with potatoes, and learning from them saved my future crops. The biggest error is digging too early when the skins peel off easily. This means the tubers aren’t ready for storage.
Another common pitfall is waiting too long after the plants die back. Leaving potatoes in wet soil can lead to rot or disease. I aim to harvest within 2 weeks of complete die-back.
⚠️ Warning: Never harvest potatoes when the soil is wet. This increases rot risk and makes digging difficult. Always wait for dry conditions to protect your crop.
Using the wrong tools can damage your harvest. I avoid shovels because they can slice through tubers. Instead, I use a garden fork to gently lift the plants from the soil.
I’ve also learned not to wash potatoes immediately after digging. This removes the protective soil layer and can introduce moisture that leads to early spoilage. Just brush off excess dirt.
Finally, skipping the curing process is a mistake. I always let my potatoes cure in a dark, ventilated space for 1-2 weeks. This toughens the skin and prepares them for long-term storage.✂️
Check for first flowers appearing on the plants. You can gently dig around the base to harvest small, tender 1-3 inch tubers at this stage. The skin will be thin and perfect for immediate use.
Digging before the skin sets means tubers won’t store well. You’ll notice the skin rubs off easily when handled. These are best used immediately rather than stored.
Yes for mature potatoes. Complete die-back signals the tubers have finished growing. This usually occurs 2-3 weeks after flowering stops. The skins will be firm and ready for storage.
Never harvest when soil is wet. This increases rot risk and makes digging difficult. Always wait for dry conditions to protect your crop.
