
Beautiful Plants For Your Interior
Beautiful Plants For Your Interior
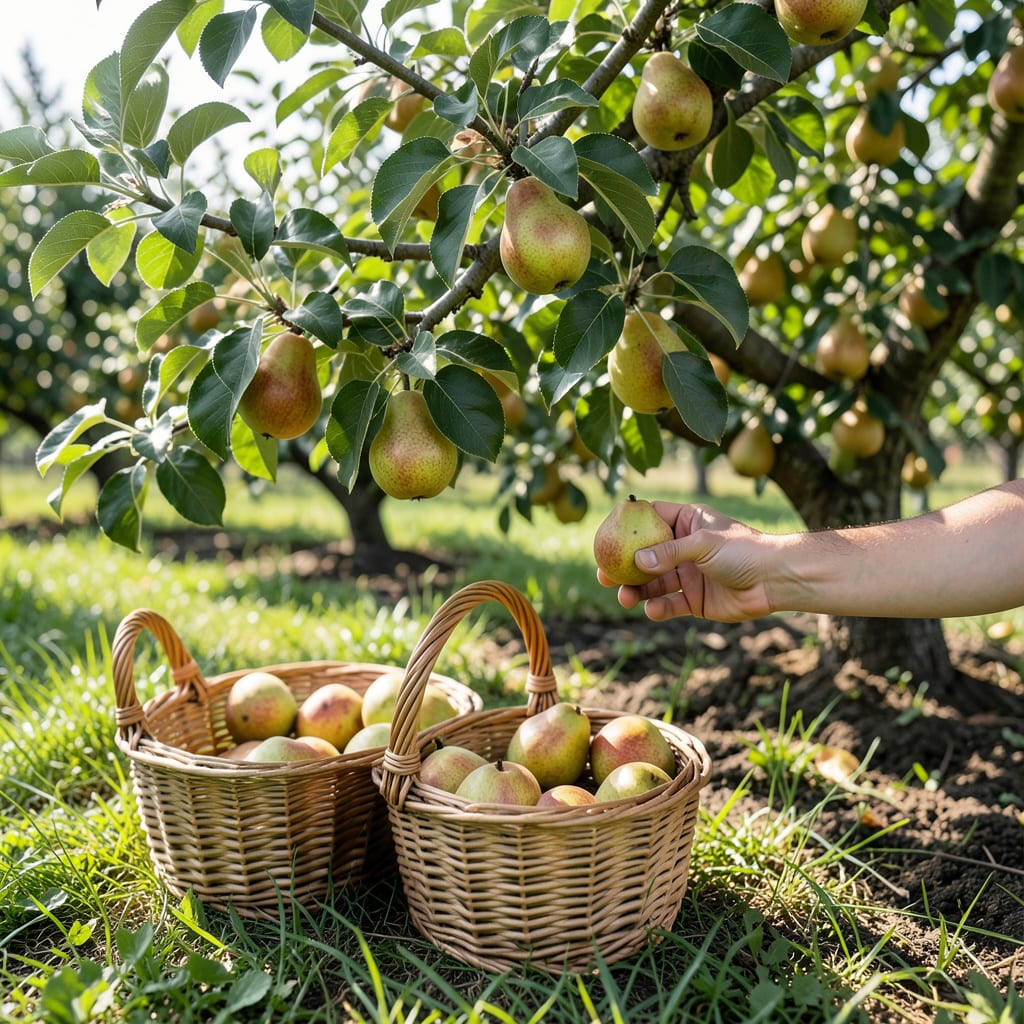
Picking 🍐 pears at the perfect moment ensures sweet, juicy fruit rather than hard, unripe disappointments. Unlike other fruits, they often ripen best off the tree.
I’ll show you the key signs to look for, from color changes to gentle stem separation. With these tips, you’ll harvest at just the right time every season.


Timing your pear harvest perfectly depends on the variety. Each type has unique ripeness cues, from color shifts to stem separation. I’ve found Bartlett pears turn from green to yellow as they mature.
Anjou pears stay green but develop a slightly softer texture at the stem. For Bosc pears, look for a brownish-russet hue and a firm but yielding feel.
| Variety | Ripeness Indicators |
|---|---|
| Bartlett | Turns yellow, separates easily from stem |
| Anjou | Stays green, slight softness at stem end |
| Bosc | Develops russet color, firm but yields to pressure |
| Comice | Changes to yellow-green, sweet aroma present |
| Seckel | Turns deep red, stem separates with gentle twist |
For Comice pears, the transition to a yellow-green shade signals readiness. A sweet aroma often accompanies this change, making it easier to identify.
Seckel pears are unique—they turn a deep red when ripe. The stem should separate with a gentle upward twist, a reliable test for most varieties.
I always check the seed color too. When seeds inside turn dark brown or black, the pears are nearly ready. This works for all types, including Asian pears, which may not change color as dramatically.
A firmness test helps confirm ripeness. Gently press near the stem—if it gives slightly, it’s time to pick. Avoid squeezing too hard, as this can bruise the fruit.
Timing also depends on your USDA zone. In zones 5-7, harvest typically occurs in late summer. Warmer zones like 8-9 may see pears ready earlier, sometimes by mid-summer.
For the best results, I pick pears in the morning when temperatures are cool. This helps preserve their freshness and flavor during storage. Always handle them gently to avoid bruising.
If you’re unsure, pick a test pear and let it ripen indoors. Pears continue to ripen off the tree, so this method helps you gauge the best harvest window for the rest of your crop.
Harvesting pears at the wrong time can ruin your hard work. I’ve seen many gardeners pick too early or wait until the fruit is overripe on the tree. Both lead to poor flavor and texture.
Another common error is ignoring variety differences. What works for Bartlett pears won’t always apply to Bosc or Anjou. Each has its own ripeness timeline and cues.
⚠️ Avoid These Pear Harvesting Pitfalls
Picking too early results in hard, starchy fruit that never ripens properly. Waiting too long leads to mushy, overripe pears that spoil quickly.
I always recommend testing one pear first. If it’s not ready, wait a few days and check another. This prevents harvesting an entire crop too soon or too late.
Handle pears gently during picking to avoid bruising. Use a gentle twisting motion rather than pulling. Bruised pears spoil faster and lose their fresh appeal.
Storing pears improperly is another mistake. Keep them in a cool, dry place and avoid stacking. Proper storage extends their shelf life and maintains quality.
Finally, don’t overlook weather conditions. Harvesting in the heat of the day can cause pears to soften too quickly. Early morning is ideal for peak freshness and firmness. ☀️
Many gardeners don’t realize pears often ripen best off the tree. I’ve found that picking them slightly early and letting them mature indoors can yield sweeter, juicier results. This method also prevents bird damage.
For best results, store pears at room temperature in a single layer. Avoid stacking, as it can cause bruising. Check them daily for ripeness, as they can soften quickly once picked.
✨ 4 Key Ripening Steps
Speed up ripening by placing pears in a paper bag with an apple or banana. These fruits release ethylene gas, which accelerates the process naturally. I use this trick when I need pears ready for a specific day.
Once ripe, move pears to the refrigerator to slow further softening. They’ll keep for 3-5 days in cold storage. For longer storage, consider canning or drying, though I prefer enjoying them fresh.
Remember that Asian pears behave differently—they’re often ripe when picked and don’t soften much. Test one by cutting it open; if the center is white and juicy, the rest are ready too. 🌳
Check for a slight give when gently pressing near the stem. The stem should also separate easily with a gentle twist.
Yes! Most pears ripen best off the tree. Pick them firm and let them mature indoors at room temperature.
Early picking results in hard, starchy fruit that may never soften properly. Always test one first if unsure.
Not all. Bartletts turn yellow, but Anjous stay green. Look for other cues like seed color or stem separation.
