
Beautiful Plants For Your Interior
Beautiful Plants For Your Interior
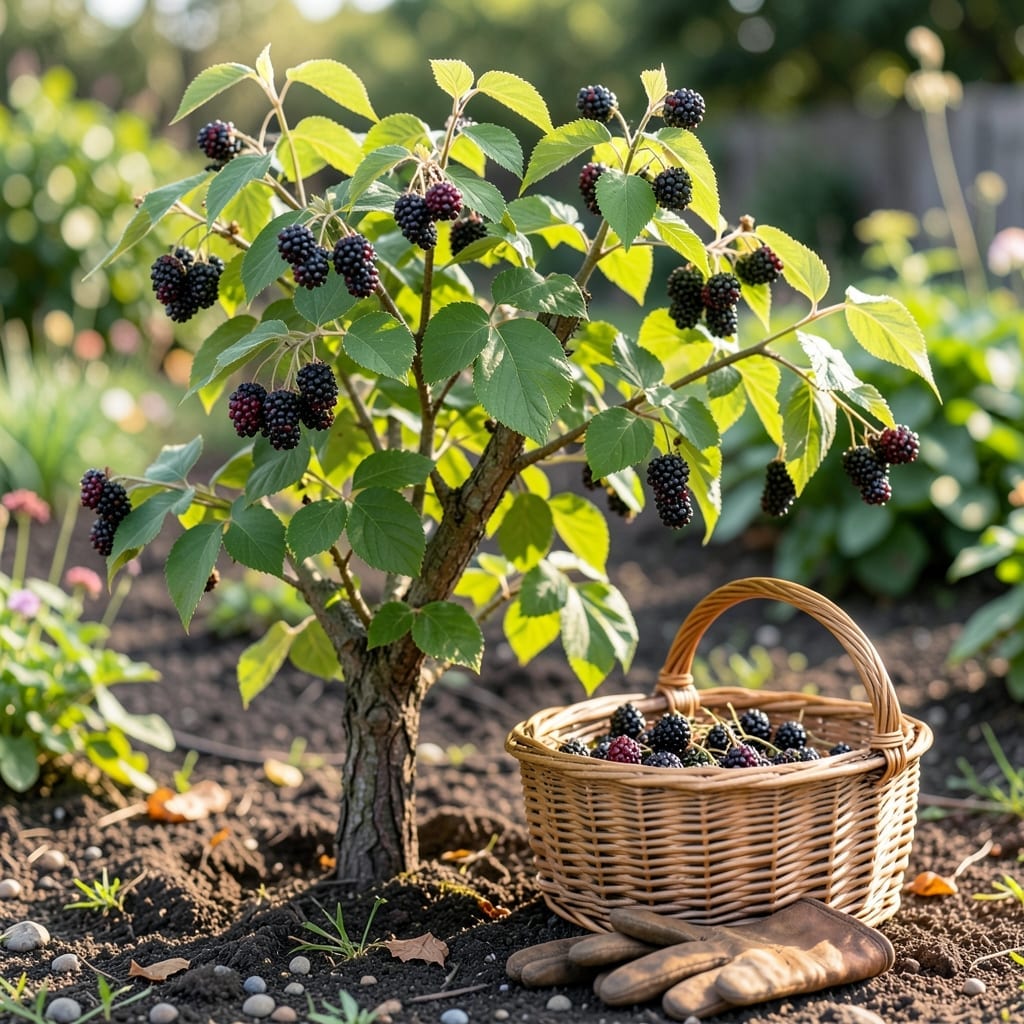
There’s nothing worse than picking elderberries too early—or too late. This simple timing mistake can mean the difference between a bountiful harvest and a bitter disappointment.
I’ve learned that perfectly ripe 🪴 Elderberry clusters don’t just look different—they feel and even smell different. The window is shorter than you think, especially in zones 4-9.
Let me show you exactly how to spot the telltale signs of ripeness and nail that harvest timing every time. Your syrup, jam, and immune-boosting remedies will thank you.


Timing your elderberry harvest perfectly starts with knowing the signs. I’ve found that color transformation is the first clue—berries shift from green to red before finally turning deep purple-black when ready.
But color alone isn’t enough. You’ll also want to check for cluster droop and berry softness. Ripe elderberries hang heavy on their stems and yield slightly when gently pressed.
| Ripeness Sign | Description |
|---|---|
| Color | Deep purple-black berries |
| Texture | Slightly soft when pressed |
| Cluster Position | Droops heavily on stem |
| Aroma | Rich, sweet scent |
| Timing | July to September in zones 4-9 |
In most growing zones, elderberries reach peak ripeness between late July and early September. However, regional climate variations can shift this window by a week or two.
I always recommend checking your local frost dates too. Elderberries typically ripen about 150 days after planting, so mark your calendar accordingly.
Another pro tip: Birds love ripe elderberries as much as we do. If you notice flocks gathering around your shrubs, it’s a sure sign your berries are ready for harvest.
The stems also give clues. As berries ripen, the stems transition from green to a dry, brown color. This is nature’s way of telling you it’s time to pick.
Remember that unripe elderberries contain toxins, so never harvest when berries are still green or red. The deep purple-black hue is your safety signal.
For the best flavor, I harvest in the early morning after the dew has dried. This is when the berries are at their juiciest and most flavorful. ☀️
If you’re unsure, do a taste test with one berry. Ripe elderberries should be sweet with a slight tartness, never bitter or sour.
Finally, always use clean, sharp scissors to cut clusters from the plant. This prevents damage to the shrub and ensures you get the full cluster intact. ✂️
Harvesting elderberries at the wrong time can lead to bitter flavors or even toxic reactions. I’ve seen gardeners make the mistake of picking berries too early when they’re still green or red.
These unripe berries contain cyanogenic glycosides, which can cause stomach upset. Always wait for that deep purple-black color to ensure safety and the best flavor.
Never confuse elderberries with water hemlock or pokeweed. These toxic plants have similar berry clusters but lack the distinctive elderberry aroma.
Another common error is waiting too long. Overripe berries attract birds and pests, and may ferment on the bush. I check my plants daily once they start turning color.
Don’t rely solely on color either. I’ve found that berry texture is just as important. Ripe elderberries should feel slightly soft when gently pressed, not hard or mushy.
Many gardeners also overlook the stem condition. As berries ripen, the stems turn from green to brown. This is a reliable secondary indicator of readiness.
Finally, avoid harvesting after heavy rain. Wet berries can mold quickly and may burst during storage. I always wait for a dry, sunny morning to pick my elderberries. ☀️