
Beautiful Plants For Your Interior
Beautiful Plants For Your Interior
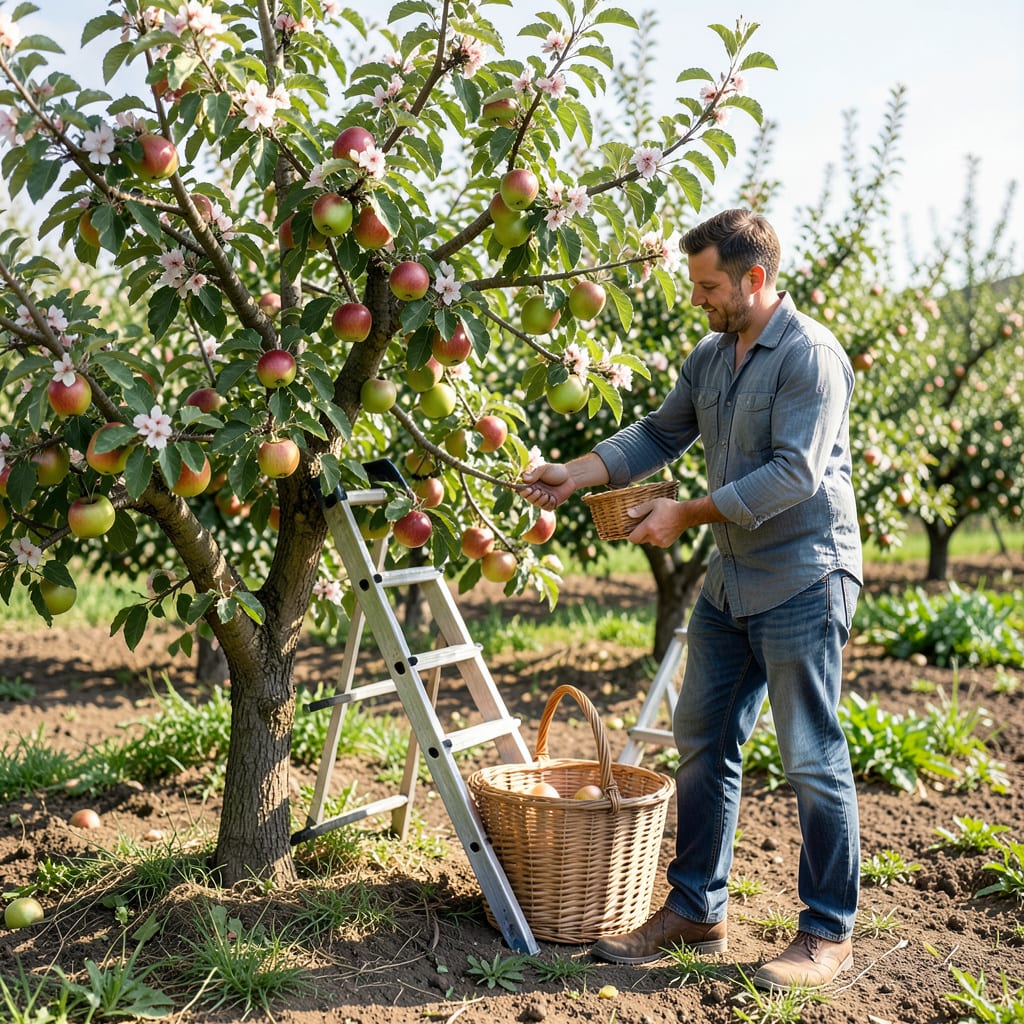
Timing your apple harvest perfectly ensures the sweetest flavor and longest storage. For 🍎 Apple growers in zone 6, knowing the exact window is the key to success.
I’ll show you how to spot the subtle signs of ripeness and avoid common picking mistakes. Whether you’re a first-time gardener or seasoned pro, these tips will help you harvest at peak perfection.


I always check the variety-specific signs first when determining apple ripeness. Each type has unique color changes that signal it’s ready. For example, Gala apples turn a vibrant red-orange, while Granny Smith stays green but develops a slight yellow tint.
The days from bloom also matter. Most apples take 120-150 days to mature, but some like Fuji can take up to 180 days. I track this carefully in my gardening journal.☀️
| Variety | Color at Ripeness | Days from Bloom |
|---|---|---|
| Gala | Red-orange | 130-140 |
| Fuji | Red-purple | 150-180 |
| Granny Smith | Green-yellow | 140-160 |
| Golden Delicious | Golden yellow | 120-140 |
I also examine the seed color inside the apple. When they turn dark brown, it’s a sure sign of ripeness. This works for all varieties, from Honeycrisp to McIntosh.
The background color of the apple is another clue. For most varieties, when the green or yellow underneath the red starts to fade, the apple is nearing peak ripeness. I use a color chart for precision.
The twist test is my go-to method. I gently twist the apple upward, and if it separates cleanly from the stem, it’s ready. This works because the abscission layer forms at the stem when ripe.
For early varieties like Yellow Transparent, I start checking in late July. Mid-season apples like Jonathan are usually ready in September, while late varieties such as Northern Spy may not ripen until October.
I always sample a few apples from different parts of the tree. Ripeness can vary based on sun exposure and branch location. Apples on the south side often ripen first due to more sunlight.
Remember that color alone isn’t always reliable. Some apples develop full color before they’re truly ripe. That’s why I combine visual cues with the twist test and taste test for accuracy.🌳
The twist test is my favorite way to check apple ripeness. I gently twist the fruit upward while holding the branch. If it separates cleanly with the stem attached, it’s ready to pick.
For the taste test, I sample one apple from different parts of the tree. A sweet, flavorful bite confirms ripeness, while tartness means it needs more time. This method works for all varieties, from Honeycrisp to Granny Smith.🌳
The seed examination is another reliable method. I cut open an apple and check the seed color. When seeds turn dark brown, the fruit is at peak ripeness for most varieties.
I also use the stem separation test. A ripe apple’s stem will detach easily from the branch with a gentle pull. If it resists, the fruit needs more time on the tree.
For early varieties like Yellow Transparent, I start testing in late July. For late varieties such as Northern Spy, I wait until October. The timing depends on your climate zone and local weather.
Remember, color alone isn’t always enough. Some apples develop full color before they’re truly ripe. That’s why I combine multiple tests for the most accurate results.☀️
I’ve seen many gardeners rush the harvest and pick apples too early. This results in tart, starchy fruit that lacks sweetness. Patience is key—let the apples fully ripen on the tree for the best flavor.
Another common mistake is waiting too long. Overripe apples become soft and mealy, and they don’t store well. I check my trees daily as harvest time approaches to catch the perfect moment.🌳
⚠️ Warning: Picking too early or too late can ruin your harvest. Always use the twist test and taste test to confirm ripeness before harvesting.
Ignoring weather conditions can also lead to problems. I avoid harvesting apples when they’re wet from rain or dew, as this can promote rot during storage. A dry, sunny day is ideal for picking.
Mishandling the fruit is another pitfall. I always gently twist the apple upward rather than pulling it straight off the branch. This prevents damage to the stem and the tree itself.
Finally, don’t forget to check different parts of the tree. Apples on the sunny side often ripen faster than those in the shade. I sample from all areas to ensure uniform ripeness before harvesting.☀️
Watch for color change first—most varieties develop their characteristic hue when ready. Then try the twist test: gently lift and twist the fruit. If it separates cleanly, it’s ready.
Apples on the sunny side or outer branches often ripen first due to more light and warmth. Varieties also differ—Gala may be ready in August while Fuji needs until October.
Only if they’re a green variety like Granny Smith. For others, green usually means underripe. Check seeds—if they’re still white or light, wait. Picking too early results in tart, starchy fruit.
Overripe apples become soft and mealy. They also drop naturally, risking bruising. For storage, harvest at peak ripeness to prevent spoilage during keeping.
