
Beautiful Plants For Your Interior
Beautiful Plants For Your Interior
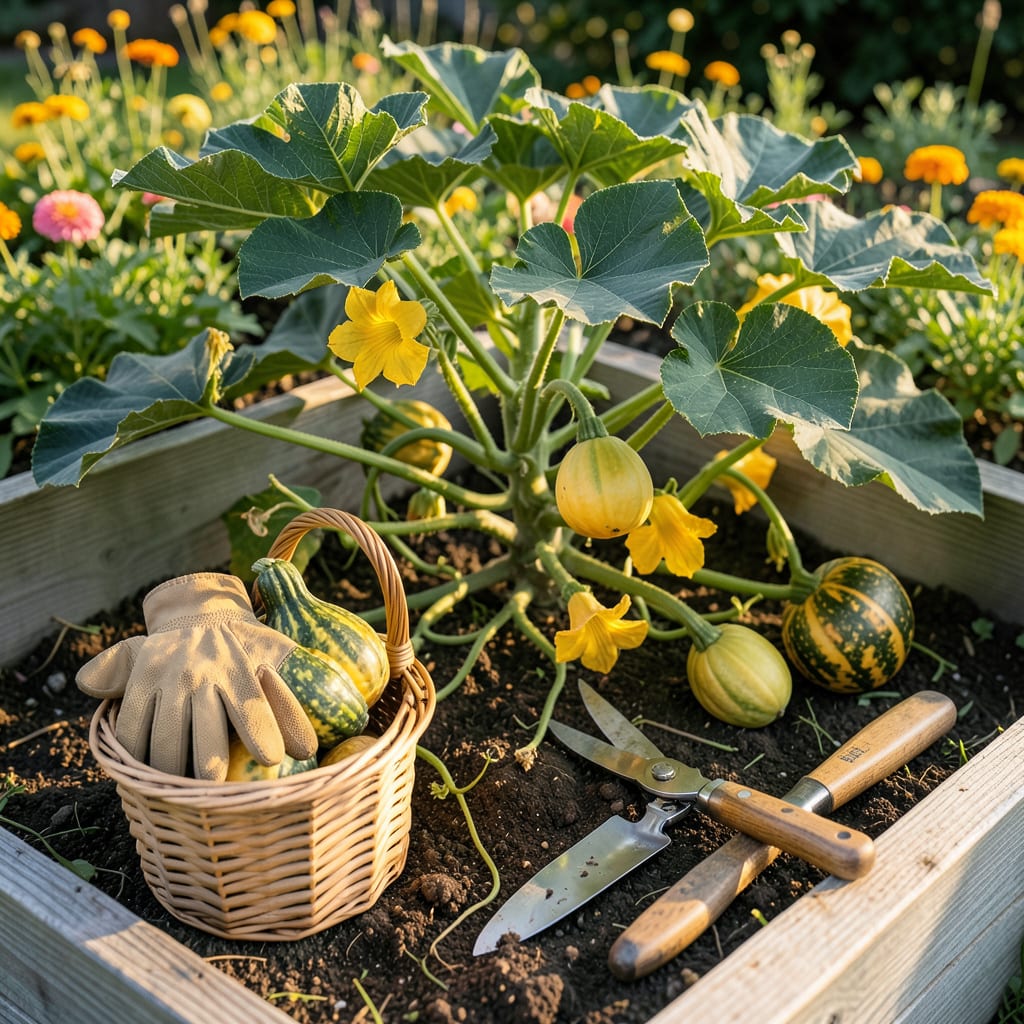
There’s nothing worse than cutting into an acorn squash only to find it’s underripe—or worse, mushy and overdone. Timing your harvest is everything, and missing the sweet spot means missing out on that perfect, nutty flavor and firm texture.
After years of growing 🎃 Acorn Squash in my own garden, I’ve learned the foolproof signs that tell you it’s ready—no guesswork needed. Stick with me, and I’ll show you exactly what to look for, from color changes to the all-important stem test. Let’s make sure your harvest is the best one yet.


After months of tending your acorn squash vines, the moment of truth arrives: Is it ready to pick? Unlike summer squash, acorn squash won’t keep growing once harvested, so timing is critical. I’ve learned the hard way that guessing leads to disappointment—so let’s break down the 5 foolproof signs your squash is ripe.
First, forget the calendar. While acorn squash typically matures in 80–100 days, your local climate and growing conditions play a huge role. Instead, rely on these visual and tactile cues to know for sure. Grab your gardening gloves, and let’s inspect those squash together! 🎃
One trick I swear by is the “tap test”. Gently knock on the squash with your knuckles. A ripe acorn squash will sound hollow, like tapping a drum. If it sounds dull or solid, leave it on the vine a bit longer. This works especially well for thicker-rinded varieties.
Watch out for false ripeness signs. A squash might turn color early due to heat stress or uneven watering, but the rind won’t harden properly. Always combine color, rind hardness, and stem condition for the most accurate check. I’ve had squash look ready but fail the thumbnail test—patience pays off!
If you’re growing in a cooler climate, keep an eye on the forecast. Acorn squash won’t ripen further after a frost, so harvest before temperatures dip below 32°F. In warmer zones, you might get a second flush of squash if the vines stay healthy. Either way, check plants every 2–3 days once they start coloring up.
Don’t forget to check the tendrils near the squash. While not a definitive sign, if the tendrils closest to the fruit turn brown and dry, it’s often a hint that harvest time is near. This is especially useful for first-time growers who are still learning the other cues.
Once you’ve confirmed your squash is ready, use pruning shears or a sharp knife to cut the stem, leaving 1–2 inches attached. Avoid twisting or pulling, which can damage the vine or the squash. Handle them gently—bruised squash won’t store as long. Now you’re ready to cure and store them for months of enjoyment! 🪴
Still unsure? Compare your squash to the mature size listed on the seed packet. Most acorn squash varieties max out at 1–2 pounds. If yours are significantly smaller, they likely need more time. When in doubt, wait a few more days and recheck the signs.
Timing your acorn squash harvest isn’t just about patience—it’s about flavor, texture, and storage life. Pick too soon, and you’ll end up with bland, watery flesh that lacks sweetness. Wait too long, and the squash turns stringy or mushy. I’ve made both mistakes, and trust me, neither is worth repeating.
Underripe squash often has pale green skin and a stem that’s still moist. The flesh inside will be thin and lack the rich, nutty taste you expect. On the flip side, overripe squash develops soft spots or a dull, faded color. The seeds inside may also sprout prematurely, ruining the texture.
| Condition | Underripe | Overripe |
|---|---|---|
| Skin Color | Pale green or light orange 🟢 | Dull, faded, or mottled 🟤 |
| Stem Condition | Moist, greenish 🌱 | Dry, brittle, or missing ✂️ |
| Flesh Texture | Thin, watery, bland 💧 | Stringy or mushy 🧵 |
| Storage Life | 1-2 weeks max ⏳ | Prone to rot in days 🚫 |
If you accidentally pick squash too early, don’t panic. Place it in a warm, sunny spot for a few days to see if it ripens further. Overripe squash, however, is trickier. Use it immediately in soups or purées—it won’t store well, but the flavor might still shine in cooked dishes.
One of the biggest mistakes I see is gardeners waiting for the vine to die back completely. While some squash varieties do this, acorn squash often ripens while the vine is still partially green. Focus on the skin hardness and stem dryness instead of vine condition alone.
For those in cooler climates, watch the first frost date. Acorn squash won’t ripen further once exposed to frost, so harvest before temperatures drop below 32°F. If frost threatens early, cover plants with row fabric or harvest slightly underripe squash and cure indoors.
Remember, the ideal harvest window is usually 80–100 days after planting. Keep a gardening journal to track your planting date, and start checking squash around day 75. This way, you’ll catch them at peak ripeness every time. 🎃
Even after checking the visual signs, some acorn squash can still leave you guessing. That’s where the pro techniques come in—methods I’ve relied on for years to confirm ripeness without a doubt. These tests go beyond just looking, giving you the confidence to harvest at the perfect moment every time.
Start with the thumbnail test, which is my go-to for squash. Press your thumbnail into the rind—if it doesn’t puncture the skin, the squash is ready. If it leaves a mark or breaks through, give it more time. This works because the rind hardens as the squash matures, protecting the flesh inside for storage. 🎃
1. The Tap Test: Knock on the squash—ripe ones sound hollow, like a drum. A dull thud means it needs more time.
2. Stem Check: A dry, brown stem that snaps easily is ideal. If it’s still green and flexible, wait a few days.
3. Weight Assessment: Lift the squash—it should feel heavy for its size. Lightweight squash are usually underripe.
4. Ground Spot: Look for a cream or orange patch where it rested on the soil. No spot? It’s not ready.
💡 Bonus Tip: If the vine’s tendrils near the squash turn brown, it’s often a sign harvest is near—but always confirm with the other tests!
For tricky cases, like squash with uneven coloring, focus on the rind hardness and stem condition. Some varieties develop splotchy patterns naturally, but the thumbnail and tap tests don’t lie. I once harvested a squash that looked underripe due to its mottled skin, but it passed all the tactile tests—and it was delicious!
If you’re dealing with soft spots, inspect them closely. A small, firm spot might just be a bruise, but large or mushy areas indicate overripeness or rot. In that case, harvest immediately and use the squash within a week. For cool-weather gardeners, keep an eye on the forecast—harvest before the first frost, even if squash aren’t fully ripe. They can cure indoors.
Finally, trust your instincts. After testing a few squash, you’ll start to recognize the right feel and sound. I like to harvest in the morning when temperatures are cool, as the squash are less likely to bruise. Use clean pruners to cut the stem, leaving 1–2 inches attached for better storage. Now you’re ready to cure and enjoy your bounty! 🪴
Harvest in the early morning when temperatures are cool. The squash will be firmer and less prone to bruising. Avoid midday heat, which can cause stress to both plant and fruit.
No, acorn squash won’t ripen further after frost exposure. Harvest before temperatures drop below 32°F. If frost is forecasted early, cover plants or harvest slightly underripe squash to cure indoors.
Once mature, they can stay on the vine for 1-2 weeks in good conditions. But don’t wait too long—overripe squash develop soft spots and lose storage quality. Check every 2-3 days during peak season.
Place underripe squash in a warm, sunny spot (70-80°F) for 3-5 days. Turn occasionally for even ripening. This works best for nearly-mature squash that just need a final push.
Some varieties naturally mature with green or mottled skin. Always use the thumbnail test and check stem dryness. True ripeness shows through rind hardness, not just color.
