
Beautiful Plants For Your Interior
Beautiful Plants For Your Interior
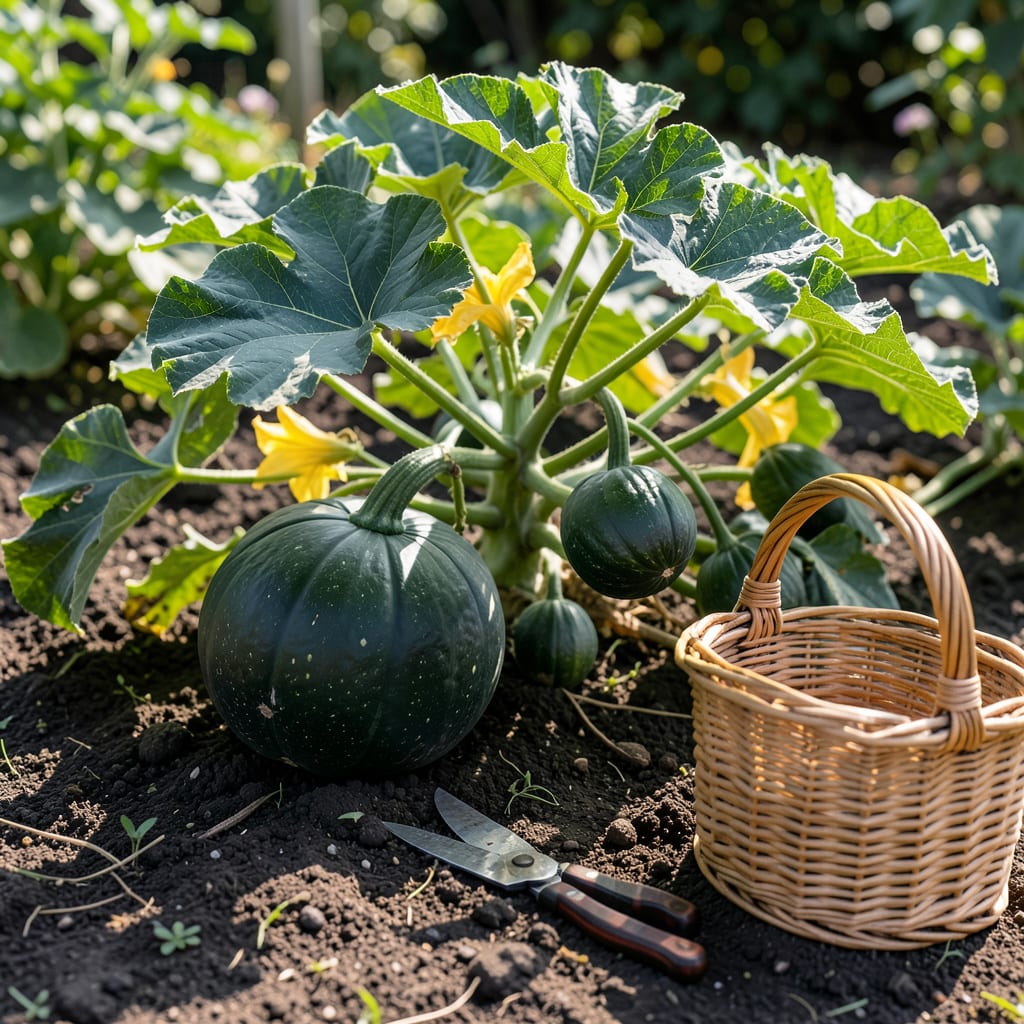
That perfect moment to pick your 🎃 Acorn Squash can be tricky to pinpoint, but missing it means losing flavor and storage potential. I’ve seen too many gardeners rush this step and regret it later.
There’s a simple test that takes the guesswork out of knowing when your squash is truly ready. Let me show you how to get it right every time.


Timing your acorn squash harvest perfectly ensures the best flavor and longest storage life. I’ve learned that the rind test is the most reliable method for determining ripeness in the garden.
The rind hardness test involves pressing your fingernail into the squash’s skin. If it resists penetration, your squash is likely ready for harvest.
Remember that color alone isn’t enough to determine ripeness. Some varieties stay green even when mature, while others develop orange blotches as they ripen.
The stem condition is another crucial indicator. A brown, dry stem means the squash has stopped receiving nutrients and is ready to be picked.
I always recommend checking multiple squash on the same plant, as they may mature at slightly different times. This ensures you don’t miss any that are ready.
If you’re still unsure, the tapping test can help. A mature acorn squash will produce a hollow sound when tapped, similar to a ripe melon.
In my experience, early morning is the best time to harvest. The squash are cooler and firmer, making them easier to handle without damaging the skin.
After harvesting, let your squash cure in the sun for about a week. This helps harden the skin further and improves storage potential.
Properly cured acorn squash can store for months in a cool, dry place, giving you fresh produce well into winter.
Even experienced gardeners can make costly mistakes when harvesting acorn squash. I’ve seen too many perfect crops ruined by simple oversights that are easily avoidable.
One of the most common errors is picking too early. A squash that looks mature might still be developing its full sweetness and storage potential inside.
Don’t pick with green stems – this means the squash isn’t fully mature yet.
Avoid waiting too long – overripe squash can split or attract pests.
Never carry by the stem – this can damage the connection point and reduce storage life.
Another frequent mistake is ignoring the vines. When the main vine starts to die back, it’s a clear sign that harvest time is approaching for all squash on that plant.
I always recommend using pruning shears or a sharp knife to cut the squash from the vine, leaving 1-2 inches of stem attached. This prevents damage to the squash.
Harvesting in wet conditions can lead to mold and rot during storage. Always wait for a dry, sunny day to pick your squash for the best results.
Remember that size isn’t everything. While most acorn squash reach 1-3 pounds at maturity, the rind hardness and stem condition are far better indicators of readiness.☀️
Understanding the ripeness timeline helps you plan your acorn squash harvest effectively. Most varieties take 70-100 days from planting to maturity, depending on growing conditions.
I always track the days to maturity for my squash plants, as this gives a good estimate of when to start checking for ripeness signs. Early varieties may be ready in 70 days, while larger types can take up to 100 days.
| Stage | Days | Signs |
|---|---|---|
| Early Maturity | 70 | Rind starts hardening |
| Peak Ripeness | 80-85 | Full color, hard rind |
| Late Maturity | 90-100 | Stem fully dry |
In cooler climates, acorn squash may take longer to mature. I recommend starting seeds indoors 2-3 weeks before the last frost to give them a head start.
For warmer regions, you can often get two harvests in a season by planting a second crop in mid-summer. Just ensure you have enough time before the first frost.
If an early frost threatens, I cover my squash with row covers to extend the growing season. This can buy you an extra 1-2 weeks of ripening time.
After harvesting, store your squash in a cool, dry place with good air circulation. Properly cured acorn squash can last 2-3 months in storage.🌱
Mature squash typically turn deep green or develop orange blotches. The key is a dull, not shiny, finish. Some varieties stay green, so rely more on the rind hardness test than color alone.
Most varieties need 70-100 days from planting. Early types may be ready in 70 days, while larger ones can take up to 100 days. Track your planting date to estimate harvest time.
No, a green or moist stem means it’s still maturing. Always check for a brown, dry, woody stem before picking. Harvesting too early reduces sweetness and storage life.
Overripe squash may split, attract pests, or rot. Once the rind is fully hard and the stem completely dry, pick promptly. In cool climates, aim to harvest before the first frost.
