
Beautiful Plants For Your Interior
Beautiful Plants For Your Interior
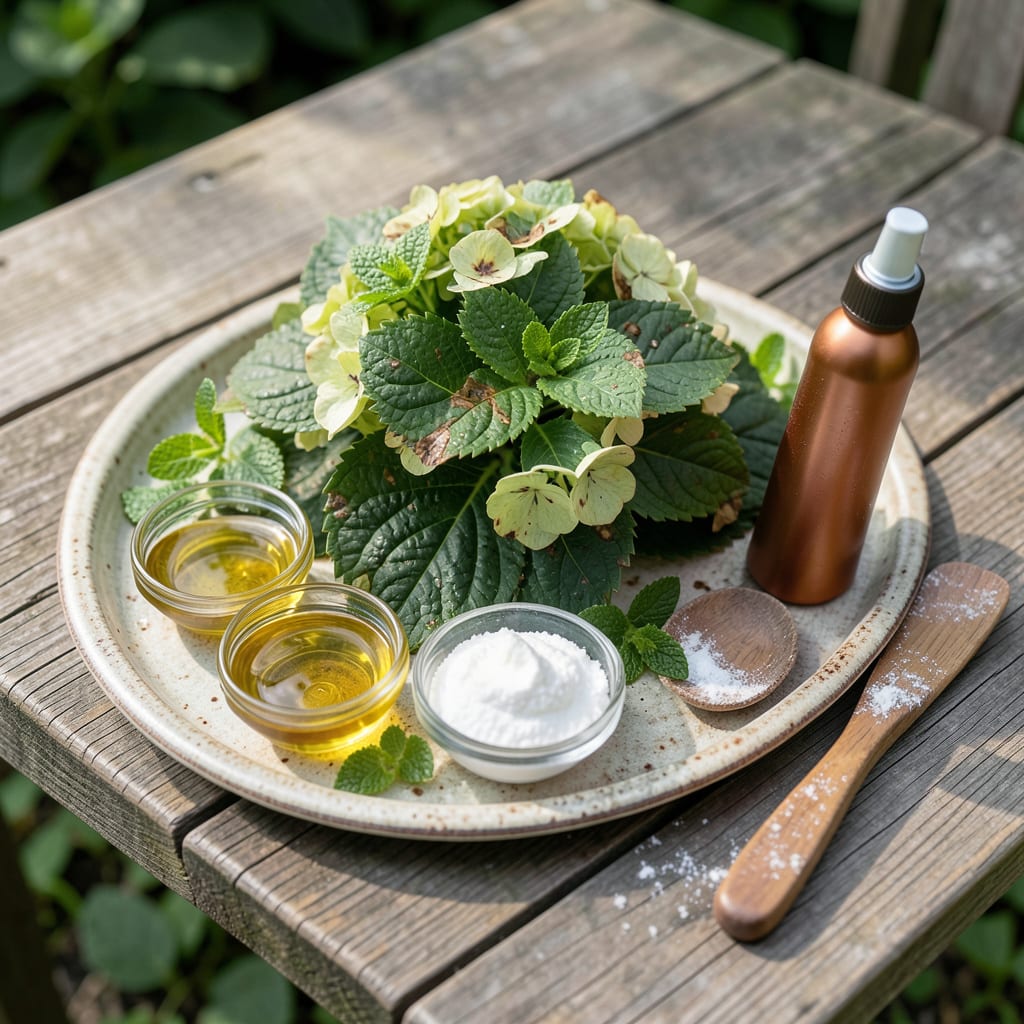
Those brown spots on your hydrangea leaves aren’t just ugly—they’re a cry for help. I’ve nursed more than a few hydrangeas back from the brink after misdiagnosing the problem as drought or sunburn.
Most brown spots come from fungal infections, but overwatering and nutrient imbalances can look identical. The key is checking both the leaves and your care routine. Yellow halos around spots usually mean fungus, while crispy edges scream too much water.
Treatment starts with removing affected leaves and adjusting your approach. A simple copper fungicide often clears fungal issues, while better drainage solves watering problems. Prevention is easier than cure once you know what to look for.
Your hydrangeas can bounce back stronger. The solution is usually simpler than you think.
Brown spots on hydrangea leaves often signal underlying issues that disrupt the plant’s health. Understanding the root causes helps you target the right treatment and prevent future damage. Below are the most common culprits, explained with actionable insights.
Fungi like Cercospora and Alternaria thrive in warm, humid conditions, leading to circular or irregular brown spots with dark edges. These pathogens spread via water splashes or contaminated tools. Overhead watering and poor air circulation exacerbate the problem, creating a perfect breeding ground.
Excess moisture stresses hydrangeas, causing root rot and leaf discoloration. When roots suffocate in waterlogged soil, they fail to absorb nutrients, leading to brown, crispy spots. Compacted or clay-heavy soil worsens drainage issues, trapping water around the roots.
Extreme heat, drought, or sudden temperature swings can scorch leaves, creating dry, brown patches. Hydrangeas prefer consistent moisture and partial shade; direct sunlight or frost damage disrupts their cellular structure, resulting in unsightly blemishes.
Insects like aphids, spider mites, or Japanese beetles feed on hydrangea leaves, leaving behind brown or yellow spots. Their piercing mouthparts damage plant tissues, while some pests introduce toxins that cause necrosis. Check the undersides of leaves for tiny pests or webbing.
A lack of essential nutrients—such as magnesium, potassium, or iron—can manifest as brown spots, often with yellow halos. For example, magnesium deficiency causes interveinal chlorosis (yellowing between veins) that progresses to brown necrosis. Soil pH imbalances may also lock out nutrients, even if they’re present.
Brown spots on hydrangea leaves can often be resolved with targeted care. Below are practical solutions for the most common causes, along with prevention tips to keep your plants thriving.
If the culprit is leaf spot fungi (e.g., Cercospora or Anthracnose), start by removing infected leaves and destroying them (do not compost). Apply a copper-based fungicide or neem oil spray every 7–10 days until the issue clears. Improve air circulation by pruning dense foliage.
Prevention: Water at the base of the plant to keep leaves dry, and space hydrangeas 3–4 feet apart for airflow. 💡 Pro tip: Clean up fallen leaves in autumn to reduce overwintering spores.
For overwatering or poor drainage, let the soil dry slightly between waterings. Hydrangeas prefer moist but not soggy soil. If the soil stays wet, amend it with compost or perlite to improve drainage.
Prevention: Use a moisture meter or the finger test—stick your finger 1 inch into the soil. If it’s dry, water; if it’s damp, wait. 🌡️ Pro tip: Mulch with bark or pine needles to retain moisture evenly.
If spots appear after exposure to harsh sunlight or herbicides, move potted hydrangeas to a shadier spot (morning sun is ideal). For in-ground plants, provide afternoon shade with a shade cloth. Rinse leaves immediately if exposed to chemicals.
Prevention: Apply chemicals on calm days to avoid drift, and always follow label instructions. ✨ Pro tip: Acclimate new plants to sunlight gradually.
Check undersides of leaves for spider mites, aphids, or scale. Blast pests off with water or apply insecticidal soap. For severe cases, use horticultural oil or a systemic insecticide.
Prevention: Inspect plants regularly and encourage beneficial insects like ladybugs. 🎯 Pro tip: Avoid over-fertilizing, which attracts pests like aphids.
Apply copper fungicide or neem oil every 7-10 days until spots disappear. Reapply after rain.
Yes, soggy soil leads to root rot, which prevents nutrient uptake. Let soil dry 1 inch down between waterings.
Water at the base, not leaves, and space plants 3-4 feet apart. Remove fallen leaves in autumn.
Yes, prune infected leaves immediately and destroy them. Never compost diseased foliage.
