
Beautiful Plants For Your Interior
Beautiful Plants For Your Interior
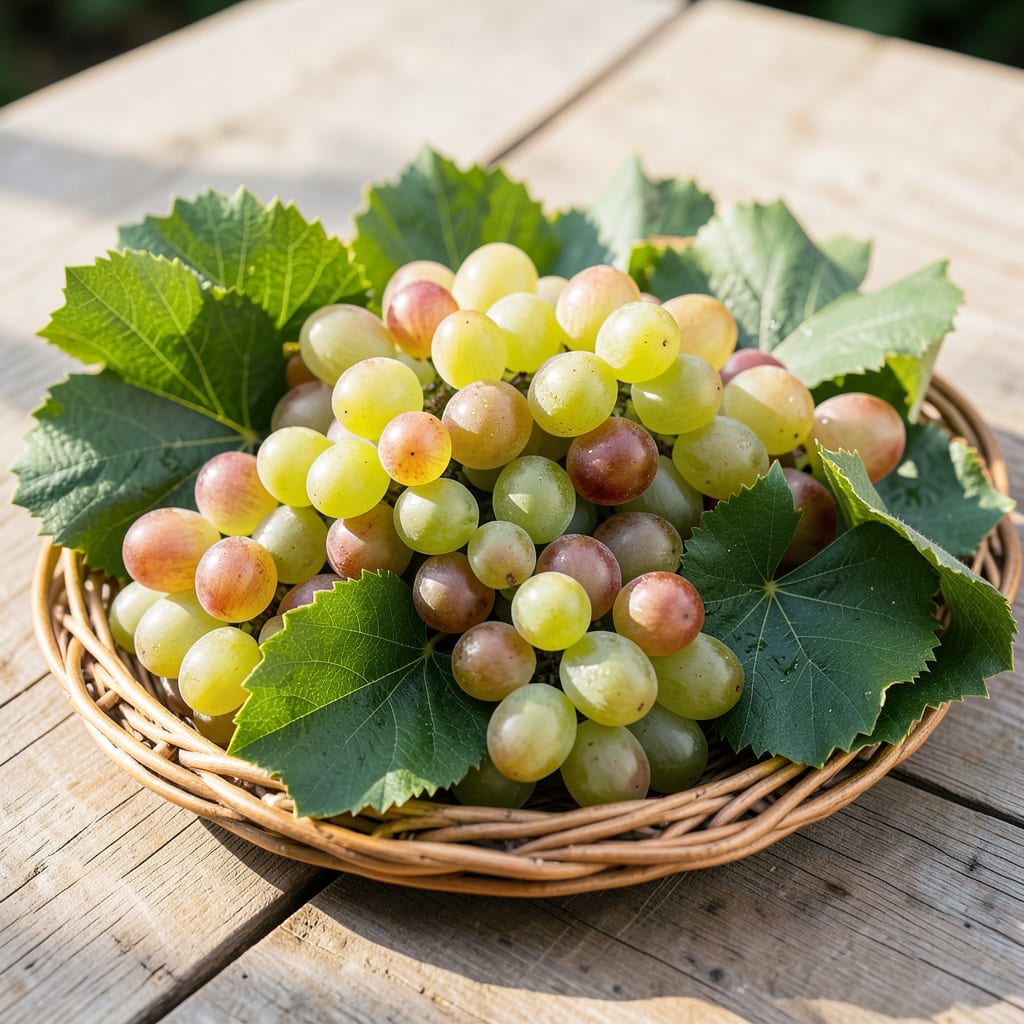
I still remember the first time I saw Thompson Seedless grapevines climb my fence in just one season. Those lush leaves aren’t just beautiful—they’re the foundation for healthy fruit and even dolmas if you’re into that.
This variety thrives with minimal fuss, but gets it right and you’ll have vigorous growth and leaves so large they’ll make your neighbors jealous. The secret is consistent water and the right support structure from day one.
📚 In This Guide
Here’s the method I use to grow Thompson Seedless grapes with lush, healthy leaves perfect for harvesting.
Choose a location with full sun—at least 6-8 hours of direct sunlight daily. Thompson Seedless grapes thrive in warm, sunny spots. The soil should drain well; avoid low-lying areas where water pools. I test drainage by digging a 1-foot-deep hole and filling it with water. If it drains within 1-2 hours, you’re good to go.
Amend the soil with compost to improve fertility. Work it into the top 12 inches of soil. This ensures roots have access to nutrients as they establish. If your soil is heavy clay, mix in sand or perlite to break it up. Healthy soil is the foundation for perfect leaves.
Dig a hole slightly larger than the root ball of your vine. Place the vine in the hole so the bud union (the swollen area near the base) sits 2-3 inches above the soil line. This prevents rot and encourages strong growth. Backfill with soil, gently pressing it down to remove air pockets.
Space vines 6-8 feet apart to allow for air circulation and future growth. Water deeply after planting, giving each vine 1-2 gallons of water. You’ll see new growth within 2-3 weeks if conditions are right. Mulch around the base with 2-3 inches of organic mulch to retain moisture.
Install a trellis or support system immediately after planting. Thompson Seedless vines need structure to grow upward, which improves air circulation and leaf quality. Tie the main stem to the trellis with soft garden ties, but leave room for growth. I use a 5-foot-tall trellis for easy access to leaves.
Prune aggressively in late winter while the vine is dormant. Remove 70-80% of the previous year’s growth, leaving only the strongest canes. This directs energy into new shoots and leaves. During the growing season, thin out excess foliage to ensure sunlight reaches all parts of the vine. You’ll notice leaves growing larger and more vibrant when they’re not crowded.
Water vines deeply 1-2 times per week, depending on rainfall. The goal is to keep the soil evenly moist but not waterlogged. I check by sticking my finger 2 inches into the soil—if it feels dry, it’s time to water. Drip irrigation works best to keep leaves dry and prevent disease.
Fertilize in early spring with a balanced 10-10-10 fertilizer, following package instructions. Apply again when the vines start producing leaves, usually 4-6 weeks after planting. Avoid high-nitrogen fertilizers late in the season, as they can promote excessive leafy growth at the expense of fruit. You’ll see darker, richer leaves with proper feeding.
Leaves are ready to harvest when they’re fully mature but still tender, typically 6-8 weeks after bud break. Pick leaves in the morning when they’re most hydrated. Use clean, sharp scissors to snip leaves at the stem, taking care not to damage the vine. I harvest outer leaves first, leaving the younger, inner leaves to continue growing.
For the best flavor, harvest leaves just before you plan to use them. They can be stored in the refrigerator for 3-4 days in a sealed container, but fresh leaves are always superior. You’ll know they’re perfect when they’re a vibrant green and slightly leathery to the touch.
Here’s what I learned through trial and error to get the best results.
Sunlight Essentials: The 6-8 hours of direct sunlight mentioned in Step 1 isn’t just a suggestion—it’s critical for vibrant, healthy leaves. I noticed a dramatic difference when I moved my vines from partial shade to full sun. If your space gets less than 6 hours, consider using reflective mulch to maximize light exposure.
Drainage Test: That 1-2 hour drainage test in Step 1 works perfectly. If water sits longer than 2 hours in your test hole, definitely amend the soil with compost and sand. I skipped this once and paid for it with stunted growth and yellowing leaves.
Pruning Precision: The 70-80% pruning in Step 3 feels drastic, but it’s the secret to lush foliage. Don’t be timid—removing most of last year’s growth forces the vine to put energy into new, vigorous shoots with those perfect leaves we want. I was nervous the first time, but the results spoke for themselves.
Harvest Timing: Those 6-8 weeks after bud break in Step 5 are your sweet spot. Harvesting too early gives you small, delicate leaves, while waiting too long results in tough, leathery ones. The morning harvest tip is gold—leaves are most hydrated then, making them more pliable for stuffing.
Yes! Thompson Seedless grape leaves are perfect for making dolmas. Their tender texture and mild flavor make them ideal for stuffing with rice, herbs, or meat. Just blanch them first to soften.
Harvest leaves in late spring to early summer when they’re young, tender, and bright green. Avoid older leaves, as they can be tough and bitter. Pick in the morning for the best freshness.
If grape leaves aren’t available, try cabbage, Swiss chard, or even large spinach leaves. These alternatives work well but may have a slightly different texture and taste.
Yellow leaves often indicate overwatering, nutrient deficiency, or pests. Check soil moisture, fertilize if needed, and inspect for bugs. Prune affected leaves to encourage healthy growth.
Store fresh leaves in a sealed container in the fridge for up to 5 days. For longer storage, blanch and freeze them in airtight bags for up to 6 months.
