
Beautiful Plants For Your Interior
Beautiful Plants For Your Interior
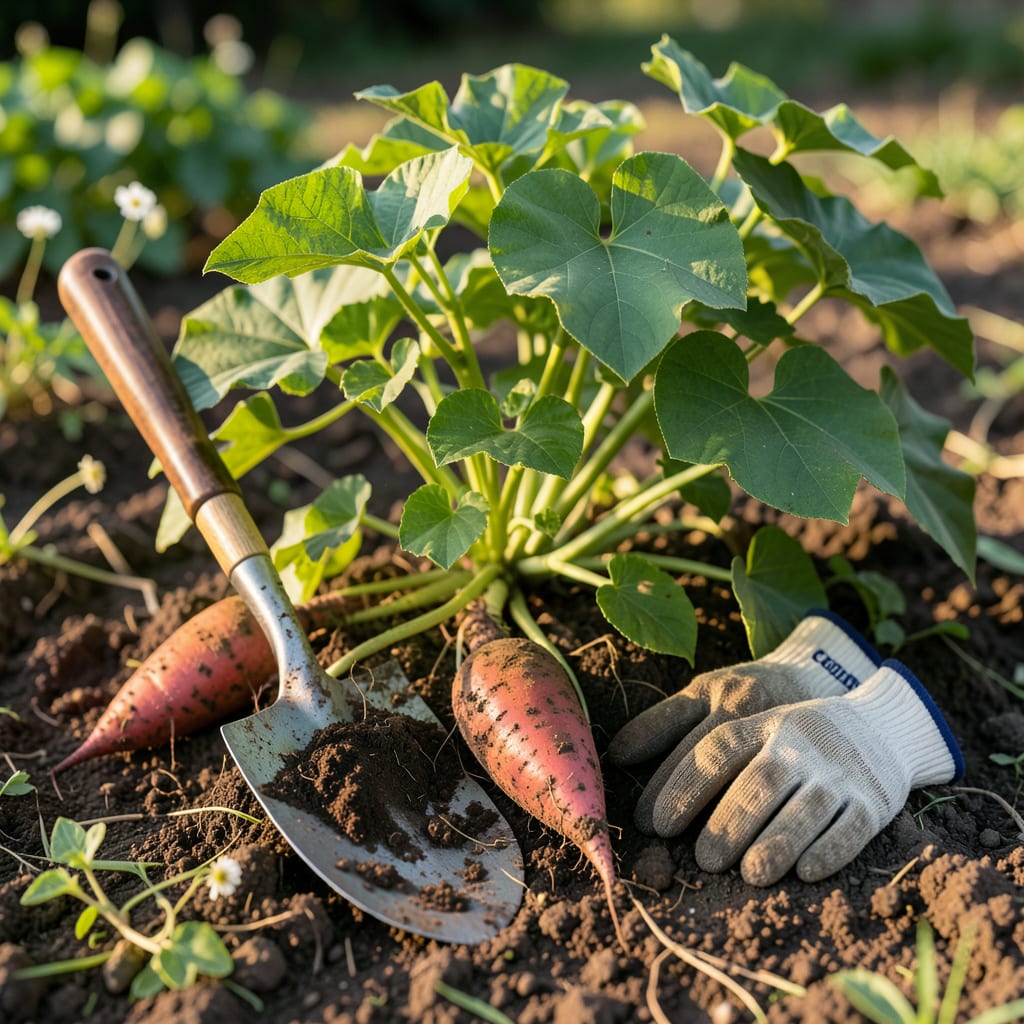
I remember the first time I tried to guess if my Sweet Potato 🍠 was ready – I ended up digging up half the plant too soon. Those subtle visual cues are everything for a perfect harvest.
From yellowing leaves to that telltale skin toughness, I’ll show you exactly what to look for. These signs never lie, and I’ve tested them season after season in Zone 6.


I’ve learned that sweet potatoes send clear signals when they’re ready. The first clue is yellowing leaves—nature’s way of saying the tubers are maturing below the soil. This usually happens 90-120 days after planting in Zone 6.
Another telltale sign is cracked soil around the base of the plant. This often indicates the tubers have grown large enough to push against the earth. I always check for 3-5 inch tubers as the ideal size for harvest.
🌱 Sweet Potatoes Ready to Harvest: Key Visual Signs
| Sign | What to Look For |
|---|---|
| Leaves | Yellowing and wilting |
| Vines | Slowed growth or dying back |
| Soil | Cracks near plant base |
| Tubers | 3-5 inches long, firm skin |
| Skin Test | Resists scratching with fingernail |
I also pay close attention to the vine condition. When vines stop growing and start to decline, it’s a strong indicator that the plant is redirecting energy to the tubers. This is especially noticeable in late September in my garden.
The skin hardness test is my go-to method. I gently scratch the surface of a tuber with my fingernail. If it resists scratching, the sweet potatoes are ready. If not, I give them another week or two.
Size matters too. I aim for tubers that are 3-5 inches long and plump. Anything smaller means they need more time. In pictures, you’ll notice ready tubers have a smooth, uniform shape and vibrant color.
Timing is everything. I always harvest before the first frost in Zone 6, usually by mid-October. Frost can damage the tubers, so I keep a close eye on the forecast as fall approaches.
Another visual cue is the foliage color. Healthy green leaves mean the plant is still growing. When they start turning yellow or brown, it’s time to start checking for readiness. This color change is often the first sign I notice.
I’ve found that morning harvesting works best. The soil is cooler and easier to work with, and the tubers are less likely to bruise. I use a garden fork to gently lift the plants, being careful not to pierce the sweet potatoes.
After harvesting, I let the tubers dry in the sun for a few hours. This helps toughen the skin for storage. I’ve learned that proper curing is just as important as perfect timing for the best flavor and longevity.
Remember, patience pays off. Rushing the harvest can result in underdeveloped tubers. Trust the visual signs, and you’ll be rewarded with a bountiful crop of perfect sweet potatoes. ☀️
I always start by checking the weather forecast before harvesting. Sweet potatoes should be dug on a dry, sunny day when the soil is workable. This prevents the tubers from getting waterlogged or muddy during the process.
My go-to tool is a garden fork rather than a shovel. The fork’s tines allow me to gently lift the soil without piercing the tubers. I insert it about 6-8 inches away from the plant base to avoid direct contact with the sweet potatoes.
🌱 Steps for Safe Sweet Potato Harvesting
Once the plant is lifted, I carefully brush away soil with my hands to expose the tubers. I avoid using tools for this step to prevent accidental cuts or scratches. The skin is delicate when first dug up, so gentle handling is crucial.
I always harvest in the morning when temperatures are cooler. This helps the tubers transition better to curing and storage. I’ve found that harvesting in September or October in Zone 6 gives the best results before the first frost.
After digging, I let the sweet potatoes cure in the sun for a few hours. This step helps the skin toughen up, which improves storage life. I
Finally, I store my sweet potatoes in a cool, dry place with good airflow. Proper curing and storage ensure they stay fresh for months. Trust me, following these steps makes all the difference in preserving your harvest. 🌿
I’ve seen many gardeners make the same harvesting mistakes with sweet potatoes. The most common is digging too early when tubers are still small. This usually happens before the 90-day mark in Zone 6.
Another frequent error is using a shovel instead of a fork. Shovels can easily pierce the tubers, causing damage that leads to rot during storage. I learned this the hard way my first season.
⚠️ Avoid These Sweet Potato Harvesting Mistakes
Skipping the curing process is another big mistake. I once stored freshly dug sweet potatoes without curing, and they spoiled within weeks. Now I always let them dry in the sun for 2-3 hours after harvesting.
Harvesting in wet conditions can also cause problems. The excess moisture makes the tubers prone to rotting. I always check the forecast and wait for a dry day to dig up my crop.
Finally, I’ve learned not to pull the vines to harvest. This can break the tubers or leave them in the ground. Instead, I use my garden fork to gently lift the entire plant, ensuring all sweet potatoes come out intact.
By avoiding these common pitfalls, you’ll preserve both the quality and quantity of your harvest. Trust me, your future self will thank you! 🌱
Gently feel around the base of the plant with your hands. Mature tubers should feel 3-5 inches long and plump under the soil surface. Avoid digging until they reach this size.
Early harvesting results in small, underdeveloped tubers with thin skins. These won’t store well and lack the full sweet flavor. Wait for the yellowing leaves and other visual cues.
Yes! Morning harvesting means cooler temperatures and drier soil. This reduces the risk of bruising and makes the tubers easier to handle and cure properly.
Never wait until after frost. Even light frost can damage the tubers. In Zone 6, aim to finish harvesting by mid-October to avoid this risk.
