
Beautiful Plants For Your Interior
Beautiful Plants For Your Interior
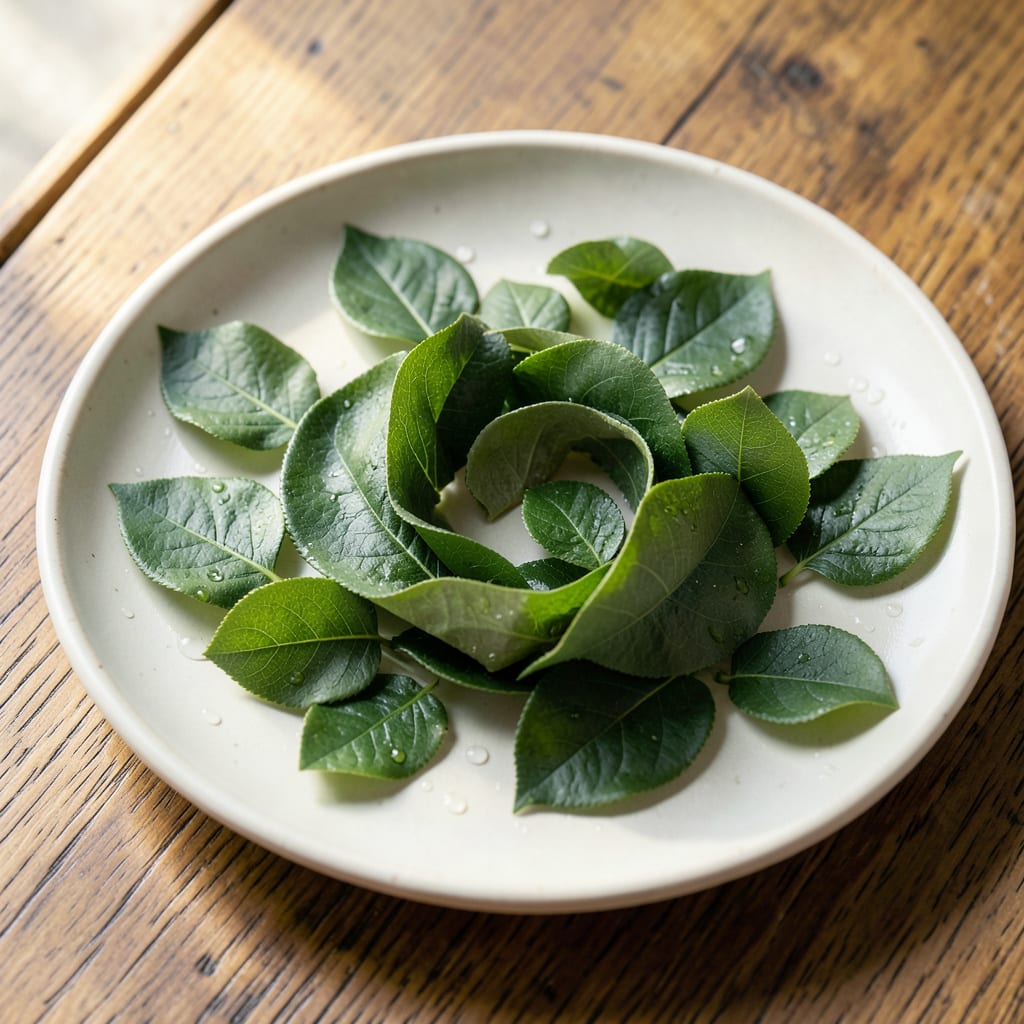
Yellowing or spotted leaves on your Rose of Sharon mean the plant needs attention. I’ve fixed mine with simple, natural solutions that work fast.
You’ll restore healthy foliage by identifying the problem early and using the right remedy. The results show in 1-2 weeks with consistent care.
📚 In This Guide
Here’s the method I rely on to harness the natural benefits of this plant for stronger garden health.
Pick young, healthy leaves in the morning when their essential oils are most concentrated. Choose leaves that are fully unfurled but not yet tough or discolored. Avoid any that show spots, holes, or signs of pest activity—you want clean material to start with.
Use clean, sharp pruning shears to snip leaves from the stem, leaving a small portion of the petiole attached. This prevents tearing the plant tissue, which can invite disease. Collect enough leaves to fill a standard 1-quart jar loosely—the exact amount depends on your intended use.
Rinse the leaves gently under cool running water to remove dust, pollen, or any residue. Pat them dry with a clean towel or allow them to air-dry for 30 minutes on a paper towel. Excess moisture can dilute the final product or encourage mold during processing.
For best results, tear or chop the leaves into 1-inch pieces before use. This increases the surface area, allowing the beneficial compounds to infuse more efficiently. The fresh, green scent should be strong—this is your sign the leaves are at peak potency.
Place the prepared leaves in a heatproof container and cover with 2 cups of boiling water. Cover the container with a lid or cloth and let it steep for 12-24 hours at room temperature. The liquid will turn a deep amber or greenish hue as the compounds release.
Strain the mixture through a fine mesh sieve or cheesecloth, pressing the leaves gently to extract all the liquid. Discard the spent leaves—they won’t have enough active properties left for a second use. Store the tea in a clean glass jar in the refrigerator for up to 1 week.
Dilute the leaf tea with water at a ratio of 1 part tea to 4 parts water before using. This prevents any potential leaf burn from the concentrated solution. Apply it as a foliar spray in the early morning or late evening to avoid rapid evaporation from the sun.
Use a spray bottle to mist the solution evenly over the leaves and stems of your plants, focusing on the undersides where pests often hide. You’ll notice a subtle sheen on the foliage when coverage is complete. Reapply every 7-10 days for ongoing protection and health.
Observe your plants over the next 3-5 days for signs of improvement, such as perkier foliage or reduced pest activity. If leaves show any discoloration or wilting, reduce the frequency of application or dilute the solution further.
For severe issues, you can increase the application to every 5 days, but avoid overusing it—plants can become stressed with too much of even a natural remedy. The goal is to support their natural defenses, not overwhelm them.
These practical insights will help you maximize the effectiveness of this natural remedy.
The Harvest Window: Morning is ideal for Step 1 because that’s when essential oils peak in the leaves. I’ve found that leaves picked later in the day can result in a weaker infusion. Also, avoid harvesting after rain—wet leaves can dilute your final product and encourage mold growth during the 30-minute drying period.
Extraction Efficiency: In Step 2, tearing leaves into 1-inch pieces significantly increases the surface area for infusion. Confession: I skipped this step for years and wondered why my tea was so weak. The smaller pieces allow more beneficial compounds to release during the 12-24 hour steeping period in Step 3.
Storage Wisdom: The 1-week refrigerator storage limit for your leaf tea is non-negotiable. After that, the active properties start to degrade. I store mine in a clean glass jar with a tight lid, and I always label it with the date. If you notice any cloudiness or off odors before the week is up, discard it immediately.
Application Timing: Step 4’s recommendation to spray in early morning or late evening isn’t just about evaporation—it’s also when plant stomata are most receptive. The 1:4 dilution ratio is critical too; I learned the hard way that undiluted tea can actually burn your plants.
Yellow leaves often signal overwatering, poor drainage, or nutrient deficiencies. Check soil moisture and ensure proper drainage. A balanced fertilizer can help restore vibrant green foliage.
Prune in late winter or early spring before new growth starts. This encourages healthy blooms and removes dead or damaged branches. Avoid heavy pruning in fall, as it can stimulate tender new growth.
Yes! A tea made from crushed leaves can deter aphids and other pests. Steep leaves in water for 24 hours, strain, and spray on affected plants. Always test on a small area first.
Hibiscus, hollyhock, and althea are great alternatives. They offer similar ornamental value and some share medicinal properties. Choose based on your climate and garden needs.
Brown spots may indicate fungal infections like leaf spot. Remove affected leaves, improve air circulation, and apply a fungicide if needed. Avoid overhead watering to prevent recurrence.
