
Beautiful Plants For Your Interior
Beautiful Plants For Your Interior
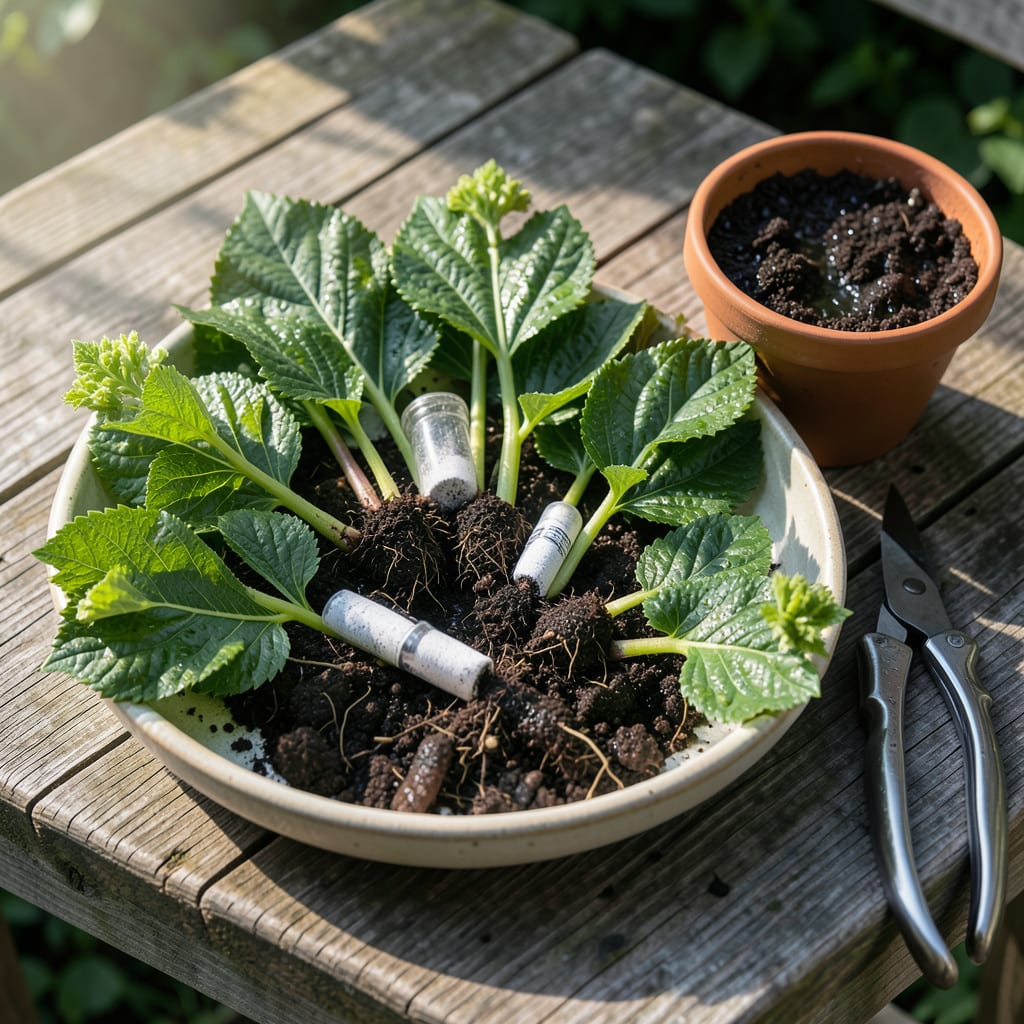
That first hydrangea cutting I rooted changed everything. I went from buying expensive plants to cloning my favorites for free, and the process is shockingly simple.
You’ll need healthy stems, a sharp knife, and patience. Within 4-6 weeks, white roots emerge from the nodes, ready to become a new plant. No green thumb required.
📚 In This Guide
Here’s the propagation method that gives me nearly 100% success with hydrangeas every time.
Take 4-6 inch cuttings from current season’s growth early in the morning when the plant is most hydrated. Choose stems with 3-4 sets of leaves and no flower buds—these root fastest. Use sharp pruners to make a clean cut just below a leaf node, where the highest concentration of rooting hormones exists.
Remove the bottom set of leaves completely, then trim the remaining leaves by half to reduce transpiration. This prevents the cutting from losing too much moisture while it develops roots. I always work quickly to prevent the cut ends from drying out, which significantly reduces success rates.
Dip the cut end in rooting hormone powder, tapping off any excess. This step dramatically increases root formation speed and success rate. Fill a clean 4-inch pot with a well-draining rooting medium like perlite or a 50/50 mix of perlite and peat moss.
Insert the cutting about 1-2 inches deep into the moist medium, firming gently around the base. Space multiple cuttings at least 2 inches apart if using a larger container. The medium should be damp but not soggy—squeeze out excess water before planting to prevent rot.
Cover the pot with a clear plastic bag or place it in a propagation chamber to maintain high humidity. This prevents the cutting from drying out while roots develop. Keep the container in bright, indirect light at temperatures between 65-75°F.
Mist the cutting and medium lightly every 2-3 days or whenever the condensation disappears from the bag. Avoid direct sunlight, which can overheat the cutting and cook it inside the plastic. You’ll see new growth emerging from the leaf nodes in 3-4 weeks, which confirms rooting has begun.
After 6-8 weeks, gently tug on the cutting—if it resists, roots have formed. At this point, you can remove the plastic cover to acclimate the new plant. Continue keeping the medium moist but not waterlogged as the roots develop further.
Once roots are 2-3 inches long (visible through drainage holes or when carefully removed from the pot), transplant to a 6-inch container with regular potting mix. Keep the new plant in partial shade for a week to reduce transplant shock before moving to its permanent location.
The small details make all the difference between success and disappointment with propagation.
Cutting Selection: In Step 1, always choose stems with 3-4 sets of leaves from current season’s growth. I learned the hard way that older, woody stems root much slower. The leaf nodes contain the highest concentration of natural rooting hormones, so cutting just below them gives you a head start.
Moisture Management: After planting in Step 2, squeeze out excess water from your rooting medium before inserting the cutting. Soggy conditions cause rot, while dry medium leads to failure. I aim for damp but not dripping—like a wrung-out sponge. This balance keeps the cutting hydrated without drowning it.
Environment Control: The 65-75°F range mentioned in Step 3 is critical. Below 65°F, rooting slows dramatically; above 75°F, you risk cooking the cutting inside its plastic tent. I use a thermometer near my propagation area and move cuttings away from heat sources if needed.
Patience Pays Off: Don’t rush the 6-8 week timeline in Step 4. I’ve tried transplanting too early, and the shock often kills fragile new roots. Wait until you can see 2-3 inches of white roots through the drainage holes—that’s your green light for moving to a 6-inch container.
Hydrangea cuttings typically root in 4-8 weeks, depending on conditions like warmth, humidity, and light. Keep the soil moist and provide indirect light to speed up the process. Patience is key!
Late spring to early summer is ideal, as the plant is actively growing. Avoid extreme heat or cold, and aim for mornings when the plant is hydrated. This boosts success rates!
Yes! Place cuttings in a jar of water, ensuring nodes are submerged. Change the water every few days to prevent bacteria. However, soil-rooted cuttings often transition better to planting.
Common issues include low humidity, poor light, or stale cuttings. Ensure fresh cuts, consistent moisture, and a warm environment (70-75°F). If they wilt, try again with healthier stems!
