
Beautiful Plants For Your Interior
Beautiful Plants For Your Interior
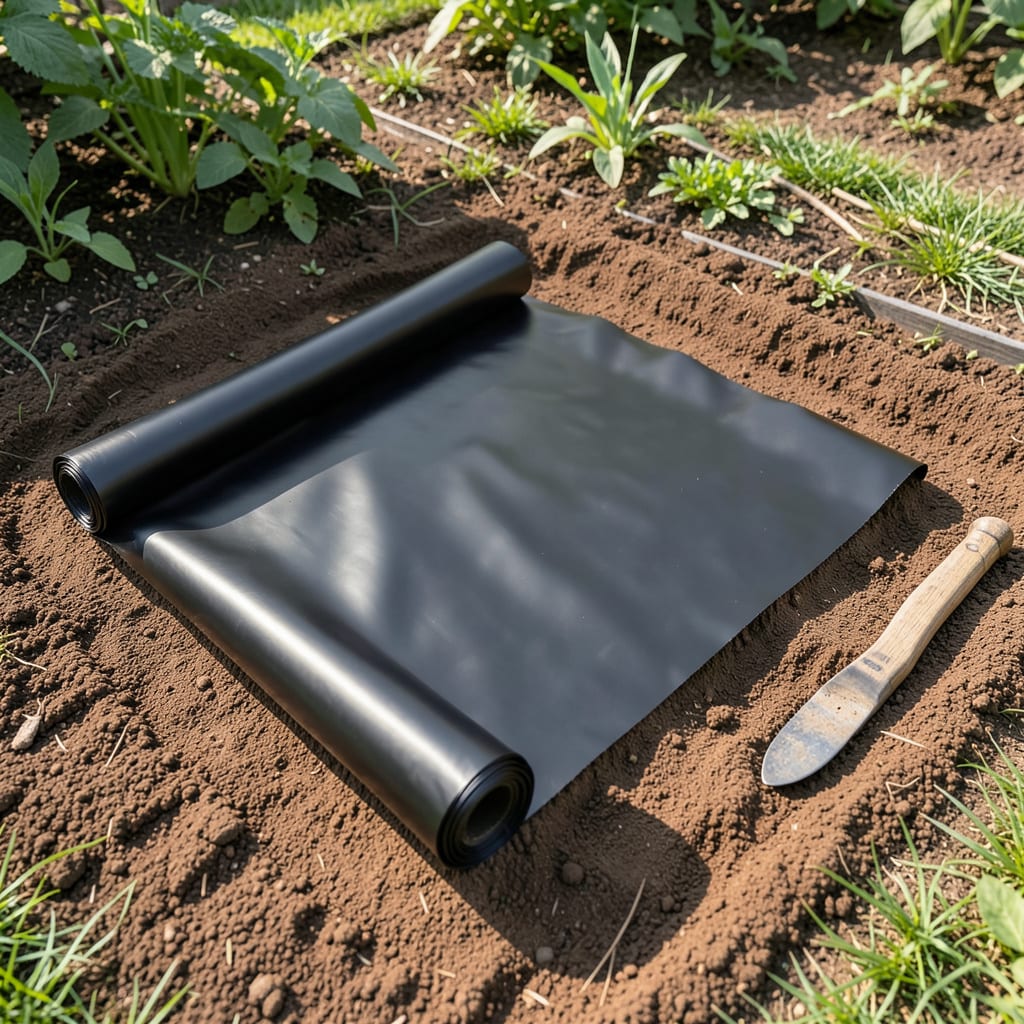
Black plastic transformed my weedy garden beds into low-maintenance havens. It blocks sunlight to weeds while warming the soil for faster plant growth.
I lay it down in early spring, and by planting time, the ground is ready. It’s a foolproof way to spend less time pulling weeds and more time enjoying your garden.
📚 In This Guide
This method keeps weed growth at bay while protecting your garden soil and moisture.
Clear the area of all weeds, rocks, and debris. I use a garden rake to level the soil surface, removing any large clumps that could tear the plastic. A smooth, clean bed ensures the barrier lies flat without gaps for weeds to sneak through.
Water the soil thoroughly before laying the plastic. This settles the earth and helps create a tight seal. You’ll want the surface damp but not muddy—lightly moist to the touch is ideal.
Unroll the black plastic over the bed, leaving an extra 2-3 inches of overhang on each side. This extra material helps anchor the edges and prevents weeds from creeping in from the sides. Use a utility knife or sharp scissors to cut the plastic cleanly.
If your garden bed is wider than the plastic roll, overlap two sheets by 4-6 inches and secure the seam with garden staples or heavy rocks. This prevents the sheets from shifting in wind or rain.
Start by securing the corners with garden stakes or bricks. I space additional staples every 3-4 feet along the edges and seams to keep the plastic taut. A loose barrier allows weeds to grow underneath, defeating the purpose entirely.
Press the plastic firmly against the soil as you staple. This removes air pockets where weeds can take root. Check that the entire surface lies flat with no bubbles or wrinkles.
If you’re adding plants later or working around existing ones, mark the spots with spray paint or a garden marker. I use a sharp utility knife to cut an “X” shape just large enough for the plant base—3-4 inches across for most perennials and vegetables.
Fold the plastic flaps under the plant stems to create a neat, weed-free seal. Avoid cutting holes larger than necessary, as this exposes more soil to potential weed growth.
Spread a 2-3 inch layer of organic mulch (like wood chips or straw) over the plastic. This hides the barrier for a natural look and adds an extra layer of weed suppression. The mulch also helps weigh down the plastic and prevents it from blowing away in windy conditions.
Refresh the mulch as it decomposes, typically once or twice a year. This maintains the weed barrier’s effectiveness and keeps your garden beds looking tidy.
Small details make the difference between a weed barrier that lasts and one that fails within months.
Preparation Secret: In Step 1, don’t rush the soil preparation. Those large clumps you’re tempted to leave behind will tear the plastic, creating entry points for weeds. A garden rake works best for breaking them up without compacting the soil.
Overlap Strategy: When overlapping sheets in Step 2, the 4-6 inch overlap is non-negotiable. I learned this the hard way when a 2-inch overlap separated during a storm, letting weeds take over the seam. Secure with staples every 12 inches along the overlap.
Securing Technique: The 3-4 foot spacing for staples in Step 3 prevents both waste and failure. Too few staples and the plastic will flap in the wind; too many and you’ll waste materials. Press each staple flush with the plastic to prevent snags.
With proper installation, a roll of black plastic can last 3-5 years. UV-resistant options may extend this to 7+ years, but exposure to sunlight and harsh weather can degrade it faster.
Yes, black plastic is a budget-friendly alternative to landscape fabric. However, it doesn’t allow water or air through, so it’s best for areas where you don’t want plant growth at all.
Early spring is ideal, before weeds start germinating. This gives the plastic time to heat the soil and suppress weed growth before planting season begins.
Thin or low-quality plastic can tear under stress. Opt for thicker gauges (3-6 mil) and secure edges with stakes or weights to prevent wind damage.
Yes! Biodegradable mulch films, cardboard, or thick layers of organic mulch (like straw or wood chips) are great sustainable options that still block weeds.
