
Beautiful Plants For Your Interior
Beautiful Plants For Your Interior
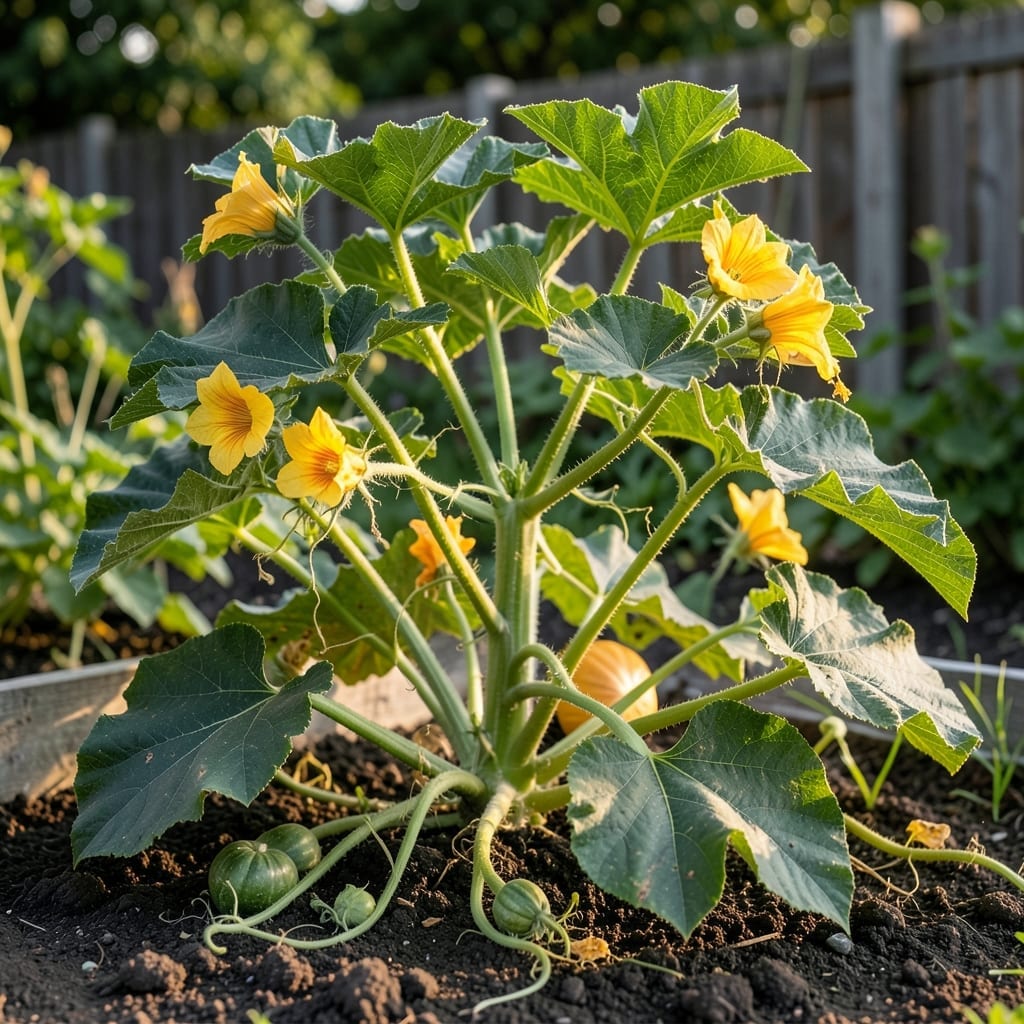
Those first two leaves on your pumpkin seedlings aren’t just cute—they’re powerhouses. I’ve seen weak seed leaves produce stunted plants, while strong ones launch vines that take over the garden.
They feed the plant until true leaves emerge, so keeping them healthy means faster growth and bigger harvests. One season of neglect taught me that lesson the hard way.
📚 In This Guide
This straightforward method delivers healthy greens with minimal effort and maximum flavor.
Begin by soaking raw pumpkin seeds in room temperature water for 8-12 hours. This softens the outer shell and kickstarts germination. I use a shallow bowl and change the water halfway through to prevent any bacterial growth.
After soaking, rinse the seeds thoroughly and pat them dry with a clean towel. You’ll notice the seeds plump up slightly—that’s how you know they’re ready for planting. Don’t skip this step, as dry seeds can take weeks longer to sprout.
Fill a shallow tray or pot with 1-2 inches of well-draining potting mix. I prefer a blend with added compost for extra nutrients. Scatter the soaked seeds about ½ inch apart and press them lightly into the soil, covering with just ¼ inch of mix.
Mist the surface gently with water until evenly moist but not soggy. The soil should feel like a damp sponge when pressed. Place the tray in a warm spot with indirect light—a windowsill works perfectly, but avoid direct sun at this stage.
Keep the soil consistently moist by misting once or twice daily, depending on your home’s humidity. You’ll see sprouts emerge in 3-5 days if the conditions are right. The key is even moisture—let the soil dry slightly between waterings, but never completely.
Once seedlings appear, switch to watering from below by placing the tray in a shallow dish of water for 10-15 minutes. This encourages deeper root growth and prevents damping-off. Remove any excess water after the soil has absorbed what it needs.
As soon as the first true leaves develop (not the initial seed leaves), move the tray to a location with 6-8 hours of bright, indirect light daily. A south-facing window is ideal, but a full-spectrum grow light works just as well if natural light is limited.
Position the light 2-4 inches above the seedlings and raise it as they grow. You’ll know they’re getting enough light when the stems stay short and sturdy. Leggy, pale stems mean they’re stretching for more light—adjust immediately.
Begin harvesting when plants have 3-4 sets of true leaves, usually 3-4 weeks after planting. Use clean scissors to snip outer leaves first, leaving the center growth intact for continuous production. I always harvest in the morning when the leaves are most flavorful.
Never remove more than one-third of the plant at once—this stresses the plant and slows regrowth. With regular harvesting, you’ll get 2-3 harvests per plant before it starts to decline. The leaves taste best when young and tender.
These simple strategies will help you grow healthy, flavorful leaves with minimal hassle.
The Soaking Step: Don’t rush the 8-12 hours of soaking in Step 1. This is where the magic happens—it softens the seed coat and triggers germination. I learned the hard way that skipping this or cutting it short leads to uneven sprouting. Change the water halfway through to keep it fresh.
Light Positioning: In Step 4, keep that full-spectrum grow light or natural source 2-4 inches above the seedlings. If you notice stems getting tall and spindly, they’re begging for more light. Adjust immediately to prevent weak growth that won’t support those nutrient-rich leaves.
Harvesting Wisdom: When you reach Step 5, harvest in the morning as suggested. The leaves are at peak flavor then. And remember—never take more than one-third of the plant at once. I once over-harvested and my plants took weeks to recover. Less is more for continuous production.
Yes! Pumpkin seed leaves (pepitas) are young, tender greens from pumpkin plants. They’re rich in nutrients like iron and vitamin A. Harvest them early for the best flavor, as mature leaves can turn bitter. Enjoy them raw in salads or lightly cooked.
Harvest leaves when the plant is young, typically 4-6 weeks after planting. At this stage, they’re tender and mild. Avoid picking too many at once to ensure the plant continues growing healthily.
Absolutely! Use a sunny windowsill or grow lights. Plant seeds in well-draining soil, keep them moist, and ensure good airflow. Indoor growth may yield smaller leaves but is perfect for year-round fresh greens.
Yellowing leaves often signal overwatering, nutrient deficiency, or poor drainage. Check soil moisture and ensure proper fertilization. If the issue persists, inspect for pests or disease.