
Beautiful Plants For Your Interior
Beautiful Plants For Your Interior
ZZ plants are nearly indestructible—but propagating them from leaves takes their resilience to another level. After years of experimenting with different methods, we’ve perfected a technique that delivers consistent results with minimal effort. This approach transforms a single healthy leaf into a thriving new plant, proving that even the most cautious gardeners can master propagation. […]
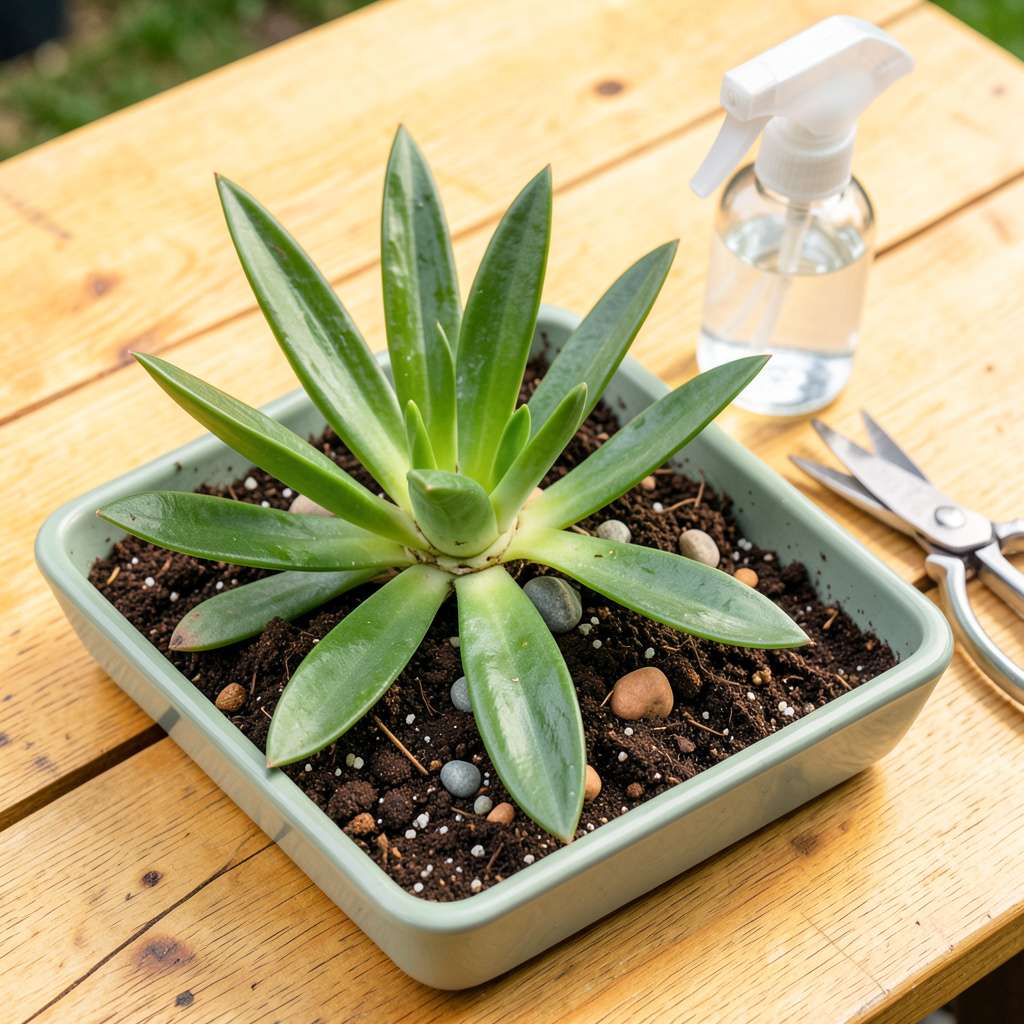
ZZ plants are nearly indestructible—but propagating them from leaves takes their resilience to another level. After years of experimenting with different methods, we’ve perfected a technique that delivers consistent results with minimal effort. This approach transforms a single healthy leaf into a thriving new plant, proving that even the most cautious gardeners can master propagation.
The key lies in understanding the plant’s natural survival mechanisms. ZZ plants store water in their rhizomes and leaves, which means they root more reliably than many other houseplants when given the right conditions. Our method eliminates guesswork by focusing on three critical factors: leaf selection, callusing time, and moisture control during the rooting process.
You’ll watch as thick, white roots emerge from the leaf base within 4-6 weeks, followed by the first signs of new growth. The process requires no special equipment—just patience and attention to detail. What begins as a single leaf cutting will develop into a full plant with the same drought tolerance and glossy foliage as its parent.
This technique works equally well for expanding your collection or sharing plants with fellow enthusiasts. The satisfaction of growing a new ZZ plant from a single leaf makes the modest wait time well worth the effort. Here’s how to ensure success from start to finish.
📚 In This Guide
Well-draining potting mix (cactus/succulent blend) – 1 small pot’s worth.
This method delivers reliable results with minimal equipment, producing four viable new plants from a single mature leaf.
Choose a mature, disease-free leaf from the base of an established ZZ plant. I prefer leaves that are 4-6 inches long with no yellowing or soft spots. Using clean pruning shears, make a precise cut at a 45-degree angle where the leaf meets the stem. This angled cut maximizes surface area for root development while preventing water pooling that could lead to rot.
Allow the cuttings to callous for 24-48 hours in a warm, dry location. You’ll notice the cut end forms a dry, slightly hardened layer—this is essential for preventing bacterial infection during propagation. Skipping this step dramatically increases failure rates, as the open wound becomes vulnerable to pathogens in moist environments.
Fill a shallow propagation tray or small container with a well-draining medium. I use a 50/50 mix of perlite and coarse sand, which provides the aeration ZZ plant cuttings require. Moisten the medium lightly—it should feel barely damp to the touch, never soggy. Excess moisture at this stage invites fungal growth that can destroy developing rhizomes.
Insert the calloused leaf cuttings 1-1.5 inches deep into the medium, angled slightly (about 30 degrees) with the cut end downward. Space them 2-3 inches apart to allow for unobstructed rhizome development. The angled placement mimics natural growth patterns and encourages stronger root formation than vertical insertion.
Place the propagation container in bright, indirect light with consistent temperatures between 70-75°F. I position mine near an east-facing window where they receive gentle morning sun but avoid intense afternoon rays. Direct sunlight at this stage causes desiccation before roots can establish.
Monitor moisture levels weekly. The medium should remain barely moist—never allow it to dry completely, but avoid saturation. You’ll know conditions are ideal when you observe small, nodule-like formations at the base of the cutting after 4-6 weeks. These are emerging rhizomes, the precursor to root development.
Once rhizomes reach 0.5-1 inch in length (typically after 8-12 weeks), transplant each cutting into its own 4-inch pot filled with standard potting mix. I recommend a blend containing 30% perlite or pumice to maintain the drainage ZZ plants require. Water thoroughly after transplanting, then allow the top 1-2 inches of soil to dry completely between waterings.
Reduce humidity gradually over 2-3 weeks by moving plants to increasingly normal household conditions. You’ll observe new leaf growth emerging from the soil line—this confirms successful propagation. The original leaf cutting will eventually yellow and die as the new plant establishes its own root system, which is completely normal.
Mastering these key details will significantly improve your success rate when propagating ZZ plants from leaf cuttings.
Callousing Technique: The 24-48 hour callousing period in Step 1 is non-negotiable for preventing rot. Place cuttings in a location with good air circulation and consistent warmth—avoid enclosed containers that trap moisture. I’ve found that a windowsill away from direct sunlight works best, as it provides gentle warmth without excessive humidity that could soften the developing callous.
Medium Composition: For the 50/50 perlite and coarse sand mix mentioned in Step 2, ensure your sand is specifically labeled as “coarse” or “horticultural” sand. Fine sand or playground sand compacts too easily, reducing the critical aeration ZZ cuttings require. The medium should feel gritty between your fingers, with particles clearly visible to the naked eye.
Environmental Control: Maintaining the 70-75°F temperature range specified in Step 3 requires attention to microclimates. Avoid placing your propagation tray on cold surfaces like tile floors or near drafty windows. A simple seedling heat mat set to low can provide consistent bottom warmth if your home runs cooler than this ideal range.
Patience and Observation: The 4-6 week timeline for rhizome development in Step 3 tests many gardeners’ patience. Resist the urge to check for roots by pulling on cuttings—this can damage emerging rhizomes. Instead, watch for subtle changes: the cutting will develop a slightly firmer texture at its base when rhizomes begin forming, and the medium may show tiny surface cracks where new growth pushes against it.
ZZ plant leaf propagation is slow but rewarding! Expect roots to form in 4-8 weeks, with new growth appearing in 3-6 months. Patience is key—keep the soil lightly moist (not soggy) and provide bright, indirect light for best results. Faster growth may occur in warmer months.
Yes! Water propagation works, but it’s trickier. Place the leaf base (cut end down) in water, ensuring only the bottom ¼ inch is submerged. Change water weekly to prevent rot. Once roots reach 1-2 inches, transfer to soil. Soil propagation is often more reliable for beginners.
Yellow or mushy leaves usually mean overwatering or poor drainage. Let the soil dry slightly between waterings, and ensure your container has drainage holes. If propagating in water, check for bacterial growth—rinse and refresh the water immediately. Trim affected leaves to save the healthy parts.
Nope! ZZ plants root easily without hormone, but it can speed up the process. If you’re impatient, dip the cut end in rooting powder before planting. For organic options, try cinnamon (natural antifungal) or aloe vera gel—both encourage healthy root development.
Spring or early summer is ideal—ZZ plants grow most actively in warmer months. Avoid propagating in winter, when growth slows. If you must, use a heat mat (set to 70°F) to encourage rooting. Indoor temps above 65°F work year-round with proper light.
Propagating ZZ plants from leaves is a simple, rewarding way to grow your plant collection—no green thumb required! 🌱 With just a healthy leaf, patience, and the right conditions (bright, indirect light and well-draining soil), you’ll soon see new roots and shoots forming. Whether you’re expanding your indoor jungle or sharing cuttings with friends, this foolproof method makes it easy.
Now that you’ve got the know-how, why not give it a try? Grab a leaf, prep your workspace, and start propagating today—your future ZZ plant babies are waiting! Happy growing! 🌿
