
Beautiful Plants For Your Interior
Beautiful Plants For Your Interior
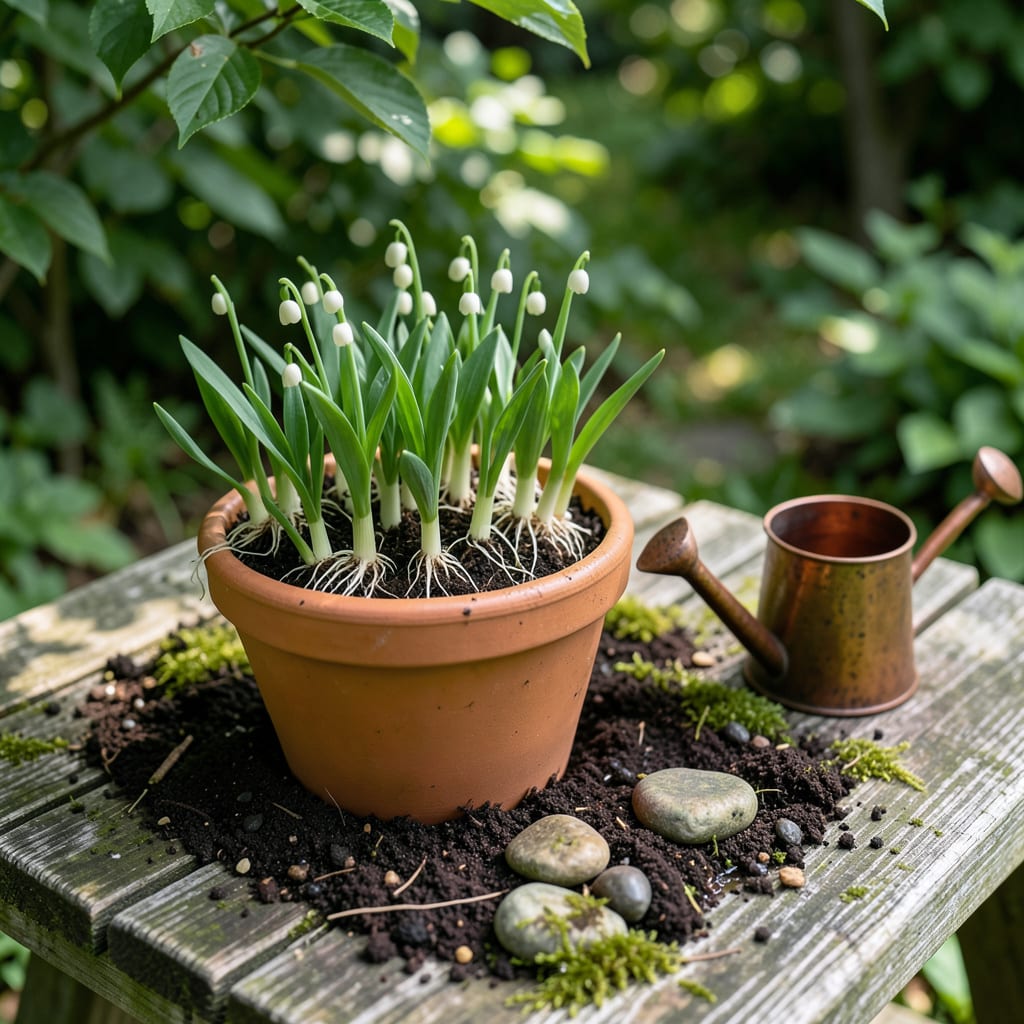
Dormant pips look like nothing much—until spring hits. I’ve turned bare lily-of-the-valley roots into a fragrant carpet that stops neighbors in their tracks.
Plant them 2 inches deep in rich, moist soil, 6 inches apart, and keep the bed mulched. By next May, you’ll have sweet-scented bells and zero regret.
📚 In This Guide
This method ensures strong establishment and abundant blooms from your dormant starts.
Begin by soaking the bare roots in room temperature water for 2-4 hours to rehydrate them after storage. This step revives the roots and encourages faster growth once planted. I use lukewarm water to avoid shocking the dormant tissue.
While they soak, inspect each root carefully. Discard any that feel mushy or show signs of rot. Healthy roots should appear firm, white or light tan, and free of mold. Trim any broken or excessively long roots with clean shears to encourage fresh growth.
Choose a location with partial to full shade, as lily of the valley thrives in cooler, protected spots. The soil should be rich, well-draining, and slightly acidic to neutral (pH 6.0-7.0). I always amend heavy clay or sandy soil with compost to improve texture and fertility.
Loosen the soil to a depth of 12 inches, removing rocks and breaking up clumps. This gives the shallow root system room to spread. Space your planting holes 4-6 inches apart—they’ll fill in quickly. Dig each hole 2-3 inches deep, shallow enough that the crown sits just below the soil surface.
Place each bare root (called a “pip”) horizontally in its hole, with the small, pointed end facing up. This orientation helps the new shoots emerge properly. Cover with soil and press gently to eliminate air pockets, but don’t compact it tightly.
Water thoroughly after planting until the soil is evenly moist but not waterlogged. The goal is to settle the soil around the roots without creating a soggy environment. I’ve found that a slow, deep watering works better than a quick splash, which can leave dry pockets.
Apply a 1-2 inch layer of organic mulch, such as shredded leaves or bark, to conserve moisture and suppress weeds. Keep the mulch slightly away from the crowns to prevent rot. Lily of the valley has a slow start, so don’t expect immediate growth.
Check the soil moisture weekly—it should feel slightly damp but never soggy. In 3-4 weeks, you’ll notice small green shoots emerging. This is your sign that the plants have taken hold. Avoid fertilizing at this stage; wait until after the first blooms appear.
Small details make the difference between struggling plants and a thriving, fragrant garden.
The Soaking Essential: That 2-4 hour soak in room temperature water isn’t optional—it revives dormant roots that have lost moisture during storage. I learned this the hard way after skipping it once and watching my starts struggle for weeks. Lukewarm water works best, as cold water can shock the delicate tissue.
Planting Depth Precision: In Step 3, planting those pips 2-3 inches deep with the pointed end up is non-negotiable. Too deep, and the shoots won’t emerge; too shallow, and the roots dry out. Press the soil gently to remove air pockets, but resist the urge to pack it tightly—lily of the valley roots need room to breathe.
Moisture Balance: The weekly soil checks mentioned in Step 4 are critical. Lily of the valley hates soggy roots but also dislikes drought. After watering, the soil should feel like a wrung-out sponge—damp but not dripping. A slow, deep watering after planting ensures even moisture distribution without creating waterlogged pockets.
Patience Pays Off: Those 3-4 weeks of waiting for green shoots can feel like forever, but resist the urge to dig up pips to check on progress. Disturbing them early can damage the fragile new growth. Trust the process—once you see those first green tips, you’ll know the plants have established.
Plant bare roots in early spring or fall when the soil is cool and workable. This gives roots time to establish before summer heat or winter frost. Avoid planting in extreme temperatures.
Dig a hole about 2-3 inches deep and place the roots horizontally, spacing them 4-6 inches apart. Cover with soil and water lightly. Too deep can delay sprouting, while shallow planting risks drying out.
Yes! Use a well-draining pot and rich potting mix. Keep the soil moist but not soggy. Containers are great for controlling spread, but ensure they have drainage holes to prevent root rot.
Patience is key—it can take 2-4 weeks for growth to appear. If nothing emerges, check for overwatering, poor soil contact, or planting too deep. Healthy roots should eventually sprout.
