
Beautiful Plants For Your Interior
Beautiful Plants For Your Interior
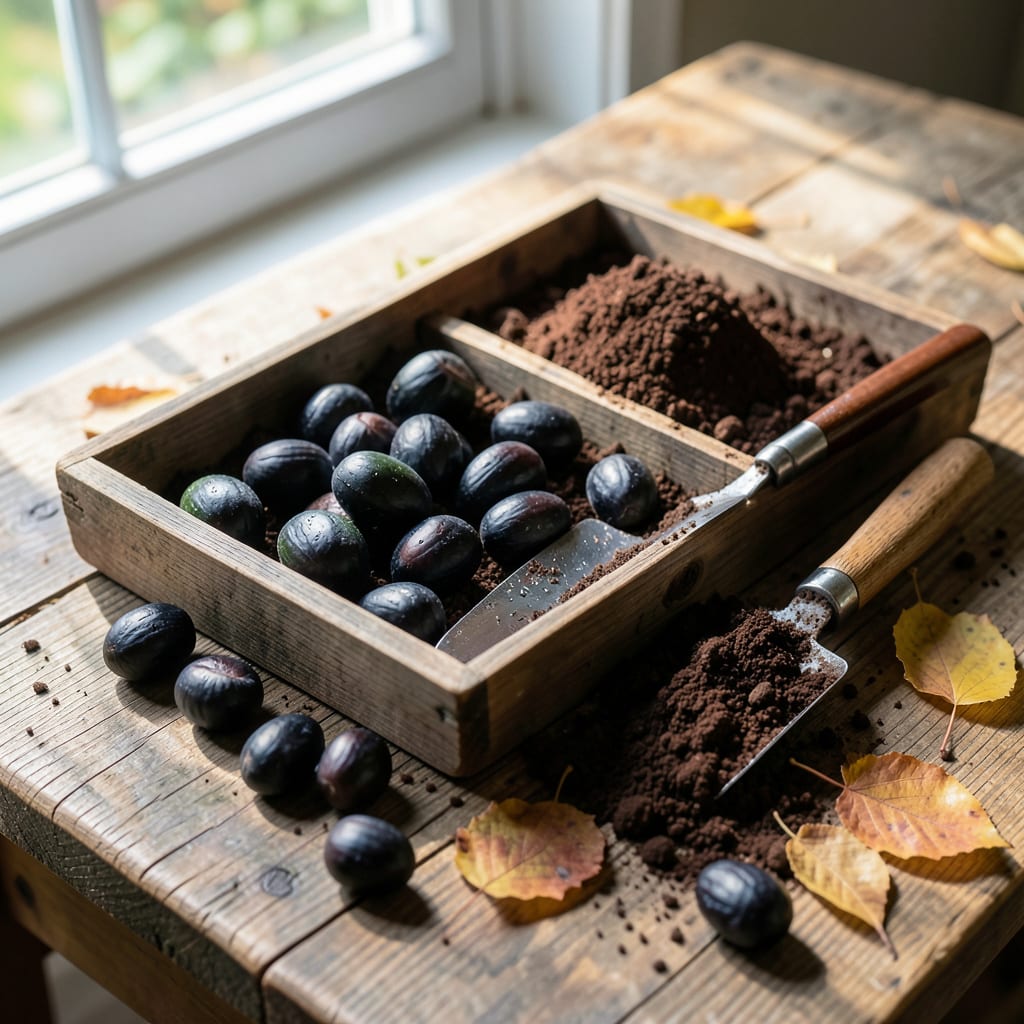
Black walnut trees reward patience like few others. I planted my first nuts five years back and now watch squirrels scramble for the harvest before I can even reach it.
The key is matching the right conditions—deep soil, full sun, and protection from competition. Get the planting depth wrong and you’ll wait forever for sprouts. Do it right and you’ll have a legacy tree producing for generations.
📚 In This Guide
Here’s the method I use to establish strong, productive trees from nuts.
Gather fresh black walnuts that have naturally fallen from the tree—these have the highest viability. Avoid nuts that show signs of cracking or animal damage. The outer husk should still be intact but starting to soften, which typically happens in early fall.
Remove the husks carefully (wear gloves—they stain!) by rolling them underfoot or using a knife. Then, place the nuts in a bucket of water for 2-3 days, changing the water daily. This softens the shell and helps identify any floaters, which are likely non-viable.
Black walnuts require a cold period to break dormancy. Mix the cleaned nuts with slightly damp sand or peat moss in a sealed container, then store them in a refrigerator or a cool outdoor location (around 34-40°F) for 90-120 days. This mimics winter conditions.
Check the container weekly to ensure the medium stays moist but not soggy. You’ll know stratification is working when the nuts begin to sprout—you’ll see small cracks or emerging roots. This is your signal they’re ready for planting.
Choose a well-draining site with full sun and rich, loamy soil. Plant the nuts 2-3 inches deep and space them 12-15 feet apart to accommodate mature tree size. If planting multiple nuts in one area, mark their locations to avoid disturbing them later.
Cover the nuts with soil and water thoroughly to settle the earth around them. The soil should feel damp to the touch but not waterlogged. Avoid planting in low-lying areas where water pools, as black walnuts despise wet feet.
Keep the soil consistently moist during the first growing season, watering deeply once or twice a week unless rain provides an inch of water. Mulch around the planting area with 2-3 inches of organic mulch to retain moisture and suppress weeds.
Protect young seedlings from pests like squirrels or deer with wire cages or tree guards. You’ll see the first shoots emerge in 2-4 weeks after planting, depending on soil temperature. Thin seedlings to the strongest sprout if multiple nuts sprout in one spot.
Once seedlings are established, reduce watering frequency but increase the amount per session to encourage deep root growth. Fertilize lightly with a balanced 10-10-10 fertilizer in early spring of the second year to promote vigorous growth.
Watch for signs of stress, like yellowing leaves or stunted growth, which often indicate overwatering or poor drainage. By the third year, your trees should be well on their way to producing their first nuts.
Took me a few seasons to perfect this process, so let me share what I’ve learned.
The Timing Factor: That 2-3 day water soak in Step 1 is non-negotiable—it softens the shell and helps you spot non-viable nuts that float. Don’t rush it; changing the water daily prevents bacterial growth while ensuring the nuts are ready for stratification.
Cold Period Precision: For Step 2, maintaining that 34-40°F range for 90-120 days is critical. If your fridge is too warm, consider a cool outdoor shed or basement. Check weekly for moisture levels—damp but not soggy is the sweet spot for sprout success.
Planting Depth Matters: In Step 3, planting 2-3 inches deep might seem shallow, but it’s perfect for black walnuts. Any deeper and the emerging shoots may struggle to break through. Marking the spots prevents accidental disturbance during the 2-4 weeks it takes for those first shoots to appear.
Watering Wisdom: Once planted, watering deeply once or twice a week (as in Step 4) encourages strong root development. Overwatering is the most common mistake—I see it in the yellowing leaves and stunted growth mentioned in Step 5. Trust the soil test: damp to the touch, not waterlogged.
Plant them 1–2 inches deep in well-drained soil, spacing them 20–30 feet apart. Deeper planting can delay germination, while shallow planting risks drying out. Ensure the soil stays moist but not soggy for best results.
The ideal time is in the fall, right after harvest, to allow natural stratification over winter. Alternatively, you can plant in early spring after cold-stratifying the nuts for 3–4 months in the fridge.
No, black walnuts have deep taproots and require ample space to thrive. They’re not suited for containers and should be planted directly in the ground for long-term growth.
Common issues include improper stratification, poor soil moisture, or planting old nuts. Ensure nuts are fresh, properly chilled, and planted in well-draining soil with consistent moisture.
Yes! You can start them in a nursery bed and transplant seedlings later. This method gives you better control over early growth conditions before moving them to their permanent location.
