
Beautiful Plants For Your Interior
Beautiful Plants For Your Interior
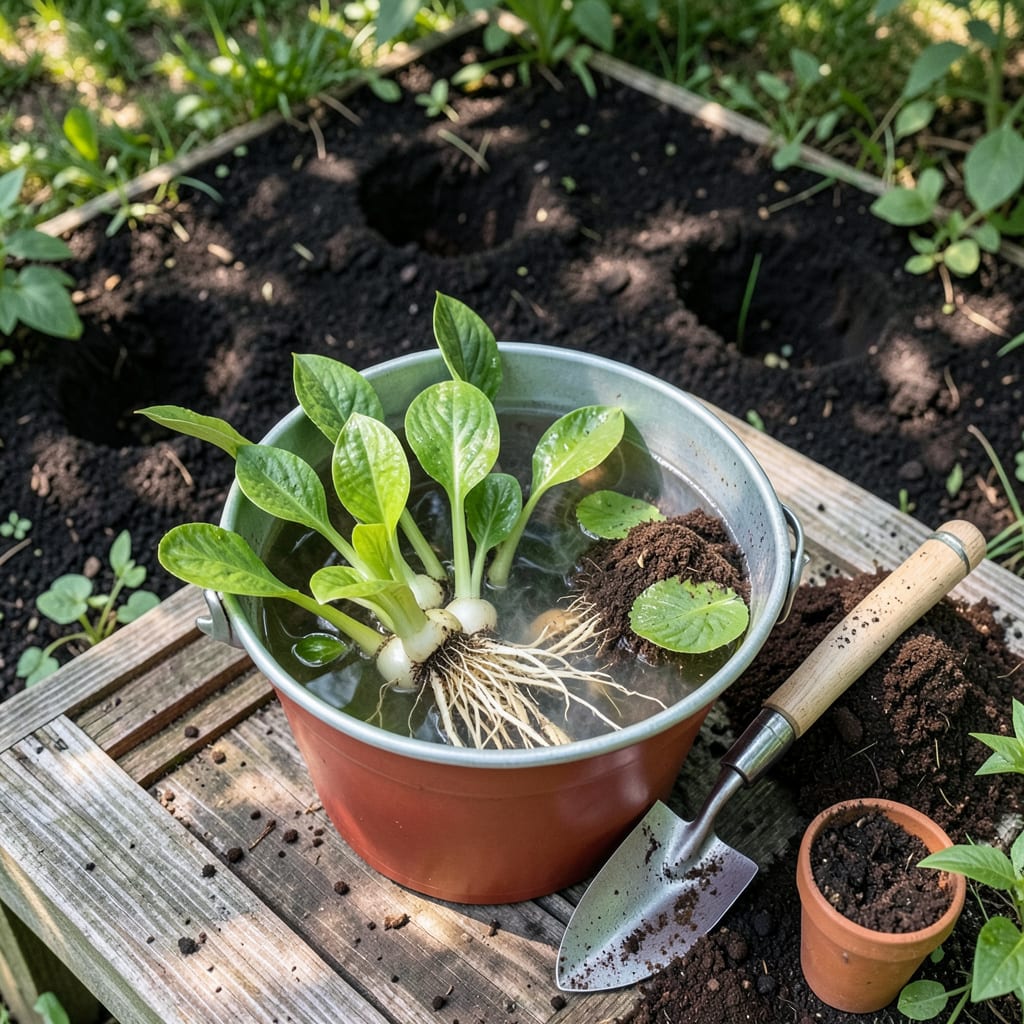
There’s a magic moment in early spring when you can plant bare root hostas. I’ve found that 30 minutes of prep now means months of lush foliage later.
Soak those roots for 1-2 hours before planting—they’ll thank you with faster establishment. The key is getting the crown just right at soil level, not too deep. You’ll see those first unfurling leaves within weeks.
📚 In This Guide
Here’s the method I use every early spring to establish vibrant, healthy hostas that thrive for years.
Begin by soaking the bare root hostas in a bucket of lukewarm water for 1-2 hours to rehydrate the roots. This step is crucial—dry roots struggle to establish, while soaked ones absorb moisture quickly and start growing immediately.
While the roots soak, choose a planting site with partial to full shade and well-draining soil. Hostas prefer rich, organic matter, so I always amend the soil with compost or well-rotted manure. Dig a hole twice as wide and just as deep as the root spread to give the roots plenty of room to expand.
After soaking, remove the hosta from the water and inspect the roots. Trim any broken or excessively long roots with clean pruners to encourage healthy new growth. Position the plant in the hole so the crown—the point where roots meet the stem—sits 1-2 inches above the soil line.
Here’s the thing—this slight elevation prevents crown rot, a common issue with hostas planted too deep. Spread the roots outward in a natural, radial pattern. If they’re crowded, gently tease them apart to ensure they make good contact with the soil.
Backfill the hole with the amended soil, gently firming it around the roots to eliminate air pockets. Avoid compacting the soil too tightly, as this can restrict root growth. Once the hole is filled, create a small watering basin around the base of the plant to help direct water to the roots.
Water deeply immediately after planting, ensuring the soil is thoroughly moist but not waterlogged. I like to give each plant 1-2 gallons of water at this stage. You’ll see the soil settle slightly—this is normal and helps the roots establish contact with the surrounding earth.
Apply a 2-3 inch layer of organic mulch, such as shredded bark or leaf mold, around the base of the plant. This helps retain moisture, suppress weeds, and regulate soil temperature. Keep the mulch a few inches away from the crown to prevent rot.
Monitor the planting site closely over the next 2-3 weeks. Keep the soil consistently moist, but not soggy, as the hosta establishes itself. You’ll notice new shoots emerging from the crown within 3-4 weeks, signaling that the plant is taking root and beginning its growth cycle.
Here are the key insights I’ve gathered from years of planting bare root hostas successfully.
Soaking Strategy: The 1-2 hour soak in lukewarm water is non-negotiable. Roots that skip this step often fail to establish properly. I’ve seen the difference firsthand—soaked roots absorb moisture immediately, while dry ones can take days to recover, if they do at all.
Crown Positioning: Planting the crown 1-2 inches above the soil line is your best defense against crown rot. I learned this the hard way after losing several hostas to rot in my early gardening days. Keep it elevated, and you’ll avoid this common pitfall entirely.
Watering Wisdom: That initial 1-2 gallons of water per plant might seem like overkill, but it’s critical. The deep watering settles the soil around the roots and eliminates air pockets, which can hinder growth. Don’t skimp here—your hostas will thank you later.
Mulch Placement: When applying that 2-3 inch layer of mulch, keep it a few inches away from the crown. Mulch too close can trap moisture and lead to rot. I use shredded bark, but leaf mold works just as well if that’s what you have on hand.
Early spring, just as the ground thaws, is ideal. This gives roots time to establish before summer heat. Avoid planting in frost or extreme cold.
Yes! Soak roots in lukewarm water for 1-2 hours before planting. This rehydrates them and boosts early growth.
Absolutely! Choose a large pot with drainage holes and well-draining soil. Keep the container in partial shade and water regularly.
Check for overwatering, poor soil, or late planting. Ensure roots are buried correctly (1-2 inches deep) and the crown is above soil level.
