
Beautiful Plants For Your Interior
Beautiful Plants For Your Interior
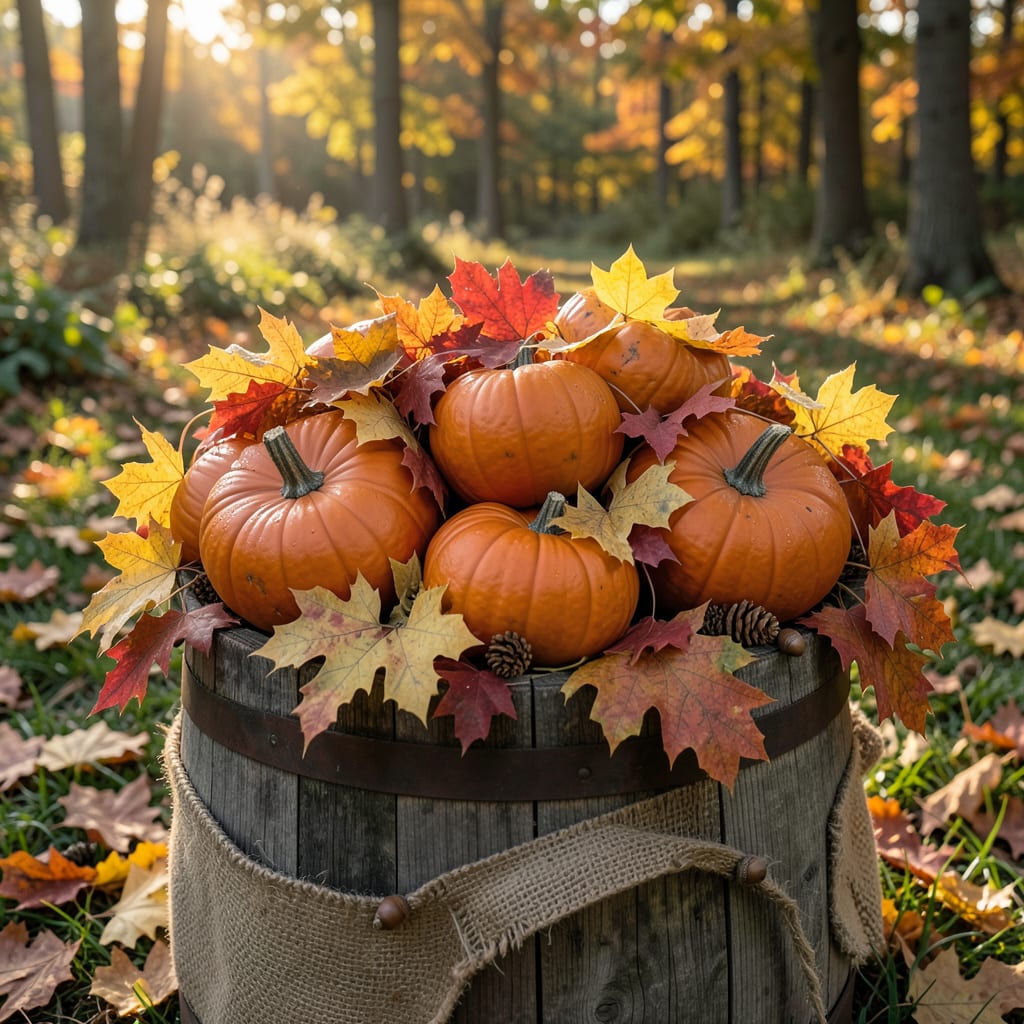
Autumn paints my garden in fiery reds and golden yellows, with pumpkins dotting the landscape like nature’s own decorations. There’s something magical about watching leaves transform while vines produce their final harvest.
Capturing this season means timing your pumpkin planting right and knowing which trees deliver the most stunning fall colors. With a few simple tricks, you’ll have a display that looks like it belongs in a magazine.
📚 In This Guide
Here’s the approach I use to create breathtaking autumn compositions every year without fail.
Timing is everything for autumn photography. I always shoot during golden hour—the first hour after sunrise or the last hour before sunset—when the low-angle light makes colors pop. The warm, angled sunlight enhances the reds, oranges, and yellows of fall leaves while casting soft shadows that add depth.
Look for locations where maple, oak, or birch trees create natural color contrasts. I check the weather forecast and aim for a clear day after a light rain, which deepens the color saturation and leaves a reflective sheen on pumpkins that makes them look freshly polished.
Place your pumpkins in clusters of 3-5 with varying sizes and colors for visual interest. I position them on natural surfaces like wooden stumps, tree roots, or a bed of fallen leaves rather than bare ground. This creates a sense of place and connects the pumpkins to the autumn environment.
Avoid perfect symmetry—offset some pumpkins slightly and angle a few to face different directions. This makes the scene feel organic rather than staged. I always include a few smaller gourds or mini pumpkins to add texture and scale to the composition.
Use the foreground, midground, and background to create depth. I position a vibrant red maple leaf or a small pumpkin in the immediate foreground, slightly out of focus, to draw the eye into the image. The midground might feature your main pumpkin cluster, while the background showcases a tree with full fall color.
This layering technique works especially well with a shallow depth of field (f/2.8 to f/4 aperture) on a DSLR. For smartphone cameras, I use portrait mode to achieve similar bokeh effects that make the subject stand out against the blurred autumn backdrop.
Don’t just shoot wide scenes—get close to reveal the intricate details that make autumn special. I focus on the veining of a single leaf, the rough texture of a pumpkin’s skin, or the contrast between a smooth gourd and a crinkled fallen leaf. These shots tell the story of the season at a micro level.
Use a macro lens or your camera’s macro mode to capture these details. I’ve found that morning dew on leaves or the first frost of the season adds magical sparkle to close-up shots, creating tiny points of light that dance across the surface.
In post-processing, I enhance the warm tones that define fall. Increase the saturation of reds, oranges, and yellows slightly, but avoid overdoing it—colors should look rich, not artificial. I also boost the contrast a touch to make the colors pop against the darker shadows.
For a cohesive look across your photo series, apply the same filter or preset to all images. I prefer to warm up the white balance by about 500-1000K to counteract the cool blue tones that digital cameras sometimes add, giving the entire collection a consistent autumn glow.
These small adjustments will transform your autumn photography from ordinary to extraordinary.
Golden Hour Precision: The first hour after sunrise or last hour before sunset isn’t just a suggestion—it’s non-negotiable for that warm, angled light that makes fall colors explode. I’ve ruined too many shoots by starting 15 minutes too early or late. Use a golden hour calculator app to pinpoint the exact window for your location and date.
Cluster Composition: When arranging those 3-5 pumpkins in Step 2, think in odd numbers and create a triangle formation rather than a straight line. This natural asymmetry draws the eye through the scene. Place the largest pumpkin slightly off-center, then build around it with smaller ones at varying distances.
Depth of Field Mastery: For Step 3’s layered shots, your aperture choice is everything. With a DSLR, f/2.8 gives you that dreamy background blur while keeping your main subject sharp, but don’t go wider than f/2.8 or you’ll lose too much of the scene to blur. Smartphone users should get as close as possible to their subject in portrait mode for maximum bokeh effect.
Post-Processing Restraint: In Step 5, when warming up that white balance by 500-1000K, resist the urge to go beyond 1000K. I learned this after turning an entire shoot orange—subtlety is key. Also, boost saturation of reds and oranges by no more than 10-15% to avoid that unnatural, oversaturated look that screams “filtered.”
Late September to early November is ideal, depending on your region. Aim for sunny days with clear skies to capture vibrant colors. Early morning or late afternoon light enhances warmth and depth in your photos.
Keep pumpkins in a cool, dry place and avoid direct sunlight. Spraying them with a vinegar-water mix (1:1 ratio) can deter pests. For carved pumpkins, petroleum jelly on cut edges slows drying.
Foam, plastic, or wooden pumpkins are durable and reusable. Painted gourds, paper mache, or even stacked books wrapped in orange fabric can mimic the look creatively.
Adjust your camera’s white balance to “shade” or “cloudy” for richer tones. Use a polarizing filter to reduce glare and boost color saturation. Get closer to your subject for more vivid details.
