
Beautiful Plants For Your Interior
Beautiful Plants For Your Interior
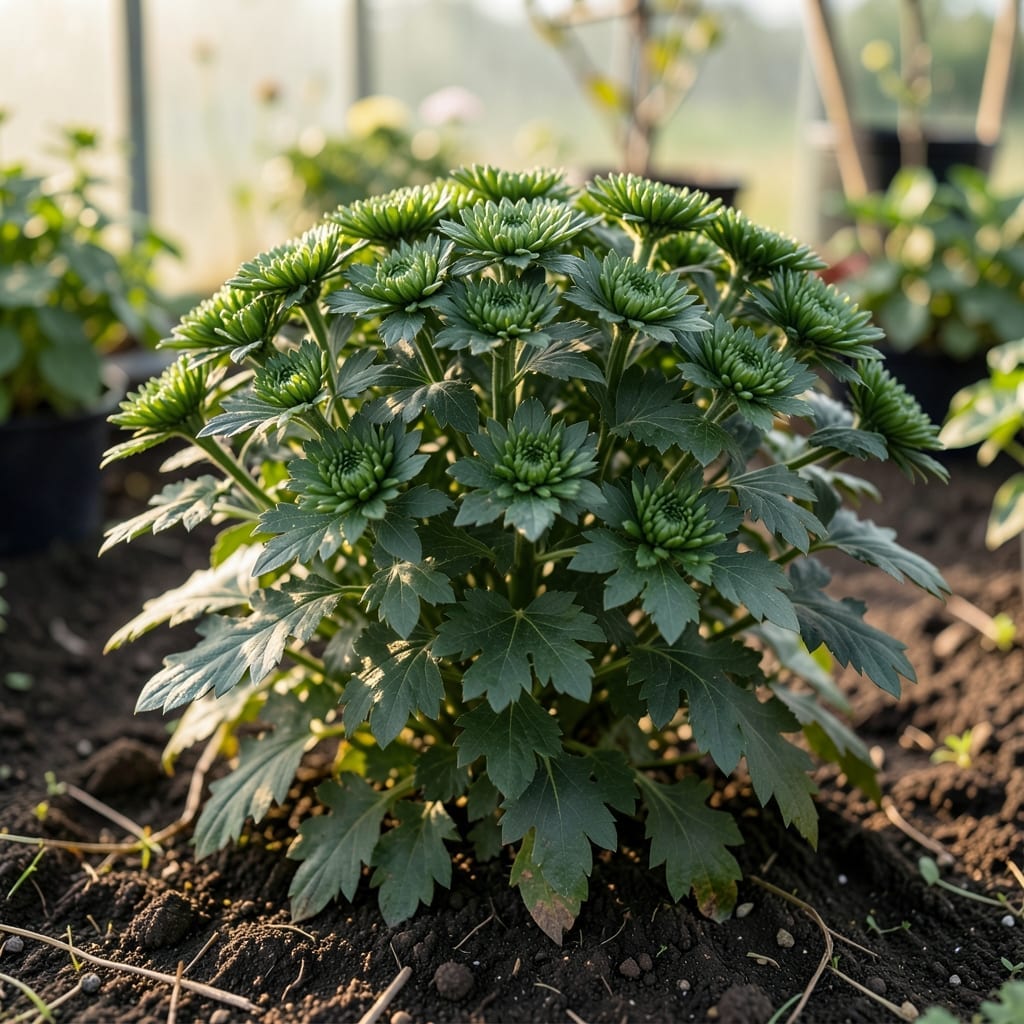
Yellow leaves on your mums signal a problem, but it’s usually an easy fix. I’ve seen this happen when plants are either too wet or too dry—both extremes stress the roots.
The solution often starts with checking your watering routine. Adjust that, and you’ll see greener foliage within a week. Here’s what to look for and how to act fast.
📚 In This Guide
Here’s the quick method I use to diagnose and fix yellowing foliage in just days.
Start by examining the pattern of yellowing. If it’s between the veins, you’re likely dealing with iron deficiency. When entire leaves turn yellow including veins, nitrogen is usually the culprit. I always check the undersides for pests too—spider mites leave tiny webbing that’s easy to miss.
Look at the stem base as well. Soft, dark stems mean overwatering, while crispy brown edges suggest underwatering. This visual inspection takes 5 minutes but saves hours of guesswork later. I’ve found most problems reveal themselves through these simple observations.
Both too much and too little water cause yellowing. Push your finger 1-2 inches into the soil—if it feels bone dry, your mums need water. If it’s soggy or smells sour, you’re overdoing it. I water mine deeply once weekly, then let the top inch dry out completely between waterings.
Real talk: most yellowing I see comes from inconsistent moisture. A deep soak encourages roots to grow downward, where they’re less likely to suffer from temperature swings. Morning watering gives foliage time to dry before evening, preventing fungal issues that also cause yellowing.
For nitrogen deficiency (uniform yellowing), apply a balanced 10-10-10 fertilizer at half strength. Iron deficiency (yellow between veins) responds to chelated iron supplements. I mix mine with water and apply directly to the soil, avoiding the leaves to prevent burning.
You’ll see improvement in 7-10 days with proper feeding. If the yellowing persists, test your soil pH—mums prefer slightly acidic to neutral soil (6.0-7.0). I add a handful of sulfur to lower pH or lime to raise it, retesting after 2 weeks.
Mums hate wet feet and love sunlight. Ensure they’re getting 6+ hours of direct sun daily. If they’re in shade, the yellowing won’t stop no matter what else you do. I’ve rescued many mums simply by moving them to a sunnier spot.
Also verify drainage. If water pools on the soil surface after watering, your soil may be too compacted. Work in some compost to improve structure—this often solves both drainage and nutrient issues simultaneously. The fix usually shows results within 2 weeks.
These quick insights will help you diagnose and fix yellowing faster and more accurately.
Inspection Efficiency: That 5 minutes in Step 1 is your most valuable investment. Use a magnifying glass to spot spider mites—they’re nearly invisible to the naked eye. Also, snap a photo of the yellowing pattern to compare with deficiency charts online. This small effort prevents misdiagnosis and wasted treatments.
Watering Precision: In Step 2, the 1-2 inches soil test is non-negotiable. If your finger comes out clean and dry, water deeply until it runs from the drainage holes. If it’s damp or muddy, hold off entirely. Morning watering isn’t just preference—it’s prevention against fungal diseases that thrive in evening moisture.
Nutrient Timing: The 7-10 days for improvement in Step 3 isn’t arbitrary. If you don’t see greener leaves by day 10, retest your soil pH—mums won’t absorb iron properly if the pH is off. And when adjusting pH, mark your calendar for that 2-week retest; changes take time to stabilize.
Sunlight Strategy: The 6+ hours of direct sun in Step 4 is a minimum, not a target. If your mums are in partial shade, relocate them gradually over a week to avoid shock. Sudden full-sun exposure can scorch leaves just as effectively as no sun at all.
Yellowing leaves often signal overwatering, poor drainage, or nutrient deficiencies. Check soil moisture and ensure proper drainage. A balanced fertilizer can help restore vibrant green leaves.
Prune back dead or damaged leaves in early spring or after flowering. Avoid heavy pruning in late fall, as it can expose the plant to winter damage. Timing is key for healthy regrowth!
Yes! Mulch helps retain moisture, regulate soil temperature, and prevent weeds. Use organic mulch like straw or wood chips, but avoid piling it against the stems to prevent rot.
If your mums aren’t thriving, consider hardier alternatives like sedum, cone flowers, or black-eyed Susans. These perennials are low-maintenance and resilient in various conditions.