
Beautiful Plants For Your Interior
Beautiful Plants For Your Interior
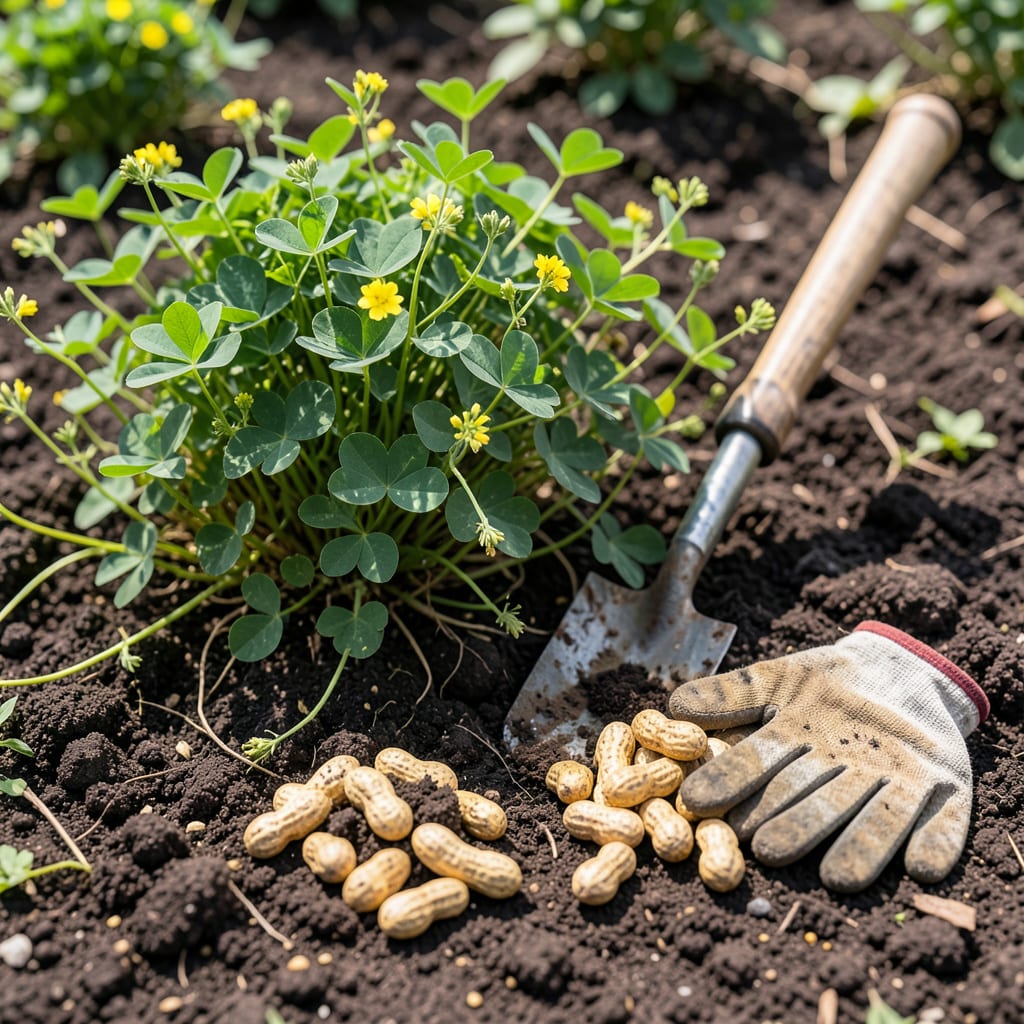
Timing your peanut harvest perfectly can make or break your yield. Unlike other crops, 🥜 Peanut maturity happens underground, so you need to watch for subtle signs.
I’ll show you the exact visual cues and seasonal timing that indicate your plants are ready. With these tips, you can pull them up at the most opportune moment for maximum flavor and quantity.


I always check for the first sign of maturity in peanut plants: the leaves turning yellow. This typically happens when the plant has reached 120-150 days after planting.
Another clear indicator is when the inner shells of the peanuts show visible veining. I gently dig up a few pods to check this development.
| Maturity Sign | Description |
|---|---|
| Yellow leaves | Primary visual indicator of readiness |
| Veined shells | Check inner peanut shells for network pattern |
| Plump pods | Fully developed peanuts inside shells |
| No new flowers | Plant stops blooming when mature |
| 120-150 days | Typical time from planting to harvest |
I also look for plump pods that feel full when gently squeezed. This tells me the peanuts inside have reached their maximum size.
The stopping of new flowers is another key sign. When my peanut plants halt their blooming, it’s nature’s way of saying the energy is now focused on the developing pods.
For the most accurate check, I use a garden fork to carefully lift a plant and examine the peanut shells. The veining should be prominent and the peanuts should fill the shells completely.
In my experience, soil temperature matters too. I wait until the soil is warm and dry before harvesting to prevent mold or rot during the curing process.
The best time of day to check for maturity is in the morning when the plants are fresh. This gives the most accurate assessment of their true condition.
I always mark my planting date on the calendar. This helps me track the 120-150 day window and plan my harvest accordingly.
Remember, these signs work together. I don’t rely on just one indicator but look for multiple confirmation that my peanut plants are truly ready for harvest.
Once I confirm my peanut plants are ready, I begin by loosening the soil around them with a garden fork. This helps prevent damage to the delicate pods during removal.
I gently lift the entire plant from the ground, shaking off excess soil. The peanuts remain attached to the roots, so I handle the plants carefully to avoid breaking the pods.
After lifting, I invert the plants and lay them in a single layer in a warm, dry place. This drying process, called curing, is crucial for flavor development and preventing mold.
I allow the plants to cure for 1-2 weeks, depending on humidity levels. The peanuts should feel dry to the touch and the stems should be brittle when fully cured.
Once cured, I remove the peanuts from the vines by hand. I store them in mesh bags or burlap sacks in a cool, dry place to maintain freshness.
I always check a few peanuts daily during curing. If I notice any mold or soft spots, I remove them immediately to prevent spreading to the rest of the harvest.
This method ensures my peanuts stay fresh for months. Proper curing and storage make all the difference in maintaining that homegrown quality.
I’ve learned the hard way that harvesting too early is a common mistake. When peanut plants still have green leaves, the pods inside are often underdeveloped and won’t cure properly.
Another critical error is improper drying. If I don’t allow enough time for curing, the peanuts can mold during storage, ruining the entire harvest.
⚠️ Warning: Avoid These Harvesting Pitfalls
I also see gardeners damaging pods by using shovels instead of garden forks. The gentle tines of a fork help lift the plants without piercing the delicate peanut shells.
It’s tempting to rush the process, but I’ve found that patience during curing is key. Skipping this step or cutting it short leads to peanuts that taste raw and don’t store well.
Finally, I always ensure my storage area is completely dry. Even a little moisture can cause mold to spread through the entire batch, wasting all my hard work in the garden.
By avoiding these mistakes, I consistently get a high-quality peanut harvest that stores well and tastes great. It’s all about timing and proper handling.
☀️Most varieties need 120-150 days from planting to harvest. Early types may be ready in 90 days, while late varieties can take up to 150 days. Always check visual signs first.
Picking before maturity results in small, underdeveloped nuts. The shells won’t have proper veining, and the flavor will be poor. Green leaves mean the plant isn’t ready.
No, frost damages the plants and peanuts. Aim to finish before your area’s first frost date. In zone 6, this is typically by mid-October.
No, they develop in stages. Check multiple pods from different parts of the plant. When most show veining and feel plump, it’s time to harvest the whole plant.
