
Beautiful Plants For Your Interior
Beautiful Plants For Your Interior
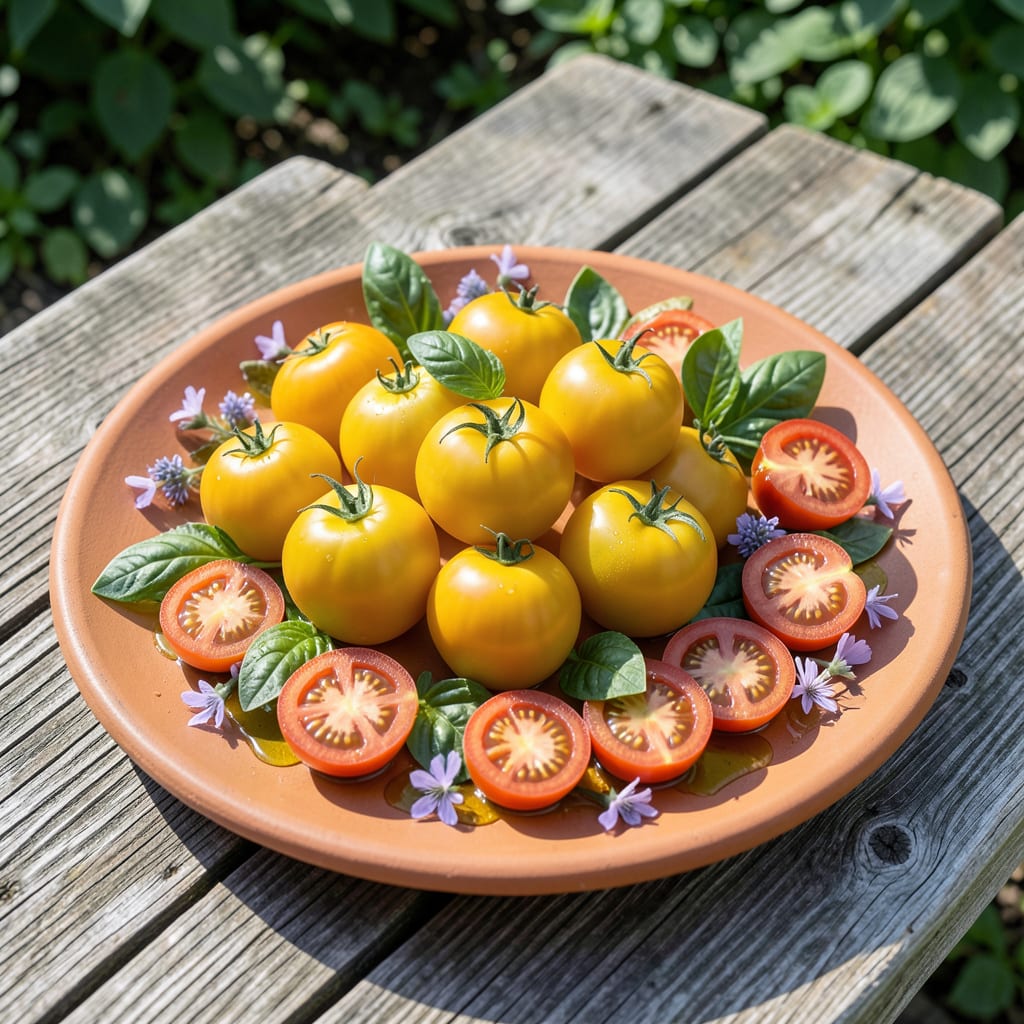
This little tomato packs a big punch. I grew my first Patio Choice Yellow in a 5-gallon bucket and got more fruit than I could eat.
It stays compact, thrives in containers, and delivers sweet yellow cherry tomatoes all season. Perfect for balconies, patios, or any small space with 6+ hours of sun.
📚 In This Guide
This compact variety thrives in containers and delivers sweet, golden fruit all season long.
Select a container that’s at least 5 gallons in size with good drainage holes. I use fabric grow bags because they prevent overwatering and promote healthy root growth. Ensure the pot has drainage holes at the bottom—no exceptions, as sitting in water will rot the roots overnight.
Place your container in a spot that gets 6-8 hours of direct sunlight daily. A south-facing patio or balcony works perfectly. If you notice the plants stretching or looking pale, they need more light. I’ve found that even a few extra hours of afternoon sun can double your harvest.
Fill the container with a high-quality potting mix designed for vegetables. Avoid garden soil, as it compacts in containers and can introduce diseases. I mix in a handful of compost for added nutrients, but don’t go overboard—too much can lead to excessive leafy growth at the expense of fruit.
Plant your Patio Choice Yellow tomato so the stem is buried up to the first set of true leaves. This encourages a strong root system. Water thoroughly after planting, until you see it draining from the bottom. The soil should feel damp but not waterlogged to the touch.
If you’re starting from seeds, sow them ¼ inch deep and keep the soil consistently moist at 70-80°F for germination. Expect sprouts in 7-14 days.
Water your tomato when the top inch of soil feels dry. This usually means watering every 2-3 days in hot weather, but always check first. I water deeply in the morning so the plant has moisture for the day ahead, and the foliage dries before evening to prevent disease.
Even though Patio Choice is a compact bush variety, it benefits from light support. I use a small tomato cage or stake to keep the plant upright as it grows. This prevents branches from breaking under the weight of the fruit and makes harvesting easier.
Begin fertilizing when the first flowers appear, using a balanced water-soluble fertilizer every 2 weeks. I switch to a low-nitrogen, high-phosphorus formula once fruit sets to encourage more tomatoes and fewer leaves. Always follow the package instructions—over-fertilizing can burn the roots.
Keep an eye out for common pests like aphids or whiteflies. If you notice them, a strong spray of water or insecticidal soap usually does the trick. I check the undersides of leaves weekly, as that’s where pests like to hide. Early detection makes treatment much easier.
Patio Choice Yellow tomatoes are ready to pick when they turn a bright, uniform golden-yellow and feel slightly soft to the touch. They typically mature in 60-70 days from transplanting. I harvest in the morning when the fruit is firmest, using a gentle twist or pruning shears to avoid damaging the plant.
Don’t wait too long to pick them, as overripe tomatoes can split or fall off the vine. If you have a surplus, these tomatoes store well at room temperature for 3-5 days or can be preserved in sauces or salsas. The flavor is at its sweetest right after picking.
Here’s what I’ve learned from growing these compact tomatoes in my own containers.
The Container Factor: That 5-gallon minimum size isn’t just a suggestion—it’s critical for root development. Fabric grow bags work especially well because they prevent overwatering while allowing roots to breathe. Trust me, I tried smaller pots once and the plants struggled to produce more than a handful of fruit.
Sunlight Secret: The 6-8 hours of direct sunlight is non-negotiable for sweet, flavorful tomatoes. If your plants start stretching or looking pale, they’re begging for more light. I moved mine from a partially shaded spot to full sun and saw the difference in just a week—more flowers, more fruit, and better color.
Watering Wisdom: Checking the top inch of soil before watering prevents over- or under-watering. In hot weather, the 2-3 days guideline usually holds, but always let the soil be your guide. Morning watering is key—it gives the plant time to absorb moisture before the heat of the day and helps prevent disease by letting foliage dry quickly.
Support Strategy: Even though Patio Choice is a bush variety, a small tomato cage or stake makes a huge difference. Without support, branches can snap under the weight of ripening fruit. I learned this the hard way after losing several tomatoes to broken stems in a windstorm.
These compact plants typically produce ripe, golden-yellow tomatoes in about 65-70 days from transplanting. Their early maturity makes them perfect for short growing seasons or container gardens!
Absolutely! They thrive in containers as small as 5 gallons. Ensure good drainage, use quality potting mix, and place them in full sun for the best results. Ideal for balconies or small patios!
Watch for aphids, whiteflies, or early blight. Use organic sprays or row covers for prevention. These plants are bred for disease resistance, but regular checks keep them healthy.
Yes! Try ‘Tiny Tim,’ ‘Balcony Red,’ or ‘Lizzano’ for similar compact, container-friendly varieties. Each offers unique flavors and colors for small-space gardening.
