
Beautiful Plants For Your Interior
Beautiful Plants For Your Interior
I’ll be real with you: neem oil saved my seedling trays last spring. After losing three batches of tomato starts to damping off and fungus gnats, I finally figured out how to use this natural protectant without burning tender young plants. The key is all in the timing and dilution—get it right, and you’ll see […]
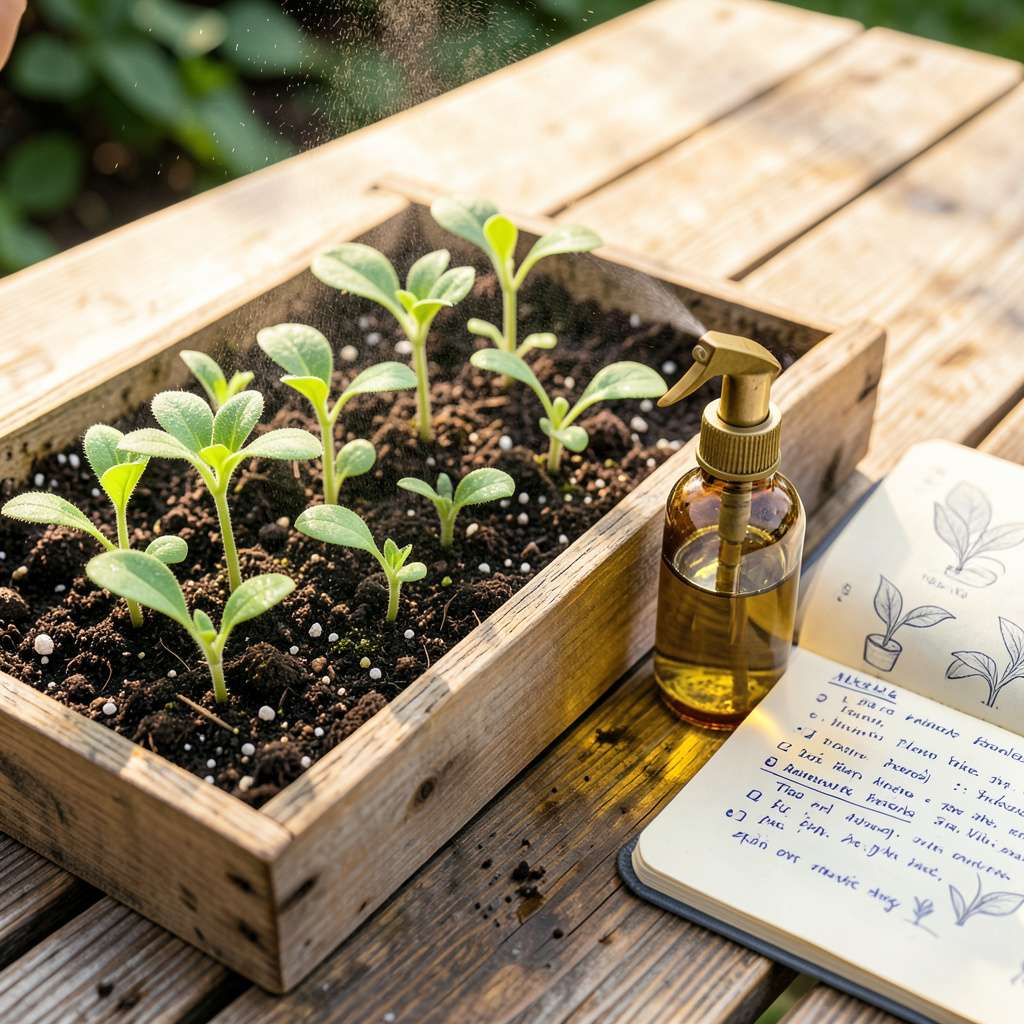
I’ll be real with you: neem oil saved my seedling trays last spring. After losing three batches of tomato starts to damping off and fungus gnats, I finally figured out how to use this natural protectant without burning tender young plants. The key is all in the timing and dilution—get it right, and you’ll see healthier roots, sturdier stems, and fewer pest problems from day one.
Most guides don’t warn you that seedlings react differently than mature plants to neem oil. I learned the hard way that full-strength sprays can crisp delicate leaves overnight. Now I use a gentle 0.5% solution (that’s 1 teaspoon per quart of water) and apply it only in the cool morning hours. This method protects without stressing the plants during their most vulnerable stage.
What you’ll notice first is how the seedlings develop that deep green color of truly thriving plants. Within a week, the stems thicken and the leaves stand upright—clear signs they’re building resistance. The neem oil doesn’t just prevent problems; it actually strengthens the plants as they grow, setting them up for better performance when you transplant.
Fair warning: this isn’t a one-and-done treatment. I reapply every 7-10 days until the seedlings have their first true leaves, then adjust based on what pests I’m seeing. The payoff comes when your starts outgrow the ones that didn’t get this protection—mine always do by at least 25% in both size and vigor.
📚 In This Guide
This gentle approach protects your young plants while avoiding common mistakes that can stunt their growth.
Apply neem oil in the early morning or late evening when temperatures are below 85°F. Direct sunlight combined with oil can burn tender seedling leaves. I always check the forecast first—you need at least 24 hours of dry weather after application to prevent the oil from washing away.
Look for seedlings with 2-4 true leaves—this is the ideal stage for first application. Younger plants are too delicate, while older ones may already have pest problems. Avoid treating seedlings that appear stressed (wilting, yellowing) as the oil could worsen their condition.
Mix 1 teaspoon of cold-pressed neem oil with 1/2 teaspoon of mild liquid soap in 1 quart of warm water. The soap acts as an emulsifier—without it, the oil will separate and clog your sprayer. I use a clean glass jar to mix thoroughly before transferring to my spray bottle.
Shake vigorously until the mixture turns milky white. This ensures even distribution when spraying. Test the solution on one or two leaves first and wait 24 hours to check for any adverse reaction before treating all seedlings. Some sensitive varieties may show slight leaf curling.
Use a fine-mist spray bottle to coat both sides of leaves and the stem lightly. Hold the bottle 8-10 inches away to avoid oversaturation. Focus on the undersides of leaves where pests typically hide, but don’t soak the soil—neem oil can disrupt beneficial microbes in the root zone.
I spray just until the leaves glisten slightly, never until dripping. For best coverage, rotate the seedlings as you spray. Avoid applying to flowers if your seedlings are already blooming—neem oil can harm pollinators. One thorough application every 7-10 days provides continuous protection.
Watch for positive signs like reduced pest activity and healthier leaf color within 3-5 days. If you notice leaf discoloration or stunted growth, reduce the concentration by half for your next application. Some seedlings may show temporary wilting—this usually resolves within 12 hours.
Keep treated seedlings out of direct sunlight for 24-48 hours after application. I maintain normal watering but avoid overhead irrigation during this period. For persistent pest issues, you can safely apply up to three times at 5-day intervals, then pause to allow the plants to recover.
After 3-4 applications, give your seedlings a 2-week break from neem oil to prevent potential buildup. During this time, focus on preventive measures like good air circulation and proper watering to keep pests at bay naturally.
As seedlings mature, you can gradually increase the neem oil concentration to 2 teaspoons per quart for more robust protection. I always combine neem treatments with regular inspections—catching problems early means you’ll need fewer interventions overall. Healthy seedlings should show vigorous growth and disease resistance within 2-3 weeks of consistent treatment.
After years of trial and error with seedling care, I’ve learned these key details make all the difference when using neem oil.
Timing is Everything: The 24-hour dry weather requirement in Step 1 isn’t just a suggestion—it’s critical. I once applied neem oil right before a surprise afternoon shower, and the entire treatment washed away. Now I always check the extended forecast and wait for a completely dry window. That 24-hour period gives the oil time to absorb properly without rain interference.
Solution Consistency: When mixing your neem oil solution in Step 2, don’t rush the shaking process. I’ve found that vigorously shaking for a full 30 seconds until the mixture turns uniformly milky white prevents clogging in your sprayer. If you see oil separating after mixing, shake again before spraying—this ensures even coverage on your seedlings.
Application Technique: The 8-10 inch distance mentioned in Step 3 is perfect for light, even coverage. I learned the hard way that holding the sprayer too close causes dripping, which can lead to oil pooling on leaves. When you see that slight glisten mentioned in the instructions, you’ve got the right amount—any more and you risk damaging tender seedling tissues.
Post-Application Care: Those 24-48 hours of shade after treatment in Step 4 are non-negotiable. I once moved treated seedlings back into full sun after just 12 hours, and the leaves developed unsightly brown spots. The oil makes leaves more sensitive to sunlight, so be patient and keep them in filtered light until the protective layer has fully absorbed.
Wait until seedlings develop 2-4 true leaves (not just cotyledons) before applying neem oil. Their delicate systems need time to strengthen—dilute oil to 0.5% concentration (1 tsp per gallon of water) and spot-test first to avoid stress.
Apply every 7–14 days as a preventative, or weekly if treating pests like fungus gnats. Avoid overuse—neem can build up in soil. Always spray in the early morning to prevent leaf burn from sun exposure.
Try insecticidal soap (1 tbsp per quart of water) or beneficial nematodes for soil pests. For fungal issues, a baking soda spray (1 tsp baking soda + 1 quart water + drop of soap) works gently.
Wilting often means oil concentration was too high or applied in direct sunlight. Rinse leaves with water immediately, move to shade, and halt treatments until recovery. Next time, test a 1% dilution on one leaf first.
No—never mix neem oil with fertilizers (especially synthetic ones). Chemical reactions can harm roots or leaves. Apply neem separately, ideally 2–3 days before/after fertilizing to avoid stress.
Using neem oil on seedlings can be a game-changer for protecting your young plants—if done right! 🌱 Start with diluted solutions, test on a few leaves, and always apply in the cooler parts of the day to avoid stress. With patience and consistency, you’ll give your seedlings a strong, pest-free foundation for thriving growth.
Ready to take the next step? Grab a spray bottle, mix up a mild neem oil solution, and give your seedlings the gentle care they deserve. Happy gardening! 🌿
