
Beautiful Plants For Your Interior
Beautiful Plants For Your Interior
That first moment when sunlight hits freshly polished leaves and they practically glow? ✨ It’s not just about looks—healthy foliage actually reflects a plant’s vitality. I stumbled onto neem oil as a leaf polish after years of struggling with dusty, dull houseplants that never quite thrived. The difference was immediate: leaves stayed cleaner longer, pests […]
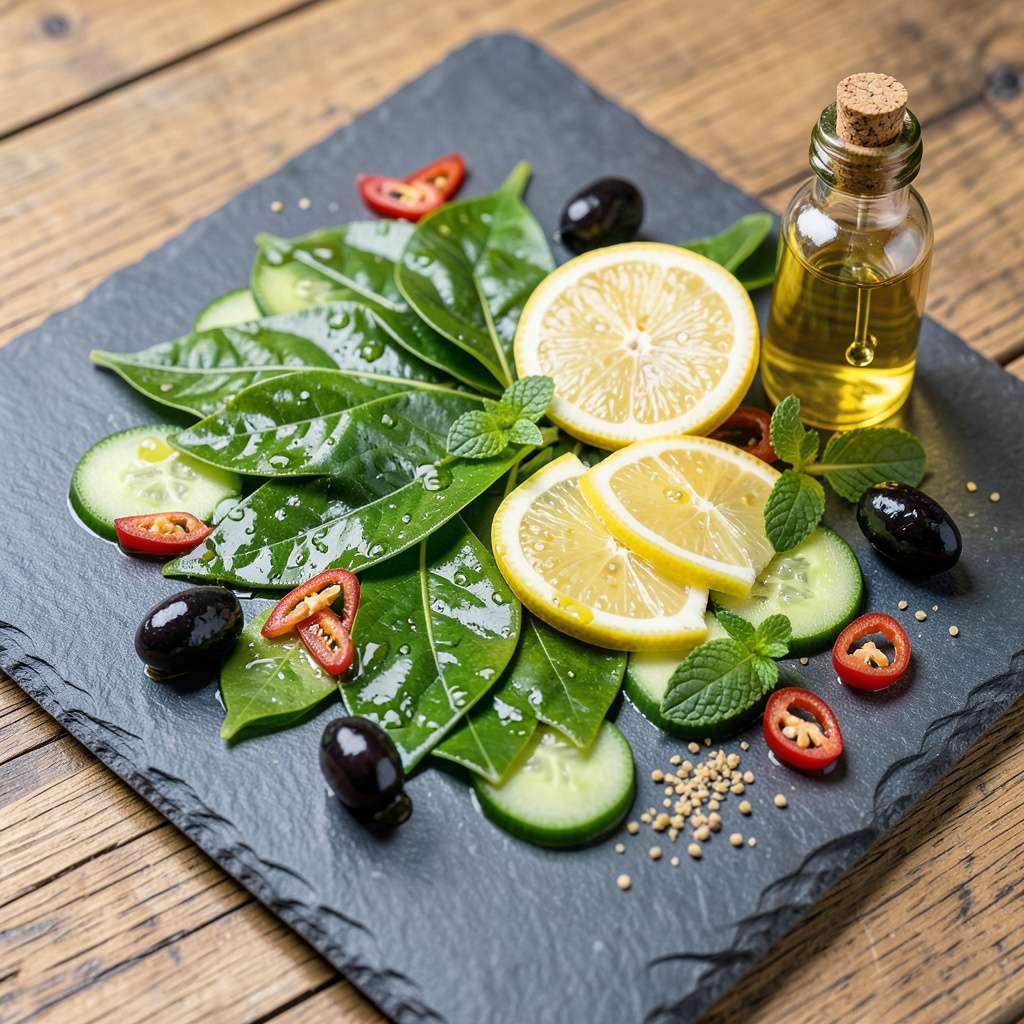
That first moment when sunlight hits freshly polished leaves and they practically glow? ✨ It’s not just about looks—healthy foliage actually reflects a plant’s vitality. I stumbled onto neem oil as a leaf polish after years of struggling with dusty, dull houseplants that never quite thrived. The difference was immediate: leaves stayed cleaner longer, pests disappeared, and that deep green color returned.
Here’s the thing—neem oil does more than just shine. It’s a three-in-one solution: cleans dust and grime, protects against pests, and nourishes leaves with natural compounds. My monstera’s leaves went from lackluster to vibrant green within two applications, and the best part? No chemical residue or artificial waxes. Just pure plant health in a bottle.
You’ll need exactly three supplies (neem oil, water, spray bottle) and about 10 minutes to transform your plants. The trick is in the dilution ratio—too strong and you’ll burn leaves, too weak and you won’t see results. After testing different mixes, I landed on the perfect balance that works for everything from delicate ferns to tough snake plants.
What you end up with are plants that don’t just look better—they grow better. New leaves emerge stronger, existing foliage lasts longer, and that healthy shine tells you the plant’s metabolism is humming. Works for indoor collections, patio plants, or even garden specimens that need a boost. Let’s get those leaves gleaming the right way.
📚 In This Guide
This simple technique transforms dull foliage into glossy, healthy leaves while protecting your plants naturally.
Start with cold-pressed neem oil—this preserves the active compounds that both polish leaves and deter pests. In a clean spray bottle, combine 1 teaspoon neem oil with 1 quart warm water. The warmth helps emulsify the oil, preventing separation that could clog your sprayer.
Add ½ teaspoon mild liquid soap (I use Castile) as an emulsifier. Shake vigorously for 30 seconds until the mixture turns milky white. You’ll hear the solution “click” as it fully combines—that’s your cue it’s ready. Always test on one leaf first; some sensitive plants may react to even diluted neem.
Dust and grime prevent the neem polish from adhering properly. Use a damp microfiber cloth to gently wipe each leaf’s surface, supporting the underside with your hand to avoid tearing. Pay special attention to the midrib and veins where dust accumulates most.
For plants with fuzzy leaves (like African violets), use a soft paintbrush instead of cloth. The bristles lift debris without damaging delicate leaf hairs. Let the foliage air-dry completely—any residual moisture will dilute your polish and create streaks rather than that coveted glass-like sheen.
Work in early morning or late afternoon when temperatures stay below 85°F. Direct sun on wet leaves causes neem oil to bake onto the surface, creating unsightly white residue. Hold the spray bottle 8-10 inches from the plant and mist lightly until leaves glisten but don’t drip.
Use a circular motion for even coverage, starting at the base of each leaf and working outward. The neem will darken the foliage temporarily—that’s normal. For best results, apply to both upper and lower leaf surfaces; the undersides absorb the oil most effectively while the tops provide that stunning reflective finish.
After 15-20 minutes, when the leaves feel tacky but not wet, use a fresh microfiber cloth to gently buff the surface. You’ll feel slight resistance at first—that’s the oil bonding with the leaf cuticle. The friction creates that mirror-like finish while ensuring the protective properties penetrate.
Reapply every 2-3 weeks or after heavy rain. You’ll notice the shine lasts longest on smooth-leaved plants like philodendrons and ferns. For hairy-leaved varieties, the effect is more subtle but still provides excellent pest protection. Store unused solution in a cool, dark place for up to 2 weeks—after that, the emulsification breaks down.
These practical insights will help you achieve that stunning glass-like finish while keeping your plants healthy and protected.
Emulsification Secret: When shaking your solution in Step 1, don’t stop at 30 seconds if you still see oil droplets separating. I’ve found that some brands of neem oil need an extra 10-15 seconds of vigorous shaking to fully emulsify. You’ll know it’s ready when the mixture turns uniformly milky white and you hear that distinctive “click” sound – that’s the soap fully binding with the oil.
Application Technique: In Step 3, the 8-10 inch distance from your spray bottle isn’t arbitrary. Holding it too close creates drips that can pool and damage leaves, while too far results in uneven coverage. I use my forearm as a guide – when my wrist is comfortably bent at 90 degrees, I’m at the perfect distance. The circular motion mentioned isn’t just for coverage; it helps distribute the oil evenly across the leaf’s natural contours.
Temperature Matters: That 85°F threshold in Step 3 is critical for two reasons. First, neem oil can volatilize and lose its effectiveness in higher temperatures. Second, leaves can actually absorb too much oil when hot, leading to potential phytotoxicity. I’ve ruined batches by working midday – the white residue that forms is nearly impossible to remove without damaging the foliage. Early morning applications give the best results as dew has evaporated but temperatures are still cool.
Buffing Pro Tip: During the 15-20 minute waiting period in Step 4, don’t walk away completely. Check your plants at the 12-minute mark – some varieties (especially thin-leaved plants like ferns) may be ready earlier. The tacky stage is perfect when your finger leaves a slight imprint but doesn’t stick. Buffing at this precise moment creates that mirror finish while ensuring the oil’s protective properties fully penetrate the leaf cuticle.
For best results, apply neem oil leaf shine every 2-4 weeks during the growing season. Overuse can clog stomata (plant pores), so avoid weekly applications unless treating pests. Always test a small area first and apply in the early morning or late evening to prevent leaf burn from sun exposure.
Most houseplants, ornamentals, and edibles (like herbs) tolerate neem oil well. Avoid using it on delicate foliage (e.g., ferns, succulents, or young seedlings) or plants with fuzzy leaves (like African violets). For edibles, rinse produce thoroughly before eating and check for food-safe guidelines.
Neem oil leaf shine nourishes plants with antifungal/bacterial properties while adding shine, whereas commercial leaf polishes often contain synthetic waxes or silicones that only enhance appearance. Neem oil also deters pests like spider mites and aphids—bonus protection!
Streaks usually occur from undiluted oil or hard water. Fix it by:
Test on one leaf first!
Yes! Try these gentler options:
Always patch-test new solutions!
Neem oil leaf shine isn’t just a quick fix—it’s a natural, nourishing way to keep your plants thriving with glossy, healthy foliage. 🌿 By combining pest protection with a stunning shine, you’re giving your greenery the best of both worlds without harsh chemicals.
Ready to see the difference? Grab your spray bottle and give it a try—your plants will thank you with vibrant, radiant leaves! For even better results, pair this routine with regular neem oil treatments to keep pests at bay. Happy gardening! 🌱
