
Beautiful Plants For Your Interior
Beautiful Plants For Your Interior
Dull, dusty leaves can make even the healthiest plants look tired. Our neem oil leaf shine recipe transforms foliage from lackluster to vibrant green while providing natural pest protection. Developed through years of testing, this simple solution enhances plant appearance without harmful chemicals. The key lies in the balance: neem oil conditions leaves, water distributes […]
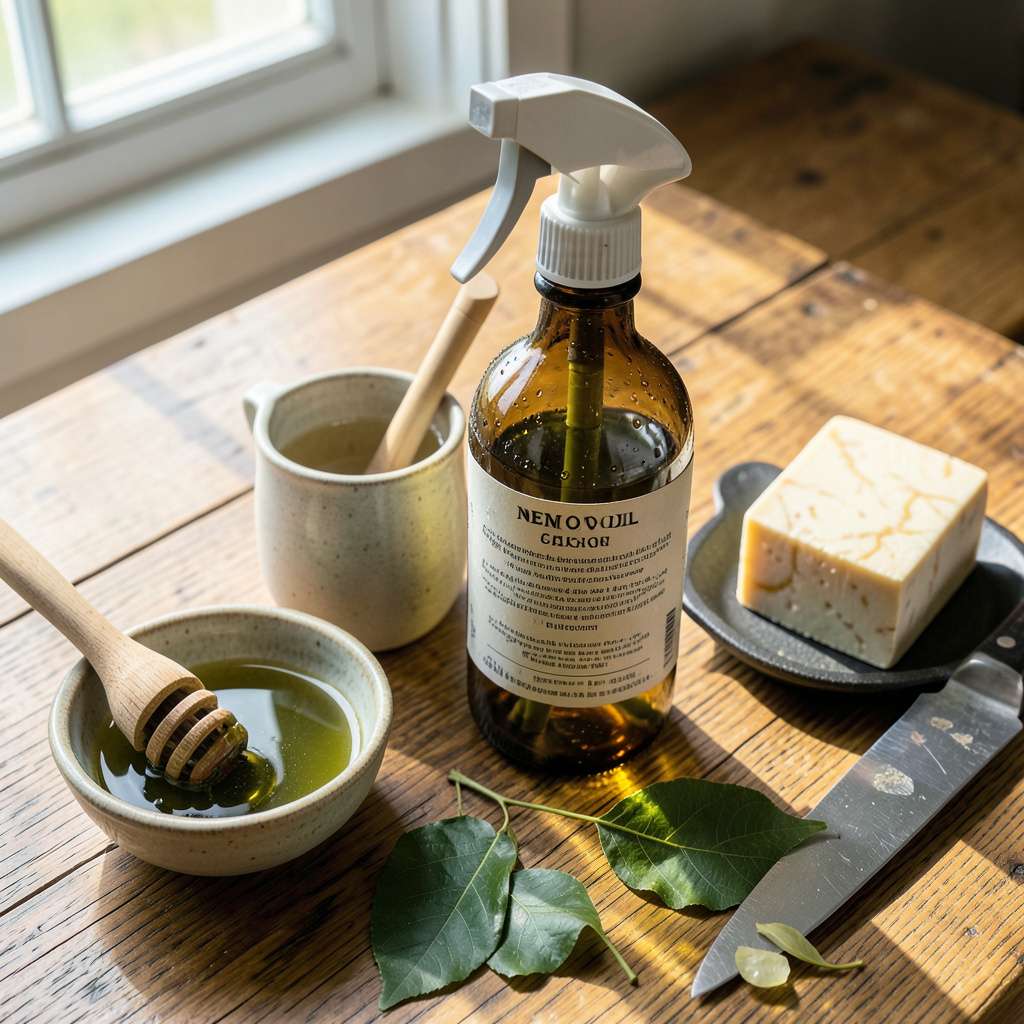
Dull, dusty leaves can make even the healthiest plants look tired. Our neem oil leaf shine recipe transforms foliage from lackluster to vibrant green while providing natural pest protection. Developed through years of testing, this simple solution enhances plant appearance without harmful chemicals.
The key lies in the balance: neem oil conditions leaves, water distributes evenly, and a touch of mild soap helps it adhere. We’ve found this mixture not only improves shine but also deters common pests like spider mites and aphids. The application process takes less than 10 minutes and leaves no sticky residue.
You’ll notice immediate visual improvement after the first application, with leaves appearing richer and more lustrous. Over time, regular use strengthens plant resistance while maintaining that just-polished look. The solution works equally well on broad-leafed tropicals and delicate ferns.
Unlike commercial leaf shine products that can clog stomata, our neem oil formula actually supports plant health. It’s particularly effective for indoor plants suffering from dry air or dust accumulation. The recipe scales easily whether you’re treating a single houseplant or an entire collection.
📚 In This Guide
This simple yet effective method will transform dull foliage into glossy, healthy leaves while protecting your plants.
You’ll need 1 cup warm water, 1 teaspoon mild liquid soap (I prefer Castile), 1 tablespoon cold-pressed neem oil, and a clean 16-ounce spray bottle. The soap acts as an emulsifier to blend the oil with water—without it, the mixture will separate immediately.
Start with the warm water (not hot, as it can degrade neem oil’s properties) in your spray bottle. The temperature should feel comfortable to the touch, like warm bathwater. This helps the neem oil disperse more evenly when you add it.
Add the 1 teaspoon liquid soap to the warm water in the bottle. Swirl gently to dissolve—don’t shake vigorously yet. You’re creating a base that will hold the oil in suspension. The soap molecules have both water-loving and oil-loving ends, which is what makes this work.
Now add the 1 tablespoon neem oil. Here’s the critical part: screw the cap on tightly and shake for 30-45 seconds until the mixture turns milky white. You’ll hear the liquid sloshing differently when it’s properly emulsified. This milky appearance means the oil is evenly distributed throughout the water.
Before applying to all your plants, test on one or two leaves first. Spray a small section and wait 24 hours. Watch for any signs of stress: leaf curling, spotting, or unusual drooping. Some sensitive plants (like ferns or calatheas) may react negatively to neem oil.
The ideal consistency should coat leaves lightly without running off immediately. If it beads up excessively, add another ½ teaspoon soap and shake again. If it looks too watery, you can add ½ teaspoon more neem oil, but don’t exceed 2 tablespoons total or you risk clogging leaf pores.
Work in a well-ventilated area, preferably outdoors or near an open window. Hold the bottle 8-12 inches from the plant and mist lightly, covering both the tops and undersides of leaves. The undersides are particularly important for pest control, as that’s where many insects hide.
Use a soft microfiber cloth to gently buff the leaves after spraying. This removes dust while distributing the oil evenly for that beautiful shine. Avoid using paper towels—they can scratch delicate leaf surfaces. Work in small sections so the mixture doesn’t dry before you buff it.
Use the entire mixture within 2-3 days for best results. Neem oil begins to degrade after mixing with water, losing its effectiveness. Store any remaining solution in a cool, dark place (like a kitchen cabinet) away from direct sunlight, which accelerates breakdown.
For regular maintenance, apply every 2-4 weeks or after watering when leaves look dull. Always apply in the early morning or late evening to prevent leaf burn from sun exposure. You’ll notice not just shine, but healthier growth and fewer pest issues over time.
Mastering this plant care technique comes down to a few key details that make all the difference between lackluster results and that professional-quality shine.
Emulsion Excellence: The 30-45 seconds of shaking in Step 2 isn’t arbitrary—this is where the magic happens. I’ve found that shaking for the full 45 seconds creates a more stable emulsion that won’t separate as quickly. Listen for the sound change: when the liquid stops sloshing and takes on a smooth, creamy consistency, you’ll know it’s properly emulsified. This stability ensures even coverage and prevents oil from pooling on leaves.
Temperature Nuance: The warm water specification in Step 1 is crucial for two reasons. Water that’s too hot (above 110°F) will degrade neem oil’s beneficial compounds, while cold water makes emulsification nearly impossible. I test the temperature by dipping my finger in—it should feel like comfortable bathwater. This optimal temperature helps the soap molecules work more effectively at suspending the oil.
Application Technique: When spraying in Step 4, the 8-12 inch distance isn’t just about coverage—it’s about control. Holding the bottle too close creates drips that can clog stomata, while spraying from too far results in uneven distribution. I recommend starting at 12 inches for the first pass, then moving slightly closer for a second light misting. This two-step approach gives you that perfect, even sheen without overapplication.
Storage Wisdom: The 2-3 day usage window in Step 5 isn’t just about potency—it’s about plant safety. As neem oil degrades, it can develop compounds that might stress sensitive plants. I’ve had best results storing the mixture in the refrigerator between uses, which slows the degradation process. Just remember to bring it to room temperature and give it a quick shake before each application to maintain the emulsion.
For best results, apply your neem oil leaf shine every 2-4 weeks during the growing season. Overuse can clog stomata (plant pores), so stick to monthly treatments for indoor plants or after rain for outdoor ones. Always test a small area first!
While olive oil adds shine, it lacks neem’s antifungal/pest-repelling properties. For a true protective polish, stick with neem oil. If substituting, use 1 tsp castile soap + 1 tbsp coconut oil per cup of water—but skip the pest control benefits.
Streaks usually mean uneven application or residue from hard water/minerals. Fix it by:
Is neem oil leaf shine safe for all plant types?
Most plants love it, but avoid using on:
Always patch-test first!
Store in an airtight glass container (not plastic—oils degrade it) in a cool, dark place for up to 2 weeks. Shake well before reuse. For longer shelf life, mix fresh batches—neem oil’s potency fades over time.
With this simple neem oil leaf shine recipe, you’ve got everything you need to give your plants a natural glow while keeping pests at bay! 🌿✨ Not only will your foliage look lush and vibrant, but you’ll also enjoy the peace of mind that comes with using a chemical-free, plant-safe solution. Ready to see the difference?
Start with a small batch to test on a few leaves, then treat your entire collection once you’re confident. Happy plants mean a happier you—so grab your spray bottle and get polishing! Your greenery will thank you. 💚
