
Beautiful Plants For Your Interior
Beautiful Plants For Your Interior
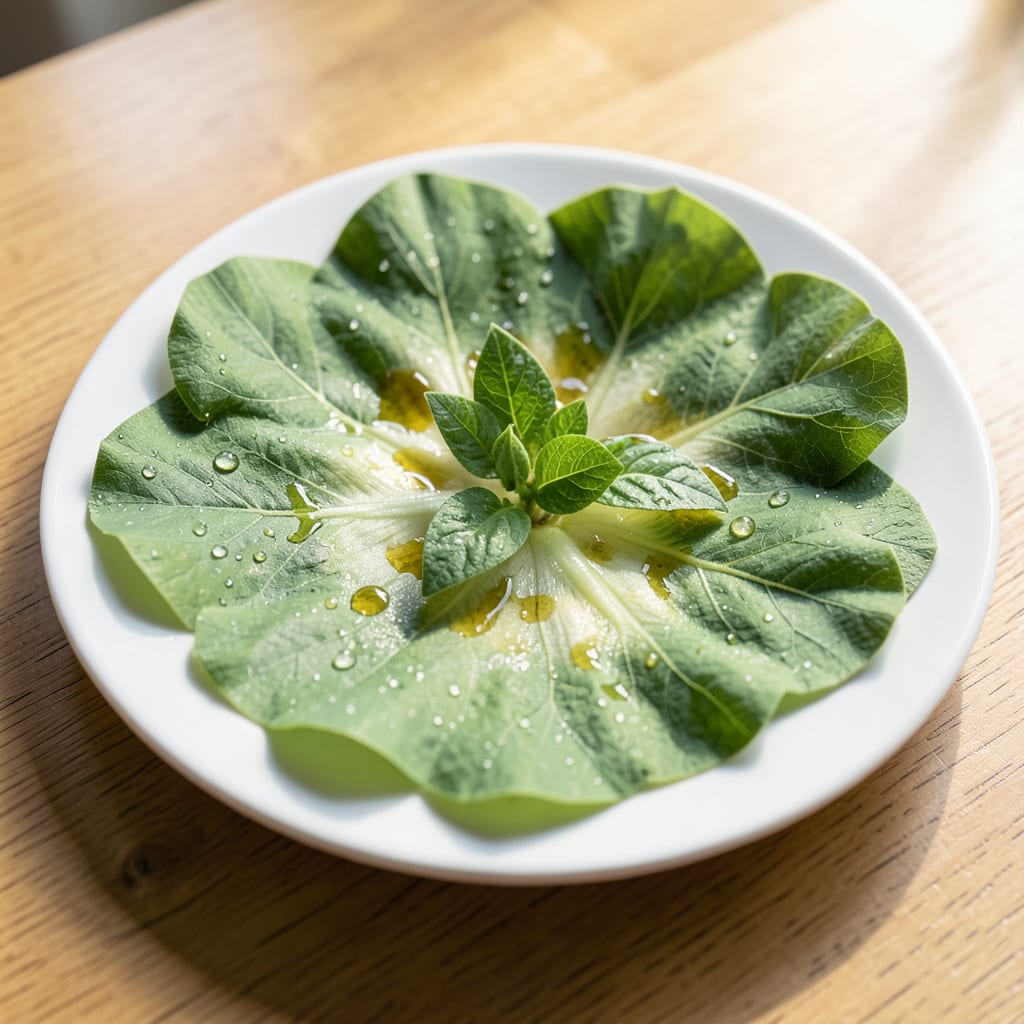
Those first heart-shaped leaves are pure magic. I still remember the morning I spotted my first morning glory sprouts pushing through the soil—tiny but determined.
Early care is simple but critical: keep soil moist not soggy, provide bright indirect light, and protect from cold drafts. These seedlings grow fast once they get going, and you’ll see the true leaves appear within 7-10 days of germination.
📚 In This Guide
Here’s my proven approach to guide your seedlings through their delicate first growth phase.
Watch for the first pair of rounded leaves to emerge—these are cotyledons, not true leaves. The first true leaves appear after 7-10 days as slightly pointed, heart-shaped growths above the cotyledons. This is your signal that the plant has transitioned from seed reserves to photosynthesis.
I check daily with a magnifying glass because morning glory true leaves start as tiny bumps. The cotyledons will yellow and drop naturally once the true leaves take over. Don’t remove them prematurely—let the plant absorb all nutrients from these initial structures.
Shift from misting to bottom watering once true leaves appear. Fill a tray with 1 inch of water and set the container in it for 15-20 minutes, allowing the soil to wick up moisture. This prevents water from pooling on the delicate new foliage, which can invite fungal issues.
You’ll notice the soil surface drying faster now that the plant has more leaf surface. Water when the top ½ inch of soil feels dry to the touch. Morning glories wilt dramatically when thirsty but recover quickly after watering—this is normal behavior, not a cause for alarm.
Move seedlings to bright, indirect light as soon as true leaves unfold. A south-facing window works, but I’ve found that 12-14 hours under grow lights produces the most compact, vigorous growth. Position lights 4-6 inches above the plants and raise them as the vines grow.
Leggy growth with pale leaves indicates insufficient light. If this happens, lower the light source immediately. The stems should appear sturdy with internodes spaced 1-2 inches apart. Rotate pots daily to prevent the vines from growing lopsided toward the light source.
Once you count 3-4 true leaves, introduce a diluted liquid fertilizer at ¼ strength. I use a balanced 10-10-10 formula every 10-14 days during the growing season. Morning glories are heavy feeders but burn easily with full-strength solutions at this stage.
Yellowing of the lower leaves often signals nitrogen deficiency, while brown leaf edges suggest fertilizer burn. Always water the soil before applying fertilizer to prevent root damage. Stop fertilizing if temperatures drop below 60°F, as the plants won’t uptake nutrients efficiently in cooler conditions.
Install a small trellis or stake when vines reach 4-6 inches long. Morning glories twine naturally, but early support prevents tangled growth. I use bamboo stakes with soft twine to create a gentle guide for the tendrils to grab onto.
Gently wrap the leading vine around the support once it’s long enough. Don’t force it—morning glories find their own path quickly. You’ll see the tendrils curl within 24 hours of contact with the support. This early training establishes the climbing habit that will serve the plant well as it matures.
Small adjustments during this early stage make a surprising difference in long-term growth.
The Observation Window: Those first true leaves appear after exactly 7-10 days as described in Step 1. Confession: I used to miss this transition because I wasn’t checking daily with adequate light. Use a magnifying glass—those initial bumps are nearly invisible to the naked eye, and catching them early lets you adjust care precisely when the plant switches to photosynthesis.
Watering Precision: Step 2’s shift to bottom watering is crucial once true leaves emerge. Fill that tray with 1 inch of water and let the container soak for the full 15-20 minutes—any less and the soil won’t wick moisture evenly. The top ½ inch of soil drying out is your signal, and that dramatic wilting you’ll see? Completely normal and reversible within minutes after watering.
Light Distance Matters: In Step 3, positioning grow lights 4-6 inches above the seedlings isn’t arbitrary. Lower than 4 inches risks burning tender leaves, while higher than 6 inches causes the leggy, pale growth that signals light starvation. Rotate those pots daily—morning glories grow toward light so aggressively that they’ll twist into knots without intervention.
Fertilizer Timing: Don’t rush Step 4. Wait until you can clearly count 3-4 true leaves before introducing that ¼ strength 10-10-10 fertilizer. Starting earlier burns roots, and the 10-14 day interval prevents the nitrogen deficiency that shows as yellowing lower leaves. And remember: if your space dips below 60°F, pause fertilizing entirely—the roots literally can’t process nutrients in the cold.
Morning glory seeds typically sprout within 5–10 days, with the first true leaves emerging 1–2 weeks after germination. Warm soil (70–85°F) speeds up the process. Patience is key!
The initial leaves (cotyledons) are small, round, and slightly heart-shaped. True leaves follow, resembling the familiar arrowhead shape with a vibrant green color. They’re delicate but a joy to spot!
Slow growth can stem from cold soil, overwatering, or poor light. Ensure consistent moisture (not soggy), warmth, and 6+ hours of sunlight daily. Over-fertilizing early can also stunt leaf development.
Yes, but wait until seedlings have 2–3 sets of true leaves and are 3–4 inches tall. Harden them off first by gradually exposing them to outdoor conditions over a week. Gentle handling prevents shock!
Keep soil lightly moist, avoid overhead watering to prevent disease, and provide a trellis for climbing. A balanced liquid fertilizer (diluted) can be introduced once true leaves form. Watch for pests like aphids!
