
Beautiful Plants For Your Interior
Beautiful Plants For Your Interior
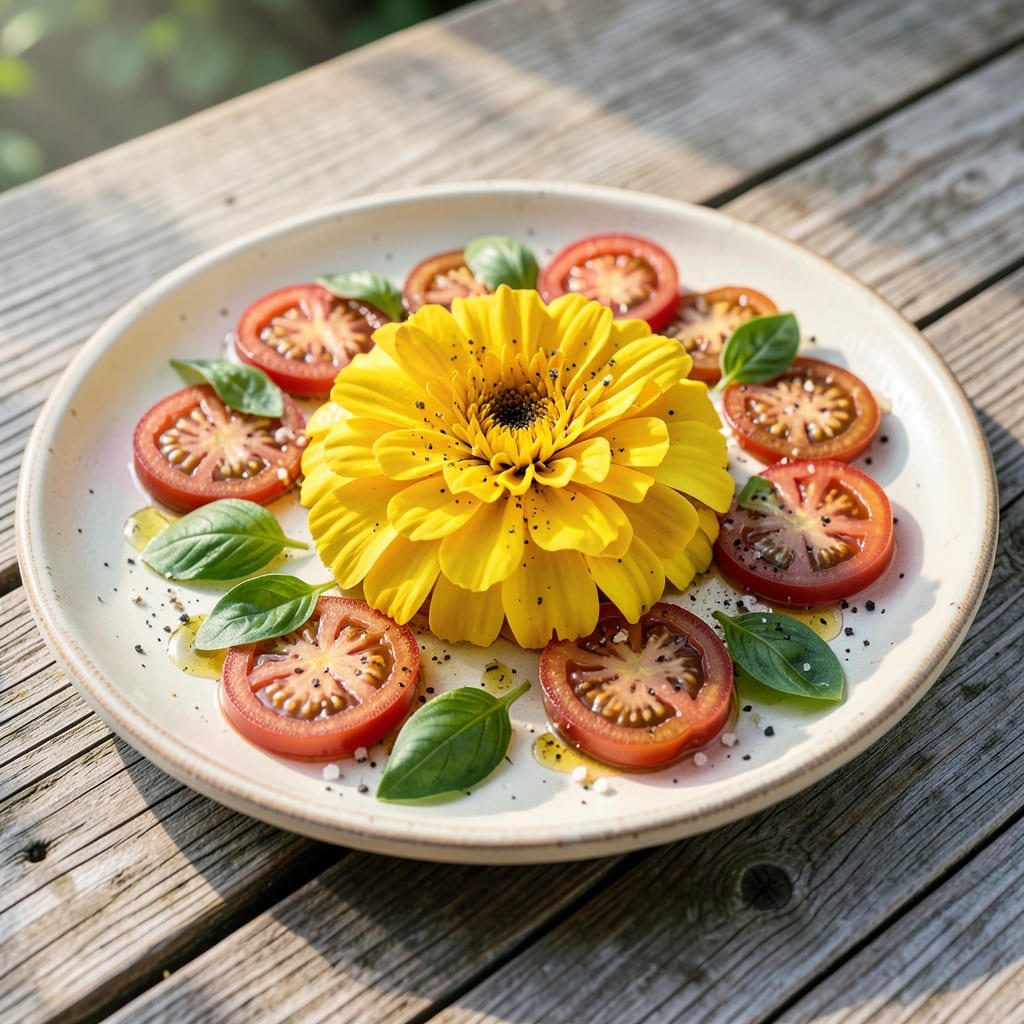
Sunny spots in my garden never looked better than with these bold yellow blooms. Mission Giant marigolds bring reliable color that lasts all season, even in the hottest weather.
They thrive in average soil and handle drought like champs. Plant them once and watch them transform your space with vibrant displays that attract pollinators and repel pests.
📚 In This Guide
Here’s my trusted method for cultivating vibrant, long-lasting marigolds in any sunny garden space.
Start by selecting a location with full sun exposure—at least 6-8 hours of direct sunlight daily. I’ve found that Mission Giant Yellow marigolds thrive in well-draining soil, so amend the bed with compost to improve fertility and structure. Loosen the soil to a depth of 12 inches to encourage strong root development.
Test the soil pH; marigolds prefer a slightly acidic to neutral range of 6.0-7.0. If your soil is too alkaline, mix in sulfur or peat moss to adjust it. Avoid heavy clay or waterlogged areas, as these will stunt growth and lead to root rot.
Direct sow seeds outdoors after the last frost date, planting them ¼ inch deep and spacing them 10-12 inches apart. Cover lightly with soil and mist gently to avoid displacing the seeds. Keep the soil consistently moist until germination, which typically occurs within 5-7 days at 70-75°F.
If transplanting seedlings, dig holes slightly larger than the root ball and space them 12 inches apart. Gently remove the seedlings from their containers, loosen the roots, and place them in the holes. Backfill with soil and press lightly to eliminate air pockets.
Water the plants deeply immediately after planting, ensuring the soil is moist but not soggy. Marigolds prefer moderate moisture, so water at the base when the top inch of soil feels dry. Overwatering can lead to fungal issues, so always check the soil before adding more water.
Apply a 2-3 inch layer of organic mulch, such as straw or shredded bark, around the plants to retain moisture, suppress weeds, and regulate soil temperature. Keep the mulch a few inches away from the stems to prevent rot.
Feed the marigolds with a balanced, water-soluble fertilizer every 2-3 weeks during the growing season to promote vigorous growth and abundant blooms. Follow the package instructions for dilution rates, and avoid over-fertilizing, which can lead to excessive foliage and fewer flowers.
Deadhead spent blooms regularly by pinching or cutting them off at the base of the stem. This encourages the plant to produce more flowers and extends the blooming period. Real talk: skipping this step results in a less vibrant display.
Inspect the plants regularly for common pests like aphids, whiteflies, or spider mites. If you notice any, spray the plants with a strong jet of water or apply insecticidal soap to control the infestation. Marigolds are also known to repel certain pests, such as nematodes, making them a great companion plant.
Watch for signs of fungal diseases, such as powdery mildew or leaf spot, which can occur in humid conditions. Ensure good air circulation around the plants by spacing them properly and avoiding overhead watering. Remove any affected leaves immediately to prevent the spread of disease.
Small details make the difference between struggling plants and a spectacular display.
Sunlight Requirement: The 6-8 hours of direct sunlight mentioned in Step 1 isn’t negotiable—these marigolds will get leggy and weak with less. I learned this the hard way when my first batch barely bloomed in partial shade. Choose your sunniest spot, even if it means rearranging other plants.
Soil Preparation Tip: When loosening soil to 12 inches deep as Step 1 suggests, don’t just dig and call it done. Work in that compost thoroughly—it’s what transforms mediocre soil into the rich, well-draining environment these marigolds crave. Skipping this leads to compacted soil and stunted roots.
Germination Conditions: Step 2 specifies 70-75°F for germination within 5-7 days, and this temperature range is critical. If your soil is cooler, germination will take longer and may be uneven. Consider using a heat mat or starting seeds indoors near a warm window to maintain this temperature.
Watering Discipline: The instruction to water when the top inch of soil feels dry in Step 3 is your best defense against overwatering. I check by sticking my finger in the soil—if it comes out clean, it’s time to water. This simple habit prevents the root rot that plagues so many marigold growers.
These marigolds typically reach 3–4 feet tall, making them perfect for dramatic garden backdrops or borders. Their towering height adds bold, sunny color to any landscape.
Plant after the last frost in spring when soil temperatures are at least 60°F (15°C). They thrive in warm weather and bloom vibrantly through summer and fall.
Yes! Choose large, deep pots (at least 12 inches in diameter) to accommodate their height and root system. Ensure good drainage and full sun for best results.
Yellow leaves often signal overwatering or poor drainage. Check soil moisture—let it dry slightly between waterings. Also, ensure they’re getting 6–8 hours of sunlight daily.
Pair them with other sun-loving plants like zinnias, cosmos, or basil. Their pest-repelling properties also make them great near vegetables like tomatoes or peppers.
