
Beautiful Plants For Your Interior
Beautiful Plants For Your Interior
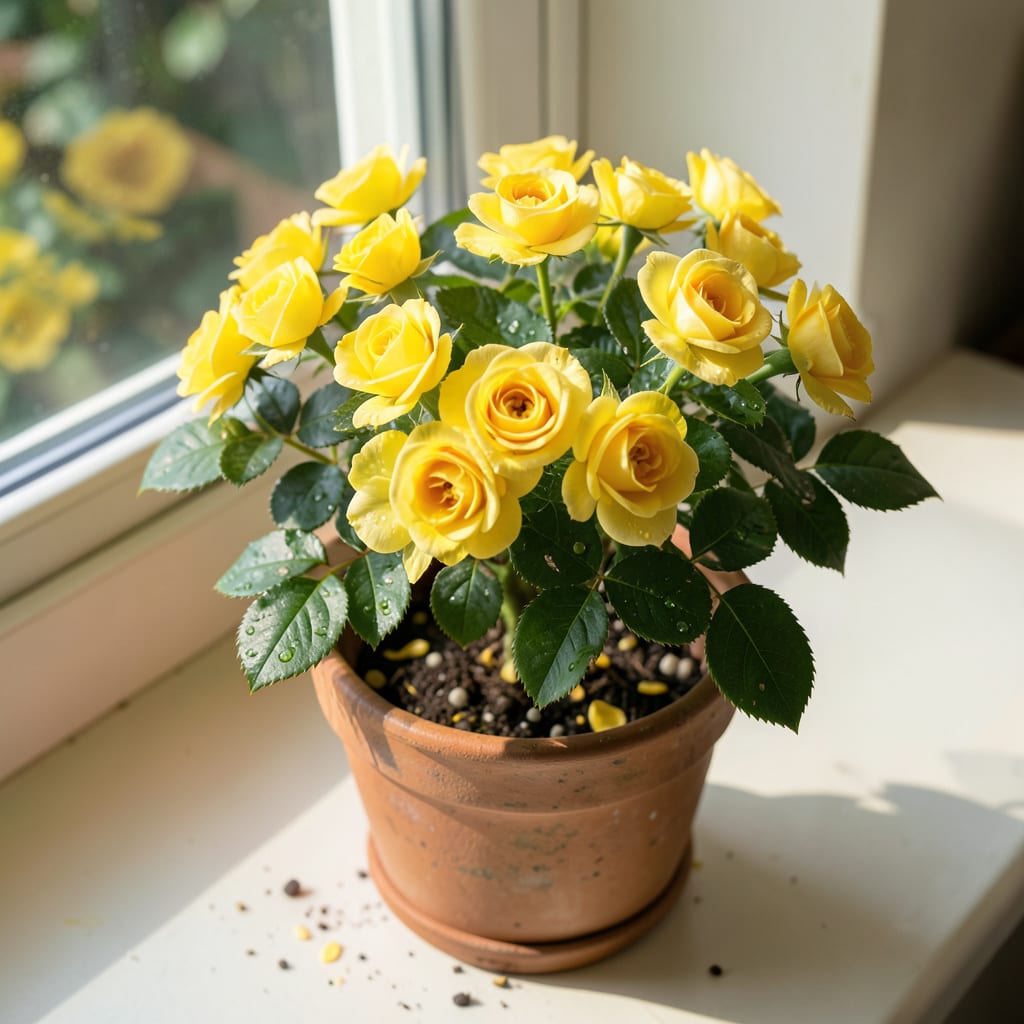
Tiny but mighty—these little yellow bloomers pack a wallop. I’ve grown them in pots and small beds, and they keep pushing out bright flowers all season long without demanding much space.
Perfect for patios or tight garden corners, they thrive with basic care: good drainage, regular water, and a sunny spot. You’ll get continuous color from spring through fall with minimal effort.
📚 In This Guide
Here’s how I coax continuous blooms from miniature yellow roses—tested and true for compact spaces.
Choose a location with full sun (at least 6-8 hours daily) and well-draining soil. Miniature roses despise wet feet, so avoid low-lying areas where water pools. I always test drainage by digging a 1-foot hole, filling it with water, and checking if it empties within 2 hours.
If planting in containers, ensure pots have drainage holes and are at least 12 inches deep. The soil should be slightly acidic to neutral (pH 6.0-7.0). Here’s the thing—yellow roses fade in alkaline soil, so a quick test kit saves guesswork.
Amend the planting area with compost or aged manure to improve fertility and structure. Dig a hole twice as wide as the root ball but no deeper. Place the rose in the hole, ensuring the graft union (that swollen bump near the base) sits 1-2 inches above soil level in cold climates or at soil level in warmer zones.
Backfill with native soil, watering lightly as you go to eliminate air pockets. I’ve found that tampering down the soil gently with my hands prevents settling later. Water thoroughly after planting, then mulch with 2-3 inches of organic material to retain moisture.
Water deeply 2-3 times weekly, allowing the top 1-2 inches of soil to dry between waterings. Miniature roses have shallow roots, so frequent, shallow watering encourages weak growth. I use a soaker hose to deliver water directly to the roots and avoid wetting the foliage, which invites fungal diseases.
Early morning is the best time to water, as it gives leaves time to dry before evening. Real talk: Overwatering is the fastest way to kill a miniature rose. If leaves turn yellow and drop, you’re likely giving it too much love.
Deadhead spent blooms regularly by snipping just above a 5-leaflet set. This encourages the plant to produce more flowers instead of setting hips. I carry a small pair of sharp pruners in my pocket for this task—it’s that important.
In early spring, prune back one-third of the plant’s height to shape it and remove any dead or diseased wood. Always prune at a 45-degree angle just above an outward-facing bud. This opens the center of the plant for better air circulation, reducing the risk of mildew.
Feed your miniature rose every 2-3 weeks during the growing season with a balanced, water-soluble fertilizer (10-10-10 or 20-20-20). I switch to a low-nitrogen formula in late summer to discourage new growth that might be damaged by frost.
For organic gardeners, fish emulsion or compost tea works wonders but may require more frequent application. Stop fertilizing 6-8 weeks before the first frost to allow the plant to harden off for winter. You’ll see the difference in bloom quality almost immediately.
Small adjustments make a huge difference in keeping your miniature yellow rose thriving and blooming.
Sunlight Strategy: The 6-8 hours of daily sun mentioned in Step 1 is non-negotiable for continuous blooms. If your space only gets partial sun, position the plant where it receives morning sun and afternoon shade. I’ve noticed roses in east-facing locations often outperform those in west-facing spots with harsh afternoon heat.
Drainage Test: That 2-hour drainage test in Step 1 is your best insurance against root rot. If water doesn’t empty within that timeframe, amend the soil with coarse sand or consider raised beds. Confession: I skipped this step once and lost three plants to soggy soil—lesson learned the hard way.
Pruning Precision: In Step 4, pruning at that 45-degree angle isn’t just for aesthetics—it prevents water from pooling on the cut surface, which can lead to disease. Always use clean, sharp pruners to make smooth cuts that heal quickly. Between us, dull pruners are the number one cause of ragged stems that invite infection.
Fertilizer Timing: The 6-8 weeks before first frost cutoff in Step 5 is critical. New growth triggered by late fertilizing won’t have time to harden off before cold weather hits. I mark my calendar in early fall as a reminder to stop feeding, giving the plant time to prepare for winter dormancy.
Water deeply 2-3 times per week, allowing the soil to dry slightly between waterings. Avoid overhead watering to prevent fungal diseases. Mulching helps retain moisture.
Plant in early spring or fall when temperatures are mild. This gives the roots time to establish before extreme heat or cold. Container-grown roses can be planted anytime during the growing season.
Yes! Choose a container at least 12-16 inches deep with drainage holes. Use well-draining potting mix and ensure the bush gets at least 6 hours of sunlight daily.
Yellow leaves often indicate overwatering, poor drainage, or nutrient deficiencies. Check soil moisture and ensure proper drainage. A balanced fertilizer can help restore vibrant foliage.
Pair with low-growing plants like lavender, catmint, or salvia. These companions deter pests, attract pollinators, and complement the rose’s vibrant yellow blooms without competing for nutrients.
