
Beautiful Plants For Your Interior
Beautiful Plants For Your Interior
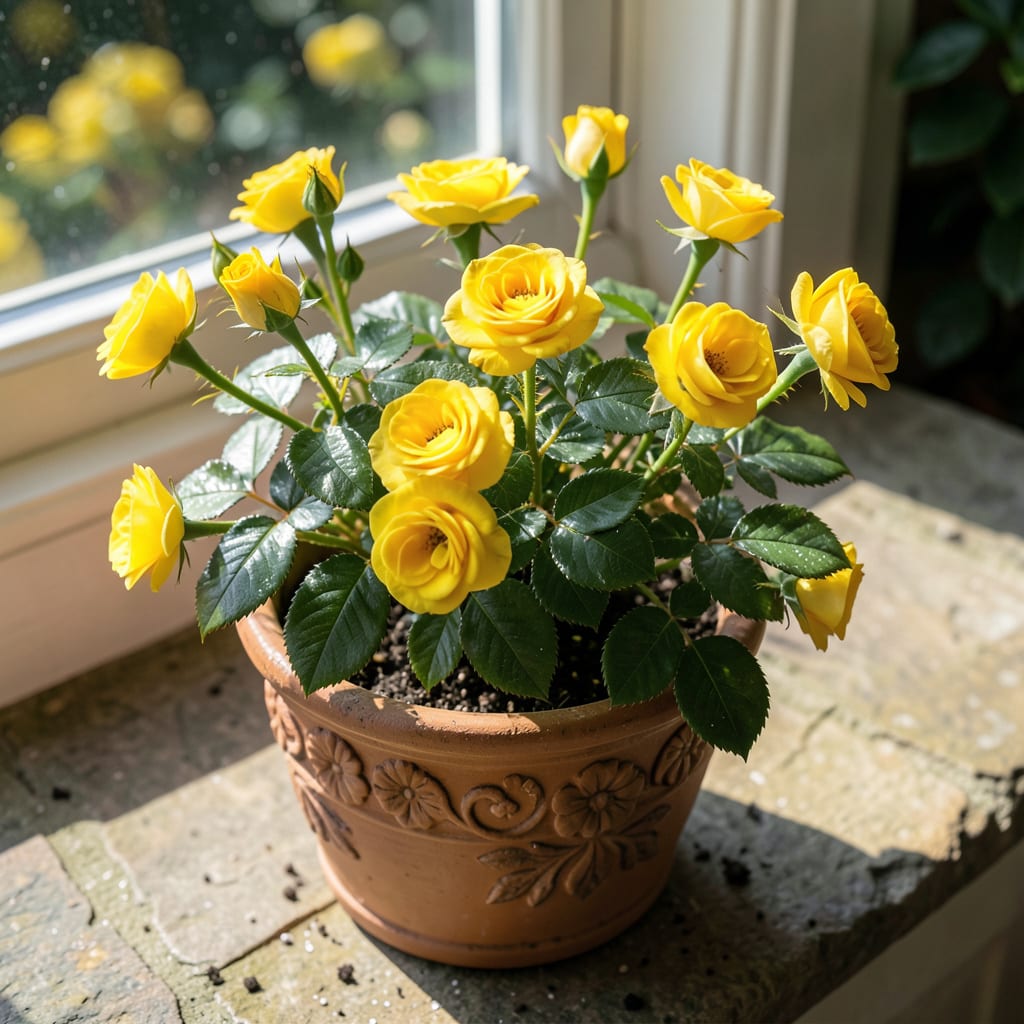
I fell for mini yellow roses the first time I saw their cheerful blooms lighting up a patio. They pack all the charm of full-sized roses into a tidy package that fits anywhere.
These little powerhouses bloom nonstop from spring until frost with almost no fuss. Give them 6 hours of sun, consistent water, and occasional pruning, and they’ll reward you with color all season long.
📚 In This Guide
Here’s my proven method for coaxing continuous blooms from these compact beauties.
Choose a spot receiving 6-8 hours of direct sun daily. Mini yellow roses thrive in morning sun with afternoon shade in hotter climates. Avoid areas with strong winds that can damage delicate stems.
Test soil drainage by digging a 12-inch hole and filling it with water. If it drains within 1 hour, the location is suitable. These roses prefer slightly acidic to neutral soil with a pH between 6.0-7.0.
I always mark the location with a temporary stake to observe light patterns throughout the day. You’ll notice subtle differences that affect blooming quality.
Loosen soil to a depth of 18 inches and width of 24 inches for each rose. Mix in 2-3 inches of organic matter like compost or well-rotted manure to improve fertility and drainage.
Create a small mound in the center of the hole where the rose will sit. This prevents the crown from settling too deep after planting. I’ve found this simple step saves many plants from rot.
Water the prepared hole thoroughly and let it drain before planting. The soil should feel moist but not waterlogged when you insert your finger 2 inches deep.
Remove the rose from its container and gently tease apart any circling roots. Place the plant on the mound so the graft union (the swollen area near the base) sits 1-2 inches above soil level.
Backfill with the amended soil, firming gently around the roots to eliminate air pockets. Water deeply after planting, using 1-2 gallons per bush to settle the soil.
Here’s the thing—mini roses often arrive with long canes. I cut them back to 6-8 inches at planting to encourage bushier growth from the base.
Water deeply 2-3 times per week during the first month, then reduce to 1-2 times weekly once established. Always water at the base to keep foliage dry and prevent disease.
Apply a balanced rose fertilizer every 4-6 weeks during the growing season. I use half the recommended strength for mini varieties to avoid burning delicate roots.
Watch for yellowing leaves as a sign of overwatering or nutrient deficiency. Mini yellow roses often show stress first in their foliage color.
Deadhead spent blooms by cutting just above a 5-leaflet leaf to encourage more flowers. This technique signals the plant to produce new growth and blooms rather than seeds.
Prune in early spring before new growth appears, removing any dead, diseased, or crossing canes. I thin out about one-third of the oldest canes each year to maintain vigor.
Real talk: these mini roses respond dramatically to regular pruning. You’ll see a flush of new growth within 2 weeks of a good trim.
Small adjustments in planting and care make a world of difference for these compact bloomers.
The Sun Factor: In Step 1, those 6-8 hours of direct sun are non-negotiable for vibrant blooms. If your climate is particularly hot, aim for morning sun with afternoon shade to prevent scorching. I learned this the hard way after losing several plants to midday heat.
Soil Preparation Secret: When following Step 2, don’t skip loosening the soil to that 18-inch depth. This gives the roots room to establish quickly. The 2-3 inches of organic matter you mix in will improve both drainage and fertility, which mini roses absolutely require.
Planting Technique: In Step 3, positioning the graft union 1-2 inches above soil level prevents rot and encourages strong growth. Trust me on this—burying it too deep is the most common mistake I see with beginners. Also, cutting canes back to 6-8 inches at planting seems drastic but promotes that bushy, floriferous growth we all want.
Watering Wisdom: During the first month, stick to that 2-3 times per week schedule in Step 4. Overwatering is just as dangerous as underwatering. The soil should feel moist 2 inches deep but never soggy. This is the sweet spot for new plantings.
Water deeply 1-2 times per week, allowing the soil to dry slightly between waterings. In hot climates, increase frequency but avoid soggy soil to prevent root rot.
Plant in early spring or fall for ideal root establishment. Avoid extreme heat or frost, and choose a sunny spot with well-draining soil for best results.
Yes! Use a pot at least 12-16 inches deep with drainage holes. Dwarf varieties thrive in containers—just ensure consistent watering and fertilizer.
Yellow leaves often signal overwatering, poor drainage, or nutrient deficiency. Check soil moisture, improve drainage, or apply a balanced fertilizer to correct the issue.
Pair with low-growing plants like lavender, salvia, or marigolds. These companions deter pests, enhance beauty, and share similar sunlight and soil needs.
