
Beautiful Plants For Your Interior
Beautiful Plants For Your Interior
There’s something magical about watching a single prayer plant cutting transform into a full, lush maranta. I’ve propagated dozens of these beauties over the years, and the process never gets old—especially when you see those first tiny roots appearing in just 2-3 weeks. What starts as a simple stem cutting becomes a thriving plant with […]
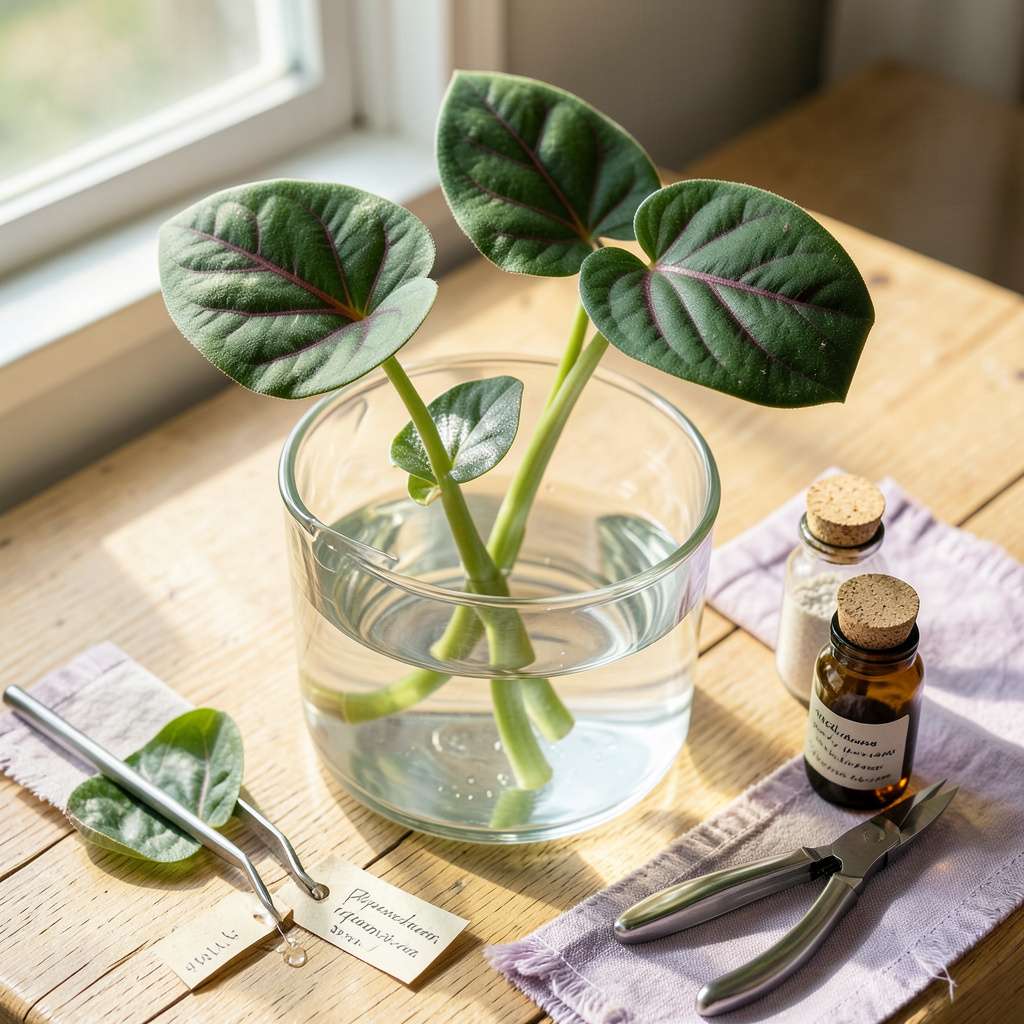
There’s something magical about watching a single prayer plant cutting transform into a full, lush maranta. I’ve propagated dozens of these beauties over the years, and the process never gets old—especially when you see those first tiny roots appearing in just 2-3 weeks. What starts as a simple stem cutting becomes a thriving plant with those iconic patterned leaves that fold up at night like little green hands in prayer.
The secret isn’t some complicated technique—it’s understanding what marantas actually need to root successfully. After killing my first few attempts by overcomplicating things, I landed on a method that works every time with just water, indirect light, and a little patience. You don’t need special equipment or years of experience, just the right approach to coax those roots to grow.
Within a month, you’ll have baby plants ready for their own pots, complete with the same vibrant leaf patterns as the mother plant. The best part? Each new plant carries forward that satisfying movement where the leaves rise and fall with the day—like having a living, breathing piece of nature’s rhythm in your home.
This works for any maranta variety, whether you’re propagating the classic red-veined type or one of the rarer cultivars. The same principles apply, and the results are just as rewarding. Let’s get those cuttings started!
📚 In This Guide
Water (room temp, filtered or distilled)
Rooting hormone (gel or powder) – Speeds up growth for stem cuttings.
Here’s the method I use to create thriving new prayer plants from cuttings—it works every time.
Choose a mature maranta stem with at least 3-4 leaves and a few nodes (the small bumps where leaves emerge). I always pick stems that look vibrant and disease-free—yellowing leaves or soft stems won’t root well. Use clean, sharp scissors to cut just below a node at a 45-degree angle.
Remove the bottom 1-2 leaves to expose the nodes where roots will form. This prevents those leaves from rotting underwater while still leaving enough foliage to support growth. A cutting with 2-3 remaining leaves strikes the perfect balance between energy production and minimal water loss.
Fill a small glass or jar with room-temperature water—enough to submerge the exposed nodes but not the remaining leaves. I use filtered or distilled water to prevent mineral buildup that can inhibit root growth. Place the cutting in the water so the bare nodes sit 1-2 inches below the surface.
Put the glass in bright, indirect light (an east-facing windowsill works perfectly). Change the water every 3-4 days to keep it fresh and oxygenated. You’ll see tiny white roots emerging from the nodes within 2-3 weeks. Wait until roots reach 2-3 inches long before transplanting—they’ll look like delicate white threads.
Prepare a small pot (about 4 inches wide) with well-draining potting mix. I blend regular mix with 20% perlite to ensure proper aeration—marantas hate soggy roots. Make a small hole in the soil with your finger, then gently place the rooted cutting inside. The base of the stem should sit just below the soil surface.
Water lightly until moisture drips from the drainage holes, then let excess drain completely. Place the pot in medium to bright indirect light (no direct sun, which can scorch tender new growth). Keep the soil consistently moist but not soggy for the first 2 weeks while the plant establishes. You’ll know it’s thriving when new leaves start unfurling.
Marantas thrive in humidity, so I place the new plant on a pebble tray filled with water or group it with other plants to create a microclimate. Misting the leaves 2-3 times weekly helps too, but avoid soaking the foliage. Watch for crispy leaf edges—that’s your signal the air is too dry.
Fertilize lightly with half-strength balanced liquid fertilizer every 4-6 weeks during spring and summer. The prayer plant movement (leaves folding upward at night) will become more pronounced as the plant matures. Once you see 3-4 new leaves, you’ll know the propagation was successful and your maranta is ready for its forever home.
After propagating hundreds of prayer plants, here’s what I’ve learned about avoiding pitfalls and maximizing success.
Cutting Selection: In Step 1, choose stems with vibrant green leaves and visible nodes. I’ve found that stems with at least 4 leaves root most successfully, and the 45-degree angle cut increases surface area for water absorption. Avoid stems with any brown spots or softness—these rarely recover in water.
Water Quality Matters: For Step 2, using filtered or distilled water prevents mineral deposits that can clog developing roots. I change the water every 3 days without fail—this oxygenates the water and prevents bacterial growth. If you notice cloudy water before day 3, change it immediately to protect your cutting.
Root Development: The 2-3 week waiting period in Step 2 is crucial. I’ve learned that roots grow faster in warmer conditions (70-75°F), so placing your jar on a warm windowsill (but not in direct sun) can speed up the process. Don’t transplant until roots are at least 2 inches long—shorter roots often fail to establish in soil.
Transplant Timing: During Step 3, the first 2 weeks after transplanting are critical. I keep the soil consistently moist by checking it daily with my finger—when the top inch feels dry, it’s time to water. This prevents both underwatering and soggy conditions that marantas hate.
Got questions about growing your prayer plant collection? Here are the most common ones—answered!
Most cuttings develop roots in 2–4 weeks when kept in bright, indirect light and warm temps (65–75°F). Change the water weekly to prevent bacteria. Patience is key—some slower growers may take up to 6 weeks! Pro tip: Use a clear container to monitor root growth without disturbing the cutting.
Spring or early summer (growing season) is ideal—your plant’s energy is focused on new growth! Avoid winter propagation; slower growth can lead to rot. If you must propagate off-season, use a heat mat (70°F+) to encourage rooting.
Nope! A leaf alone won’t grow into a new plant. You need a stem cutting with at least one node (the bump where leaves/roots emerge). Even a small stem section with a node has a better shot than a lone leaf.
This usually means overwatering (if in soil) or bacterial rot (in water). Trim affected areas, sterilize your tools, and switch to fresh water or well-draining soil. Too much direct sun can also stress cuttings—move them to gentler light.
Water propagation is beginner-friendly—you can see roots forming! But soil propagation (with high humidity) often transitions plants better long-term. Try both to see what works for you! Bonus: Sphagnum moss is a happy middle ground for moisture control.
Propagating your maranta doesn’t have to be intimidating—with the right steps, you’ll soon have thriving new prayer plants to enjoy or share! 🌱 Whether you chose water or soil propagation, patience and consistency are key. Now that you’re armed with know-how, grab those cuttings and get started—your plant family is about to grow!
Ready for the next step? Monitor your new propagations closely for roots (usually in 2–4 weeks) and transition them to soil if needed. Happy propagating!
