
Beautiful Plants For Your Interior
Beautiful Plants For Your Interior
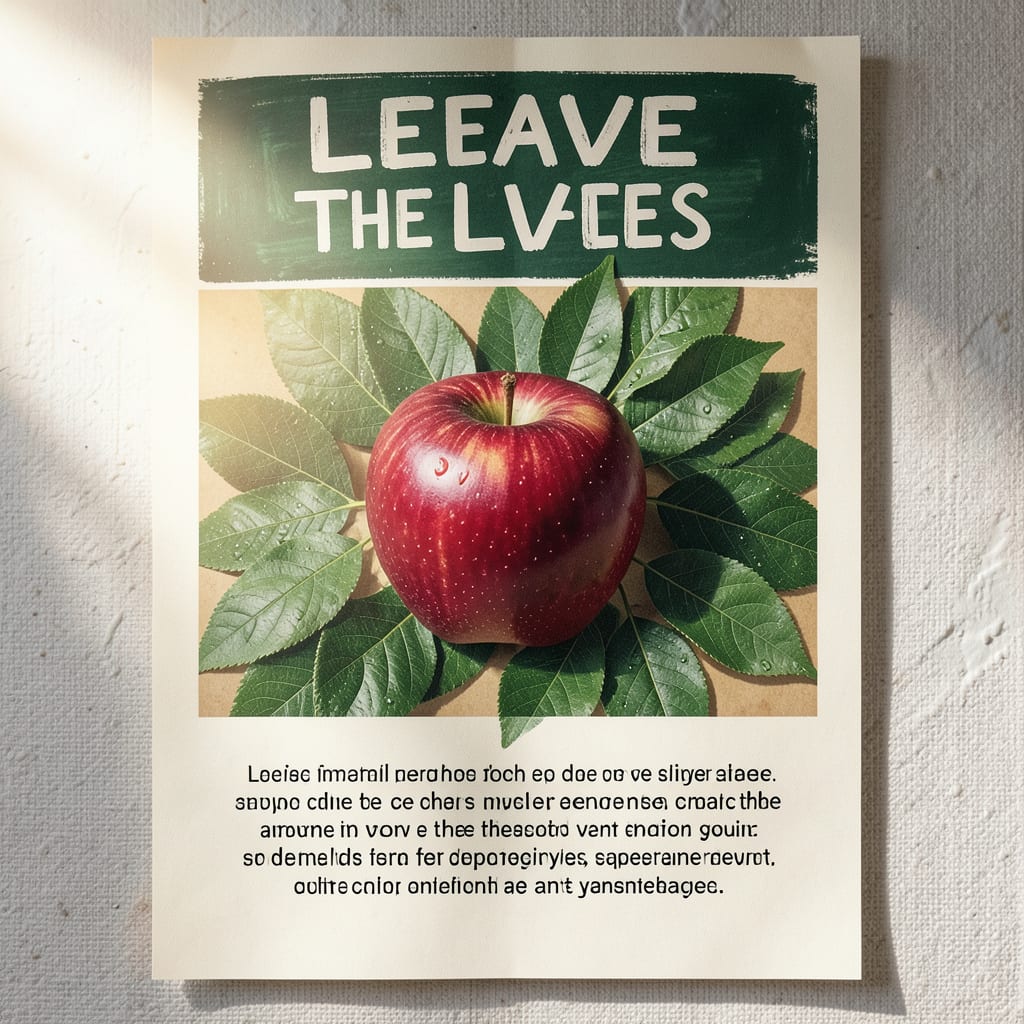
I used to rake every last leaf until I learned what they actually do for soil and wildlife. Leaving them in place builds healthier gardens with less work and more life.
This approach creates natural mulch that protects plant roots and provides habitat for beneficial insects. The result is a thriving ecosystem that looks as good as it feels.
📚 In This Guide
Transform your garden’s message into a beautiful, eco-conscious display with this simple approach.
Sketch a rough draft on paper first to visualize the placement of text and images. I like to divide the space into three sections: a bold header, a central illustration, and explanatory text at the bottom. This creates a balanced, eye-catching design that draws people in.
Keep the text concise and impactful. A phrase like “Leave the Leaves for Wildlife” works perfectly as your main message. The illustration should dominate the center—think of a stylized leaf pile with a butterfly or bee to symbolize the ecological benefits.
Select durable, weather-resistant materials since this will likely hang outdoors. A sturdy poster board or a canvas panel works well for the base. For the illustration, use acrylic paints or permanent markers that won’t fade in the sun or run in light rain.
If you prefer a printed look, design your poster digitally and print it on waterproof paper. Just make sure the ink is UV-resistant. For a natural touch, press real leaves onto the surface and seal them with a clear, outdoor-rated varnish.
Start with the central image. If you’re painting, use a pencil to outline your leaf pile and wildlife elements first. This keeps everything proportional and prevents mistakes. For a pressed leaf design, arrange your leaves in a visually pleasing pattern before gluing them down.
Use earthy tones like browns, greens, and golds to evoke a natural feel. If you’re including text, make sure it contrasts sharply with the background—black on white or white on dark green always reads clearly from a distance.
Write or print your main message at the top in a large, bold font. Below the illustration, include a short explanation, such as “Leaving leaves provides shelter for pollinators and enriches the soil.” Keep the font size readable from at least 10 feet away.
If hand-lettering, use a ruler to keep lines straight and consistent. For printed text, choose a clean, sans-serif font that’s easy to read. Avoid cursive or overly decorative styles—they can be hard to decipher from a distance.
Once everything is dry, apply a clear, outdoor-rated sealant to protect your poster from the elements. This step is crucial if your poster will hang outside year-round. Allow it to dry completely before handling.
Hang your poster in a visible spot, such as near your garden entrance or along a pathway. Use sturdy hooks or a weatherproof frame to keep it secure. Check it periodically for wear and reapply sealant as needed to keep it looking fresh.
Small details can make or break your garden sign’s impact and durability.
Design Balance: Confession: I skipped sketching my layout for years and wondered why my posters looked cluttered. Stick to the three-section approach from Step 1—a bold header, central illustration, and bottom text—to create natural visual flow. This simple structure prevents overcrowding and keeps the message clear from a distance.
Material Selection: Don’t cut corners on durability. In Step 2, when choosing between poster board and canvas, remember that canvas panels handle outdoor conditions better long-term. If using real leaves, press them completely flat and seal with multiple coats of varnish to prevent curling in humidity.
Visibility Matters: The 10-foot readability rule from Step 4 isn’t just a suggestion. Test your text by standing back—if you can’t read it from that distance, increase the font size or simplify your message. Dark text on light backgrounds always outperforms light text on dark in outdoor lighting.
Protection Strategy: In Step 5, the sealant isn’t optional for outdoor display. Apply two thin coats rather than one thick one, letting each dry completely. This creates a more durable barrier against moisture and UV damage, extending your poster’s life significantly.
It’s a sustainable practice where you leave fallen leaves in your garden to decompose naturally, enriching the soil and providing habitat for wildlife like butterflies and beneficial insects.
Display it in early fall when leaves start dropping. This reminds neighbors and passersby to embrace the eco-friendly approach before they begin raking or bagging leaves.
Yes! You can mulch leaves with a lawnmower, use them as compost, or create leaf mold. These methods still benefit the environment while keeping your yard tidy.
Explain that a thin layer of leaves won’t attract pests and actually improves soil health. For aesthetics, suggest mulching or designated leaf piles in less visible areas.
