
Beautiful Plants For Your Interior
Beautiful Plants For Your Interior
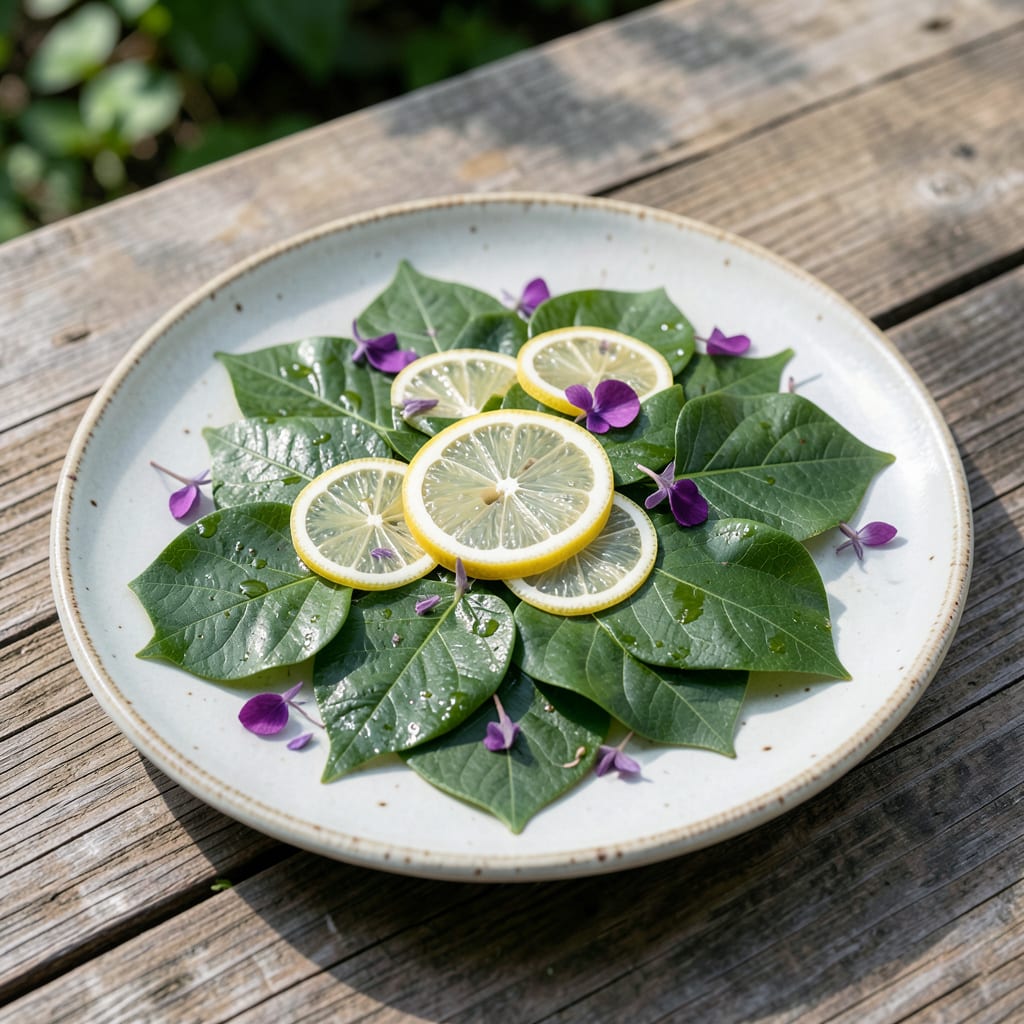
Japanese lilac tree leaves can reveal a lot about your tree’s health. I’ve learned to spot trouble early—yellowing, spots, or curled edges often signal pests or disease before they spread.
Most issues fix with better airflow, proper watering, or a simple treatment. Healthy leaves mean a thriving tree that rewards you with fragrant blooms and lush foliage year after year.
📚 In This Guide
Here’s the simple, safe method I use to gather and prepare these fragrant leaves without harming the tree.
Start by confirming you’re harvesting from a Japanese lilac tree (Syringa reticulata), not a common lilac bush. The leaves are 2-4 inches long, heart-shaped, and grow in opposite pairs. Look for healthy, pest-free foliage—avoid any with spots, holes, or discoloration.
Check the tree for recent pesticide use. If it’s been sprayed within 2-3 weeks, wait before harvesting. I always touch a few leaves first—if they feel sticky or dusty, the tree may have been treated.
Pick leaves in the early morning after the dew has dried but before the sun gets too hot. This is when the aromatic oils are most concentrated. Use clean, sharp scissors or pruners to snip individual leaves or small sprigs.
Never remove more than 10-15% of the foliage from any single branch to keep the tree healthy. I focus on the outer growth, leaving inner leaves to sustain the plant. Harvest young, tender leaves for the best flavor—they’re milder and less bitter than mature ones.
Rinse the leaves gently under cool water to remove dust or debris. Pat them dry with a clean towel or let them air-dry on a paper towel for 10-15 minutes. Don’t soak them, as this can leach out the oils.
If you’re using them fresh, you can chop or tear them right away. For drying, lay them in a single layer on a screen or parchment paper in a warm, dark place with good airflow. They’ll be ready in 1-2 weeks when they crumble easily between your fingers.
Fresh leaves can be stored in a sealed container in the refrigerator for up to 5 days. For longer storage, dried leaves keep their flavor for 6-12 months in an airtight container away from light and heat.
Use the leaves to infuse teas, flavor syrups, or add a floral note to desserts. I like to steep 5-6 fresh leaves in hot water for a soothing herbal tea. The flavor is subtle, so start with a small amount and adjust to taste.
Here’s how to get the best results when harvesting and using these aromatic leaves.
Timing Secret: The early morning window after dew dries is crucial for maximum oil concentration. I set my alarm to harvest before 9 AM when the sun starts getting intense, as mentioned in Step 2.
Harvesting Wisdom: When removing foliage, stick to the 10-15% limit per branch from Step 2. I use kitchen scissors for precision and always focus on the outermost growth, which gives the youngest, most flavorful leaves.
Storage Strategy: For fresh leaves, the 5-day refrigeration limit from Step 4 is firm. I store mine in a paper towel-lined container to absorb excess moisture, which helps maintain freshness.
Drying Technique: The 1-2 week drying time in Step 3 works best in a warm, dark spot. I use a mesh screen for airflow and check daily after the first week—they’re ready when they crumble like dried oregano between your fingers.
Yes, young leaves are edible in moderation, often used in teas or cooked dishes. However, older leaves can be bitter or toxic in large amounts, so always harvest fresh, tender growth and consult a guide for safe preparation.
Harvest in early spring when leaves are young, soft, and light green. Avoid picking after the tree flowers, as leaves become tougher and more bitter.
Absolutely! Fresh or dried young leaves can be steeped for a mild, floral tea. Start with a small amount to test flavor and tolerance, as some may find it slightly astringent.
Yellowing leaves often signal overwatering, poor drainage, or nutrient deficiency. Check soil moisture, improve drainage, or fertilize with a balanced product to restore health.
