
Beautiful Plants For Your Interior
Beautiful Plants For Your Interior
I still remember the first time I spread mushroom compost over my tired garden beds. By mid-summer, the difference was undeniable—darker soil, thicker stems, and vegetables that grew twice the size of previous years. This isn’t just dirt; it’s a powerhouse of nutrients that transforms even the most stubborn clay or sandy patches into productive […]
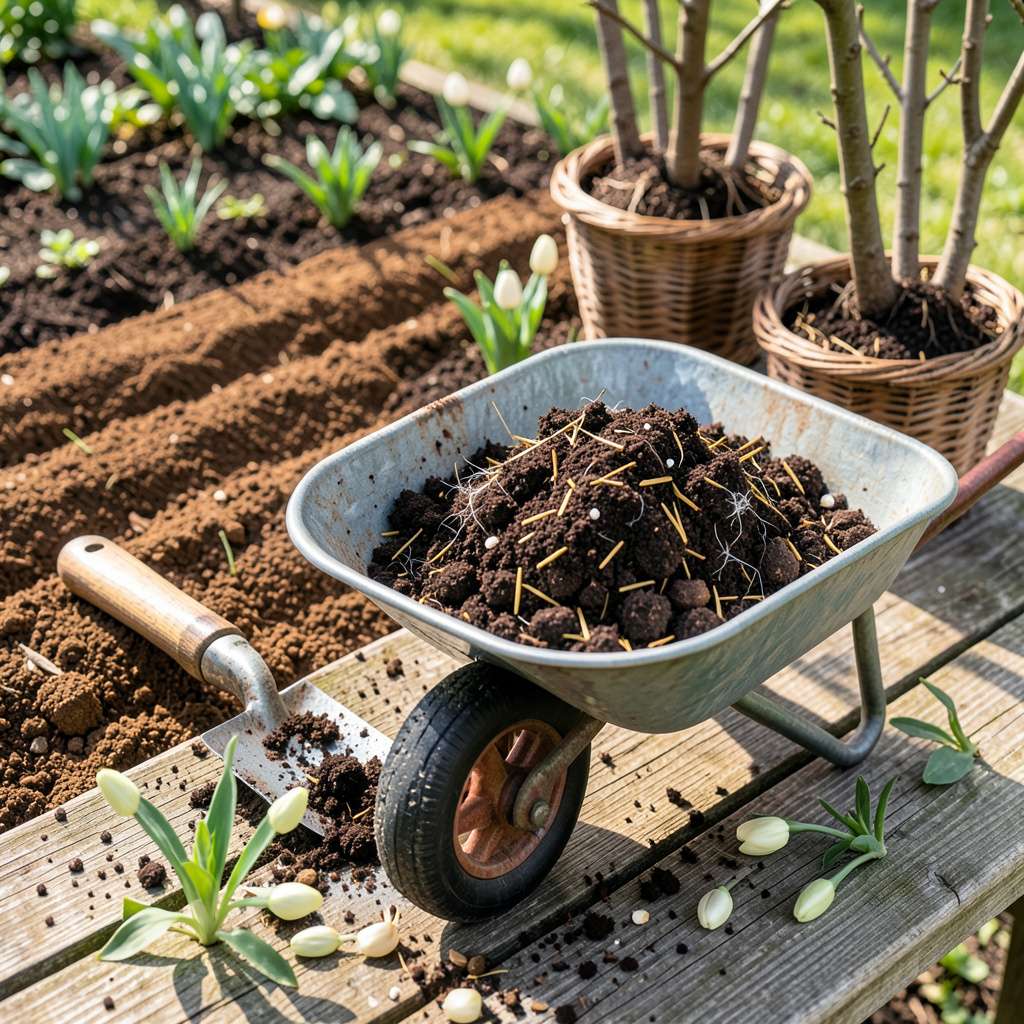
I still remember the first time I spread mushroom compost over my tired garden beds. By mid-summer, the difference was undeniable—darker soil, thicker stems, and vegetables that grew twice the size of previous years. This isn’t just dirt; it’s a powerhouse of nutrients that transforms even the most stubborn clay or sandy patches into productive growing space.
Here’s the thing—mushroom compost works because it’s already done the hard work for you. The mushrooms break down organic matter into a rich, crumbly material packed with nutrients plants crave. I’ve used it to revive exhausted soil after heavy feeding crops like tomatoes and squash, and seen new plants establish faster than with any other amendment.
You’ll want to mix it 2-3 inches deep into your topsoil before planting, or use it as a 1-inch top dressing around established plants. The results show quickly: deeper green leaves within a week, stronger root systems by week three, and noticeably larger harvests come season’s end. My garden journals prove it—every bed amended with this stuff outperforms the others.
Works equally well in raised beds, container gardens, or directly in the ground. Whether you’re growing flowers that demand rich soil or vegetables that need steady feeding, this one change makes all the difference. The best part? It keeps working season after season, building your soil instead of just feeding your plants.
📚 In This Guide
This simple method transforms your soil and boosts plant health—no guesswork required.
Apply mushroom compost in early spring, at least 2-3 weeks before planting, or in fall after harvest. This gives it time to integrate with your soil without overwhelming young plants. I avoid using it mid-season because the high nutrient content can burn tender roots if not properly mixed.
The ideal soil temperature is above 50°F—you’ll feel warmth when you press your hand to the earth. If your soil is still cold and clumpy, wait a week or two. Mushroom compost works best when soil microbes are active, which happens once things warm up naturally.
Start by removing weeds and breaking up the top 6-8 inches of soil with a garden fork. Don’t till deeply—you want to preserve the soil structure while just loosening the surface. I’ve found that working when soil is slightly damp (not wet) makes this easier and prevents compaction.
Spread a 1-2 inch layer of mushroom compost evenly over the bed. For new gardens, you can go up to 3 inches, but established beds need less. You’ll notice the dark, crumbly texture—this is exactly what you want for improving both clay and sandy soils.
Use a bow rake to gently mix the compost into the top 4-6 inches of soil. The goal is even distribution, not complete blending. I work in small sections, turning the soil just enough to combine it with the compost without destroying the existing structure.
Watch for clumps as you work. If you encounter any, break them up with your hands—they’ll dissolve more quickly when exposed to soil microbes. You’ll know you’re done when the surface looks uniformly dark and textured, with no visible layers of straight compost.
After mixing, water the bed thoroughly until moisture reaches 6 inches deep. Use your finger to check—it should feel damp but not soggy. This initial watering activates the compost and helps nutrients start breaking down for plant uptake.
Now comes the hard part: waiting. Let the bed rest for 7-10 days before planting. This allows the compost to mellow and prevents potential nitrogen burn to young plants. You’ll see earthworms appear at the surface during this time—a sure sign the compost is working its magic.
For the first month after application, keep the soil consistently moist but not waterlogged. I check daily by pressing my finger 1 inch into the soil—if it feels dry at that depth, it’s time to water. Mushroom compost improves water retention, so you’ll likely water less frequently than before.
Watch your plants closely during this period. Leaves should appear deep green and sturdy. If you notice yellowing edges, you may have applied too much—flush the area with water and hold off on additional compost until next season. The rich, earthy smell means everything is working as it should.
These practical insights will help you get the most from your mushroom compost while avoiding common pitfalls.
Timing is Everything: The 2-3 weeks before planting mentioned in Step 1 isn’t arbitrary—this window allows the compost to begin breaking down and integrating with your native soil. I’ve found that applying it too close to planting can actually stress young plants with its initial nutrient surge. The 7-10 day resting period in Step 4 is equally crucial; skipping this often leads to nitrogen burn on tender seedlings.
Depth Matters: When incorporating compost in Step 3, focus on that 4-6 inch depth—this is where most plant roots actively grow. Going deeper wastes compost where roots won’t reach it, while staying too shallow means nutrients won’t be accessible to developing root systems. I use the handle of my rake to measure as I work, ensuring consistent depth across the entire bed.
Moisture Monitoring: The 1-inch finger test in Step 5 becomes your best tool after application. Mushroom compost dramatically improves water retention, so what felt like proper watering before may now be too much. I check both morning and evening during that first critical month, adjusting based on how quickly the top inch dries out. Remember, the compost should smell earthy, not sour—if you detect a sharp odor, you’re likely overwatering.
Application Rates: That 1-2 inch layer specified in Step 2 is ideal for most situations, but I’ve learned to adjust based on soil type. Heavy clay soils benefit from the full 2 inches to improve drainage, while sandy soils do well with just 1 inch to boost water retention. For new garden beds, the 3-inch maximum can work wonders, but never exceed this—too much compost can create an imbalance that actually inhibits plant growth.
While you can use it neat, it’s best to mix mushroom compost 1:1 with garden soil first. Pure compost can be too strong for young plants, risking root burn. For potted plants, blend 25-30% compost with potting mix. Always water thoroughly after applying to help nutrients settle!
Apply it 2-4 weeks before planting (early spring or fall) to let it break down. For existing plants, lightly top-dress in early morning or late afternoon to avoid stressing roots. Avoid using it in extreme heat—wait for milder temps (50–80°F).
Yes! It’s great for veggies, flowers, and shrubs, but avoid acidic-loving plants like blueberries or azaleas—mushroom compost is slightly alkaline (pH ~6.5–7.5). For edibles, use it 3+ months before harvest to ensure food safety.
Mushroom compost is richer in organic matter (like straw, manure, and gypsum) and has a finer texture, making it ideal for water retention. Regular compost is more balanced but less nutrient-dense. Think of mushroom compost as a soil conditioner, not a standalone fertilizer.
A slight ammonia scent is normal—it means the compost is fresh and nitrogen-rich. Let it air out for 1–2 weeks before using, or mix it into soil immediately. If the smell is overpowering, it may need more aging or dilution with soil.
Mushroom compost is a game-changer for your garden—Soil Health and Growth”>boosting soil health, retaining moisture, and supercharging plant growth with natural nutrients. 🌱 Whether you’re amending beds, top-dressing lawns, or nourishing potted plants, this eco-friendly powerhouse delivers visible results without harsh chemicals.
Ready to see the difference? Start small with a single garden bed or container, and watch your plants thrive! For even better results, pair mushroom compost with a soil test to tailor your approach. Happy gardening! 🌿
