
Beautiful Plants For Your Interior
Beautiful Plants For Your Interior
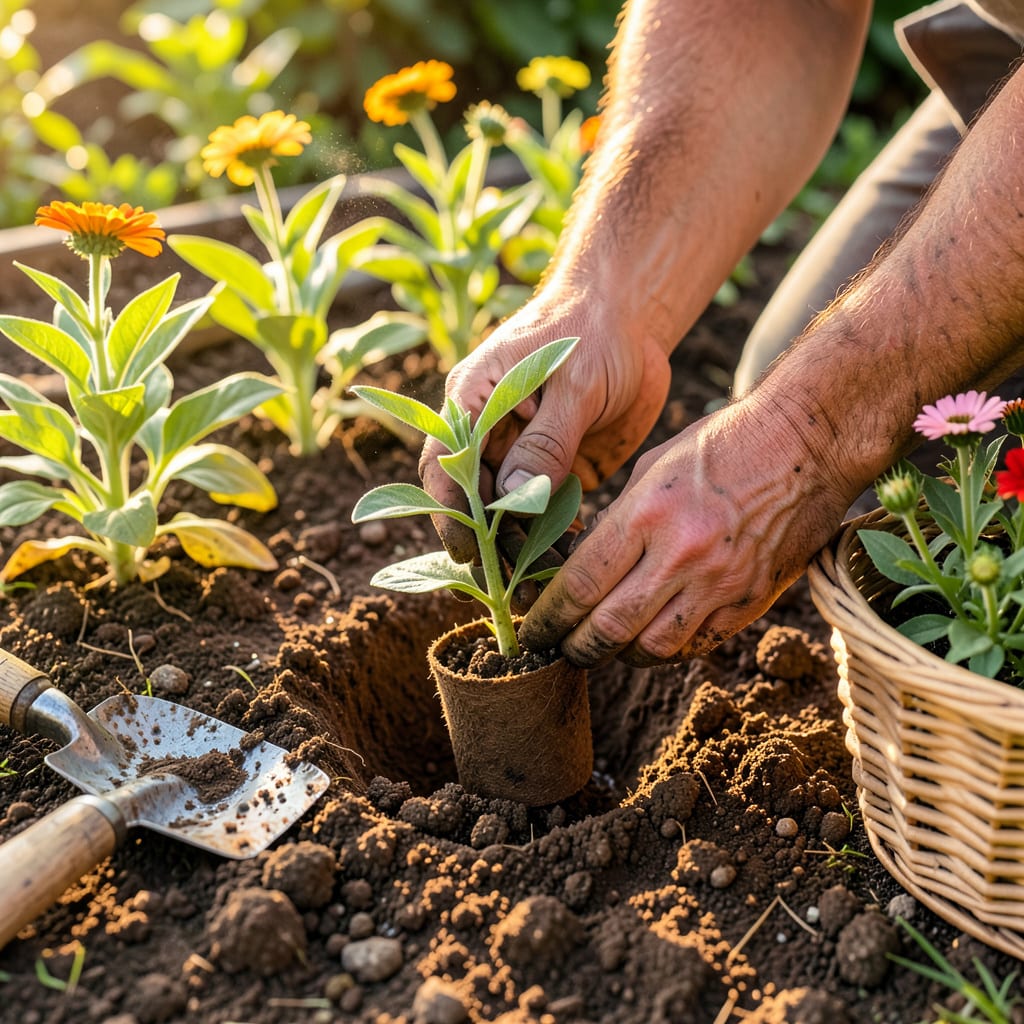
Moving zinnia seedlings from trays to garden beds is where the real magic starts. I’ve ruined my share by rushing this step—wilted leaves, stunted growth, the whole sad show. But after nailing the timing (when they’re 3-4 inches tall with true leaves) and hardening them off properly, my zinnias now explode with color by midsummer.
The trick isn’t green thumbs; it’s three foolproof moves: transplant on a cloudy day, bury stems slightly deeper than they were in pots, and water the soil—not the leaves—right after. Do this right, and you’ll get bushier plants with twice the blooms. No more leggy, shock-prone seedlings.
📚 In This Guide
Here’s my tried-and-true method for moving your delicate zinnia starts without shock or stress.
Choose a location with full sun (at least 6-8 hours daily) and well-draining soil. If transplanting to garden beds, loosen the soil to 12 inches deep and mix in 2-3 inches of compost for nutrients. The soil should crumble easily in your hand—if it clumps or feels sticky, work in more organic matter.
For containers, select pots that are 8-12 inches deep with drainage holes. Fill them with a quality potting mix, leaving 1-2 inches of space at the top. Water the soil thoroughly before planting so it settles and eliminates air pockets that could dry out roots.
Start hardening off 7-10 days before transplanting by placing seedlings outside in a shaded, protected spot for 1-2 hours the first day. Gradually increase exposure to sun and wind by 1 hour daily, working up to a full day outside. You’ll know they’re ready when leaves stay perky in direct sunlight.
Watch for wilting or leaf scorch—if you see either, move plants back to shade immediately. I always do this process on mild, overcast days to reduce stress. Skipping hardening off leads to transplant shock, which can set zinnias back 2-3 weeks or kill tender starts.
Gently squeeze the seedling container to loosen the root ball, then turn it upside down with your hand supporting the soil. Tap the bottom if needed until the plant slides out intact. Handle only by the leaves or root ball—never the stem, which bruises easily.
Dig a hole slightly larger than the root ball in your prepared site. Place the seedling at the same depth it was growing before, then backfill with soil. Press gently around the base to eliminate air pockets. Water immediately with 1 cup of water per plant to help roots make contact with surrounding soil.
Keep soil consistently moist (but not soggy) for the first 5-7 days—this is when roots are most vulnerable. Check moisture by sticking your finger 1 inch deep into the soil; water when it feels dry. I use a watering can with a fine rose attachment to avoid disturbing the soil.
Protect seedlings from strong winds or heavy rain for the first week. If planting in containers, move them to a sheltered spot during storms. You’ll see new growth within 7-10 days—that’s your sign the transplant was successful and roots are establishing.
Watch for wilting in the late afternoon for the first few days—this is normal as plants adjust. If wilting persists into morning, the plant needs more water or temporary shade. Yellowing lower leaves may indicate overwatering; let the soil dry slightly between waterings.
Once established (after 2-3 weeks), zinnias become drought-tolerant. At this point, you can reduce watering to 1-2 times per week, depending on rainfall. Pinch back the first set of flowers to encourage bushier growth and more blooms later in the season.
After years of trial and error with zinnia transplants, I’ve learned these key details make all the difference between struggling seedlings and thriving blooms.
Sunlight Strategy: The 6-8 hours of daily sun mentioned in Step 1 isn’t just a suggestion—it’s critical for strong stems and vibrant flowers. I’ve found that morning sun with afternoon shade works best during the first week after transplanting, especially in hot climates. If your planting area gets intense midday sun, consider using shade cloth for that first week to prevent stress.
Hardening Off Hack: During the 7-10 day hardening process in Step 2, pay special attention to wind exposure. Even gentle breezes can desiccate tender zinnia leaves faster than you’d expect. I place my seedlings near a fence or wall for the first few days to break the wind while still allowing air circulation. This simple trick reduces transplant shock dramatically.
Watering Wisdom: That 1 cup of water per plant immediately after transplanting in Step 3 serves a crucial purpose—it eliminates air pockets around the roots. I use a measuring cup to ensure accuracy, pouring slowly at the base of the plant rather than overhead. This prevents soil compaction while guaranteeing the water reaches the root zone where it’s needed most.
Root Check Technique: When monitoring moisture during those first 5-7 days in Step 4, don’t just check the surface. Stick your finger that full 1 inch deep as directed—the top layer can feel dry while the root zone remains perfectly moist. I’ve saved countless seedlings by watering only when that deeper soil feels dry, rather than reacting to surface appearances.
Transplant zinnias after the last frost when soil temps hit 60°F+ (typically late spring). Check your USDA zone for exact dates! Seedlings should have 2-3 true leaves and be 3-4 inches tall before moving.
Yes! Biodegradable pots (like egg cartons or paper rolls) work great—just tear the bottom to encourage root growth before planting. Avoid plastic cells; roots may struggle to break through. Pro tip: Soak paper pots in water for 5 minutes pre-transplant to soften them.
Wilting is often transplant shock. Common causes:
Absolutely! Start 7-10 days before transplanting:
For zero fuss, direct-sow seeds! Plant seeds ¼-inch deep in warm soil (after frost) and thin to 6-18 inches apart (check variety spacing). Bonus: Zinnias grow fast—blooms in 60-70 days with no transplant stress!
