
Beautiful Plants For Your Interior
Beautiful Plants For Your Interior
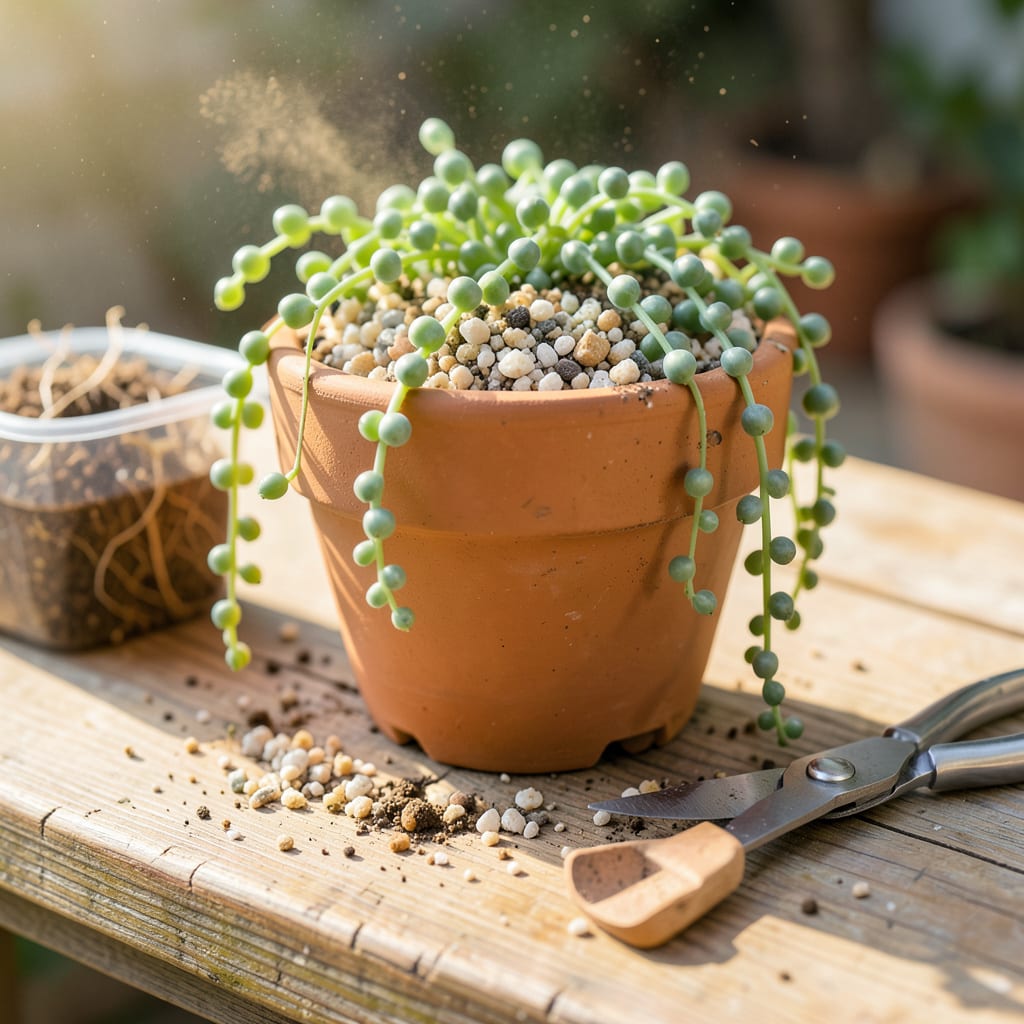
That moment when your string of pearls outgrows its pot is equal parts exciting and terrifying. I’ve snapped more pearls than I’d like to admit during my first few attempts—those delicate beads don’t forgive rough handling. But here’s the good news: with the right timing (spring or early summer, when growth is active) and a gentle touch, you can move your plant without a single casualty.
The secret isn’t fancy tools—just a well-draining soil mix (cactus/succulent blend works perfectly), a pot with drainage holes, and patience. Prep your plant by watering it 1-2 days before the move, so roots stay pliable but not soggy. What follows is a foolproof process that keeps those trailing stems thriving, whether you’re upsizing or propagating cuttings. No more cringe-worthy snaps, just healthy growth.
📚 In This Guide
This delicate-looking succulent is tougher than it appears—follow my method for zero transplant shock.
Choose a pot that’s 1-2 inches wider than the current one, with drainage holes that are at least ½ inch in diameter. I always use unglazed terra cotta because it wicks away excess moisture that would rot these sensitive stems. Wash the new pot with mild soap and rinse thoroughly to remove any dust or contaminants.
Gather your tools: sharp scissors or pruning shears (wiped with rubbing alcohol), a chopstick or pencil for untangling roots, and a spray bottle filled with room-temperature water. Lay everything out on a clean work surface with good lighting—you’ll need to see what you’re doing with these fine stems.
Water your string of pearls 2-3 days before transplanting so the soil holds together but isn’t soggy. Turn the pot sideways, tap the rim on your work surface, and slide the plant out by supporting the base of the stems. Never pull by the trailing ends—they’ll snap off instantly.
Examine the root ball carefully. Healthy roots are white or tan; black or mushy roots mean rot. If you find damaged roots, trim them with sterilized scissors and let the cuts callous for 24 hours before proceeding. The pearls themselves should look plump, not shriveled.
Fill the new pot one-third full with fresh cactus/succulent mix. Create a small mound in the center to elevate the root ball slightly. Arrange the stems in a circular pattern, letting the trailing ends drape naturally over the pot edges. The base where stems meet roots should sit just above the soil line.
Hold the plant in place while adding soil around the edges. Use your fingers to gently press soil against the root ball—don’t compact it tightly. The plant should feel anchored but not buried. Leave the top ½ inch of the root ball exposed to prevent stem rot.
Don’t water immediately after transplanting. Wait 5-7 days to let any disturbed roots heal. Place the pot in bright, indirect light (no direct sun) for the first week. You’ll know it’s adjusting well when the pearls maintain their plump appearance and color.
After the waiting period, water thoroughly until it runs from the drainage holes, then let the soil dry completely before watering again. Resume normal care when you see new growth—usually within 2-3 weeks. The trailing stems will continue lengthening, and you’ll notice the pearls becoming more vibrant.
This delicate succulent thrives when you pay attention to a few key details—here’s what I’ve learned from years of transplanting these beauties.
Preparation is Everything: In Step 1, choosing the right pot makes all the difference. The 1-2 inch wider size ensures room for growth without drowning the roots in excess soil. Terra cotta is ideal because it breathes, preventing the moisture buildup that leads to rot. I always soak new terra cotta pots in water for 10 minutes before planting—this prevents them from pulling too much moisture from the soil initially.
Root Handling Technique: When removing the plant in Step 2, patience is key. The 2-3 day pre-watering window is perfect—too soon and the soil crumbles, too late and it’s a soggy mess. If you encounter rot during inspection, don’t rush the 24-hour callousing period. I’ve found that placing cut roots in a dry, shaded spot with good airflow speeds up the healing process.
Positioning for Success: Step 3’s arrangement affects long-term growth. Elevating the root ball slightly on that soil mound prevents water from pooling at the stem base. I use a skewer to create tiny channels in the soil for trailing stems to nestle into—this encourages them to root along their length, creating a fuller plant. Leave that ½ inch of root ball exposed; burying it is the fastest way to invite stem rot.
Acclimation Wisdom: The 5-7 day waiting period in Step 4 isn’t just about roots—it’s about reducing stress. I place my newly transplanted string of pearls on a tray with pebbles and a little water (not touching the pot) to create humidity without overwatering. The bright, indirect light during this time should be consistent—no drafts or temperature fluctuations. You’ll see the difference in how quickly new growth appears after this careful transition.
Spring or early summer is ideal! This is when the plant is actively growing, so it’ll recover faster. Avoid transplanting during winter dormancy or extreme heat—stress can slow growth or cause shock. If your plant looks root-bound or unhealthy, act promptly regardless of season.
Nope! Regular soil holds too much moisture, risking root rot. Opt for a well-draining mix like cactus/succulent soil blended with perlite or pumice (50/50 ratio). This mimics their arid natural habitat and keeps roots happy.
Expect 2–4 weeks for full recovery. Initially, the plant may look droopy—this is normal! Reduce watering for the first week, then resume lightly. Bright, indirect light speeds up adjustment. Avoid fertilizing until new growth appears.
Don’t panic! Wilting is often just transplant shock. Check for overwatering (soggy soil) or underwatering (dry, crispy pearls). Adjust care and trim any mushy stems. If roots are rotten, repot in fresh soil ASAP.
If your plant is overgrown, snip healthy 4–6 inch stems, let them callous for 1–2 days, then lay on soil (no burying!). Mist lightly until roots form (2–3 weeks). This is a great backup if transplanting feels risky.
