
Beautiful Plants For Your Interior
Beautiful Plants For Your Interior
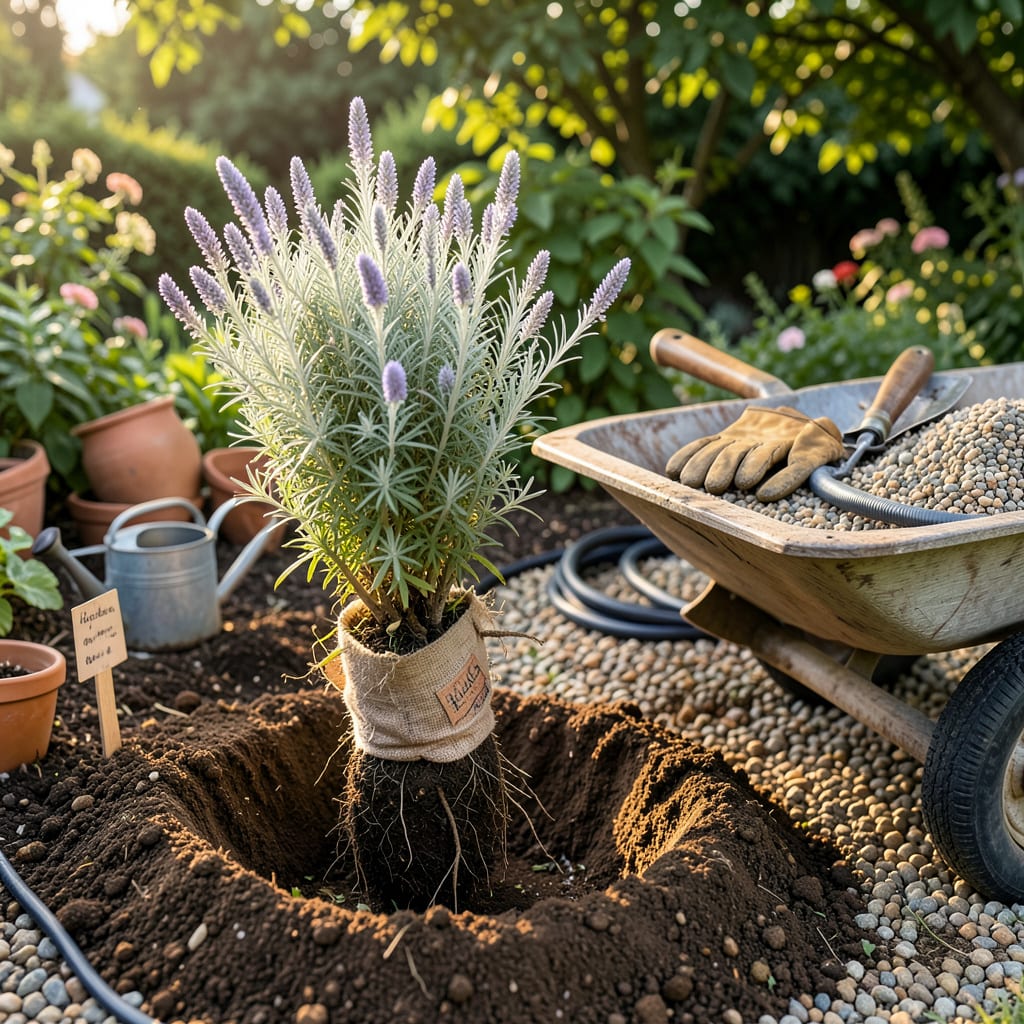
Moving Russian sage feels intimidating until you realize how forgiving this plant truly is. I’ve relocated mature clumps in midspring and early fall with near-perfect success—timing matters, but the process itself is simpler than most gardeners expect. The key lies in preparing the new site first and handling the root ball with care, not finesse.
You’ll end up with established plants that bounce back faster than you’d imagine. Russian sage’s drought tolerance actually works in your favor during transplanting—less water stress means quicker recovery. Within 3-4 weeks, you’ll see those silvery stems pushing new growth, proof your effort paid off. No green thumb required for this one.
📚 In This Guide
Moving established Russian sage doesn’t have to be stressful—follow these field-tested steps for plants that thrive in their new location.
Early spring, just as new growth emerges from the base, is ideal for transplanting Russian sage. The plant’s energy is focused on root development rather than flowering at this stage. I’ve found late afternoon provides the best conditions—cooler temperatures reduce transplant shock significantly.
Avoid moving plants during summer heat or fall dormancy. If you must transplant in summer, choose an overcast day and prepare to provide temporary shade for 5-7 days post-move. The soil should be moist but not waterlogged when you begin—digging in dry soil damages roots, while soggy conditions make root balls fall apart.
Dig the new hole twice as wide as the root ball but only as deep as the current planting depth. Russian sage suffers when planted too deeply—the crown must remain at soil level. I use a garden fork to loosen the sides of the hole, creating pathways for new roots to explore.
Mix one-third compost with the native soil you removed. This provides nutrients without creating a “bathtub effect” where water pools around roots. Create a small mound at the hole’s center to support the root ball—this prevents settling that could bury the crown. Water the hole thoroughly before planting to eliminate air pockets.
Use a sharp spade to dig a trench around the plant, starting 8-12 inches from the base to preserve feeder roots. Work your way inward, angling the spade to create a root ball. For mature specimens, expect a root ball 18-24 inches in diameter—don’t skimp on size or recovery will suffer.
Lift the plant by the root ball, not the stems. I slide a tarp under large specimens to drag them without breaking roots. Position the plant in the new hole so the crown sits 1-2 inches above the surrounding soil—it will settle slightly. Backfill with your soil-compost mix, firming gently as you go to eliminate air pockets.
Water immediately after planting until the soil is saturated to a depth of 12 inches. This deep watering encourages roots to grow downward rather than circling near the surface. I create a temporary soil berm around the perimeter to act as a water basin for the first few waterings.
Apply 2-3 inches of organic mulch, keeping it 3 inches away from the stems to prevent rot. Wood chips work well—they decompose slowly while maintaining soil moisture. Monitor soil moisture daily for the first week, then taper to every 3-4 days unless rain occurs. New growth indicates successful establishment.
Expect some wilting for 3-5 days post-transplant—this is normal. If leaves remain wilted after a week, the plant needs more water. Yellowing lower leaves suggest overwatering. I check soil moisture by inserting my finger 2 inches deep—if it feels dry, it’s time to water.
Withhold fertilizer for 4-6 weeks to avoid burning new roots. Once you see 3-4 inches of new growth, resume normal care. Russian sage is drought-tolerant once established, but consistent moisture during this transition period is crucial. Remove any flower buds that form in the first month to direct energy toward root development.
Transplanting established plants can feel intimidating, but these field-tested insights will help ensure your Russian sage thrives in its new location.
Timing Strategy: The early spring window mentioned in Step 1 is absolutely critical—this is when the plant’s energy is focused on root development rather than flowering. I’ve found that late afternoon transplanting reduces stress significantly, as cooler temperatures minimize moisture loss through leaves. If summer transplanting is unavoidable, the 5-7 days of temporary shade isn’t just helpful, it’s essential for survival during that first vulnerable week.
Root Ball Technique: When digging that 8-12 inch perimeter in Step 3, work methodically and keep the root ball intact. For mature plants, that 18-24 inch diameter isn’t just a suggestion—it’s the difference between a plant that struggles and one that establishes quickly. I always slide a tarp under large specimens to drag them without breaking roots, which can set back establishment by weeks.
Watering Wisdom: The 12-inch deep watering in Step 4 isn’t just about initial hydration—it’s about training roots to grow downward. I create a temporary soil berm that acts as a water basin for those first few critical waterings. This ensures moisture reaches deep rather than spreading laterally. The 2-3 inches of mulch (kept 3 inches from stems) maintains this moisture balance while preventing rot.
Transition Monitoring: Those first 3-5 days of wilting mentioned in Step 5 are completely normal, but here’s what to watch for: if leaves remain wilted after a week, increase water slightly. The 2-inch finger test for soil moisture is more reliable than any moisture meter I’ve tried. And when you see that first 3-4 inches of new growth, you’ll know the plant has successfully established—this is your signal to resume normal care.
Early spring (March–April) or fall (September–October) is ideal! Avoid extreme heat or frost—transplanting during mild weather reduces stress on the plant. If you must move it in summer, water deeply for weeks beforehand and choose an overcast day.
It’s not recommended—transplanting during bloom can shock the plant and drop flowers. Prune back about one-third of the foliage before moving it to redirect energy to roots. Wait until after flowering (late summer) if possible.
Keep the root ball level with the soil surface—burying too deep can cause rot. Dig a hole twice as wide as the root ball but no deeper. Gently loosen roots if pot-bound to encourage outward growth.
Wilting is normal for 1–2 weeks (transplant shock). Water deeply every 2–3 days (not daily!) and mulch to retain moisture. If wilting persists, check for root damage or overwatering—soggy soil = bad news!
Try propagation instead! Take 4–6″ softwood cuttings in late spring, dip in rooting hormone, and plant in sandy soil. Or divide the plant in early spring by splitting the root clump with a sharp spade—less stress, more new plants!
