
Beautiful Plants For Your Interior
Beautiful Plants For Your Interior
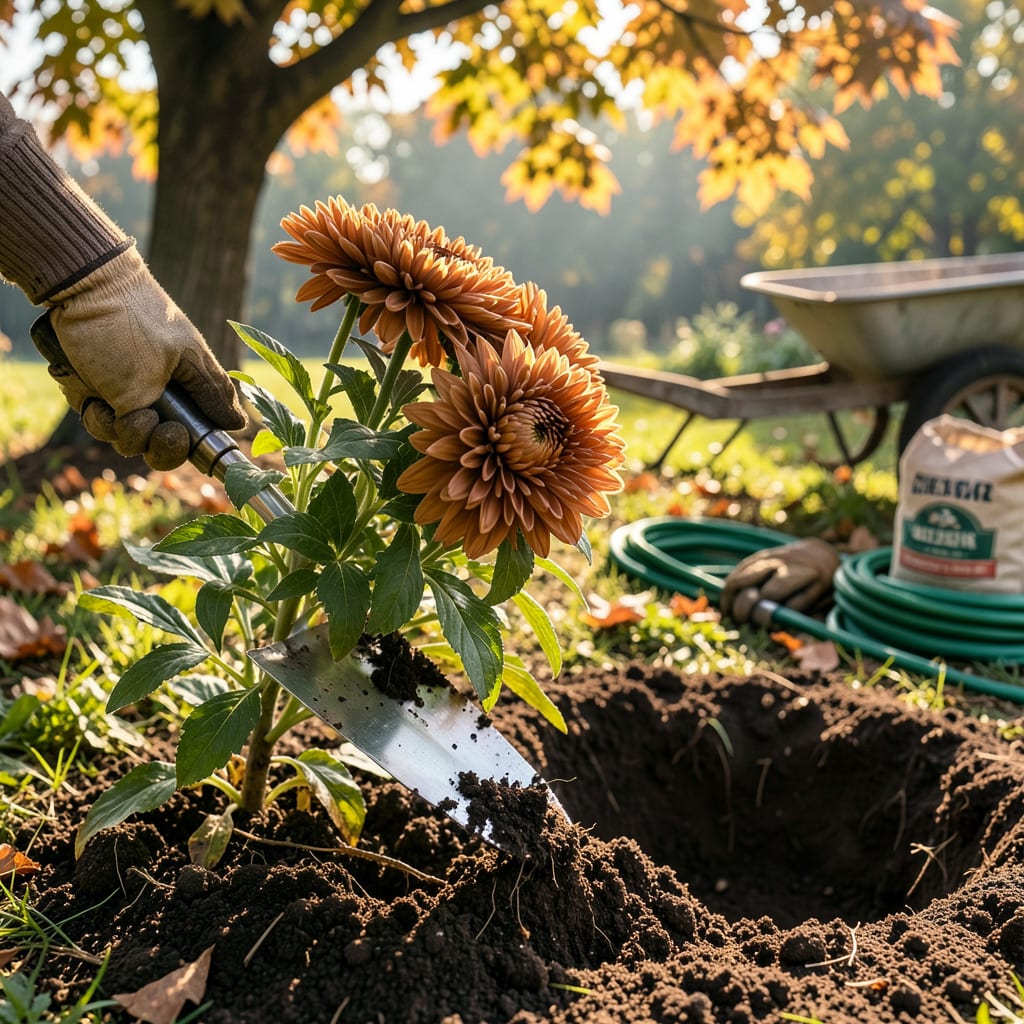
That moment when you move mums and they actually thrive—it feels like winning the gardening lottery. I’ve transplanted dozens over the years, and the difference between a struggling plant and one that explodes with fall color comes down to timing and technique. Early fall or spring, just as the soil cools but before hard frosts, is your sweet spot. Too late, and roots won’t establish; too early, and summer heat stresses them.
Here’s the thing—most people kill mums by being too gentle. You need to dig deep, keep the root ball intact, and replant at the exact same depth they were growing before. Water them in well, add a 2-inch mulch blanket, and they’ll reward you with blooms so vibrant, neighbors will ask for your secret. No green thumb required, just a little confidence and the right moves.
📚 In This Guide
Moving mums to a new spot is easier than you think—just follow these simple steps for vibrant fall color.
Transplant mums in early spring or right after they finish blooming in fall. Spring gives roots time to establish before summer heat, while fall transplanting works if done at least 6 weeks before first frost. Avoid moving them during active blooming—it stresses the plants.
Pick a location with full sun (at least 6 hours daily) and well-draining soil. Mums hate soggy roots, so avoid low spots where water pools. A gentle slope or raised bed works perfectly. Test drainage by digging a 12-inch hole, filling it with water, and checking if it drains within an hour.
Dig a hole twice as wide as the mum’s root ball but no deeper. Loosen the soil at the bottom with a garden fork to encourage root growth downward. Mix in 2-3 inches of compost to enrich the soil—this gives your mums a nutrient boost without over-fertilizing.
If your soil is heavy clay, add 1 part sand or perlite to 2 parts native soil to improve drainage. Water the hole thoroughly before planting—this prevents the roots from drying out when you place them in. The soil should feel moist but not muddy when you squeeze a handful.
Water the mum deeply 24 hours before transplanting to reduce shock. Gently squeeze the sides of the pot to loosen the root ball, then slide the plant out by cradling the base. If roots are tightly bound, make three vertical cuts around the root ball with a clean knife to encourage outward growth.
Place the mum in the hole so the top of the root ball sits 1 inch above ground level. This prevents crown rot. Backfill with your amended soil, pressing lightly to eliminate air pockets. Water immediately until the soil settles around the roots—you’ll see the level drop slightly.
Keep the soil consistently moist (but not soggy) for the first 2 weeks. Water at the base in the morning so leaves dry before evening—this prevents fungal diseases. Check moisture by sticking your finger 1 inch into the soil; if it feels dry, it’s time to water.
Apply 2-3 inches of mulch (shredded bark or straw) around the base, keeping it 1 inch away from stems to prevent rot. Mulch conserves moisture and protects roots from temperature swings. You’ll notice new growth within 7-10 days—that’s your sign the transplant was successful.
Pinch back the tips of new growth every 2-3 weeks until July 4th to encourage bushier plants with more blooms. Use your fingers to remove 1-2 inches of the stem tips. This seems counterintuitive, but it forces the plant to branch out instead of growing tall and leggy.
Fertilize lightly with balanced 10-10-10 fertilizer in early summer, then switch to a low-nitrogen formula in late August to promote flowering. Stop fertilizing completely once buds form—too much nitrogen late in the season reduces bloom quality. Your mums will reward you with vibrant fall color!
Transplanting mums doesn’t have to be complicated—here’s what I’ve learned from years of trial and error to ensure your plants thrive in their new home.
Timing is Everything: The 6-week window before first frost mentioned in Step 1 isn’t just a suggestion—it’s critical. I learned this the hard way after losing several plants to early freezes. In spring, aim for early transplanting when soil temperatures reach about 50°F. This gives roots the entire growing season to establish before winter. For fall moves, that 6-week buffer allows roots to settle before dormancy. Trust me, your mums will thank you with more vibrant blooms next season.
Root Ball Preparation: When you make those three vertical cuts in Step 3, don’t be shy—go about 1/4 inch deep into the root ball. This might seem aggressive, but it’s exactly what encourages new root growth outward into the surrounding soil. I use a clean utility knife and make the cuts at 120-degree angles around the ball. This simple step reduces transplant shock dramatically and helps the plant establish faster in its new location.
Watering Wisdom: During that crucial first 2 weeks in Step 4, I’ve found that morning watering makes all the difference. The key is deep, infrequent watering rather than light daily sprinkles. Stick your finger that 1 inch into the soil as directed—if the tip of your finger feels dry, it’s time to water. I use a soaker hose on low pressure for about 15 minutes, which gives the water time to penetrate deeply without running off. This method encourages roots to grow downward rather than staying near the surface.
Mulch Matters: That 1-inch gap around stems when mulching in Step 4 isn’t just good advice—it’s essential. I call this the “doughnut method” of mulching. Piling mulch right up against the stem creates perfect conditions for crown rot. Use shredded bark if you can—it breaks down slowly and provides better insulation than straw. The 2-3 inch layer should extend about 12 inches outward from the plant in all directions for maximum benefit.
It’s best to avoid transplanting during peak bloom (late summer/fall). The energy spent on flowers can stress the plant. If you must, gently move them in early morning or late evening, trim back half the blooms, and water deeply. Spring is ideal for minimal shock!
Early morning or late afternoon is perfect—cooler temps and lower sun reduce stress. Avoid midday heat, which can wilt leaves and dry roots faster. Cloudy days are a bonus! Water thoroughly before and after moving to help recovery.
Yes! Prune stems to 4–6 inches tall before digging up the plant. This redirects energy to root growth and reduces water loss. Remove dead or woody stems too. Exception: If transplanting in spring, wait until new growth appears to trim.
Wilting often means transplant shock (underwatering, root damage, or sun stress). Brown edges? Likely uneven watering or windburn. Fix it: Water deeply daily for a week, add mulch, and shield from harsh sun/wind. Trim dead foliage to help recovery.
Choose pots at least 12 inches wide with drainage holes. Use potting mix (not garden soil) and water more frequently—containers dry out faster. Overwinter pots in a sheltered spot (garage/unheated shed) if temps drop below 20°F.
