
Beautiful Plants For Your Interior
Beautiful Plants For Your Interior
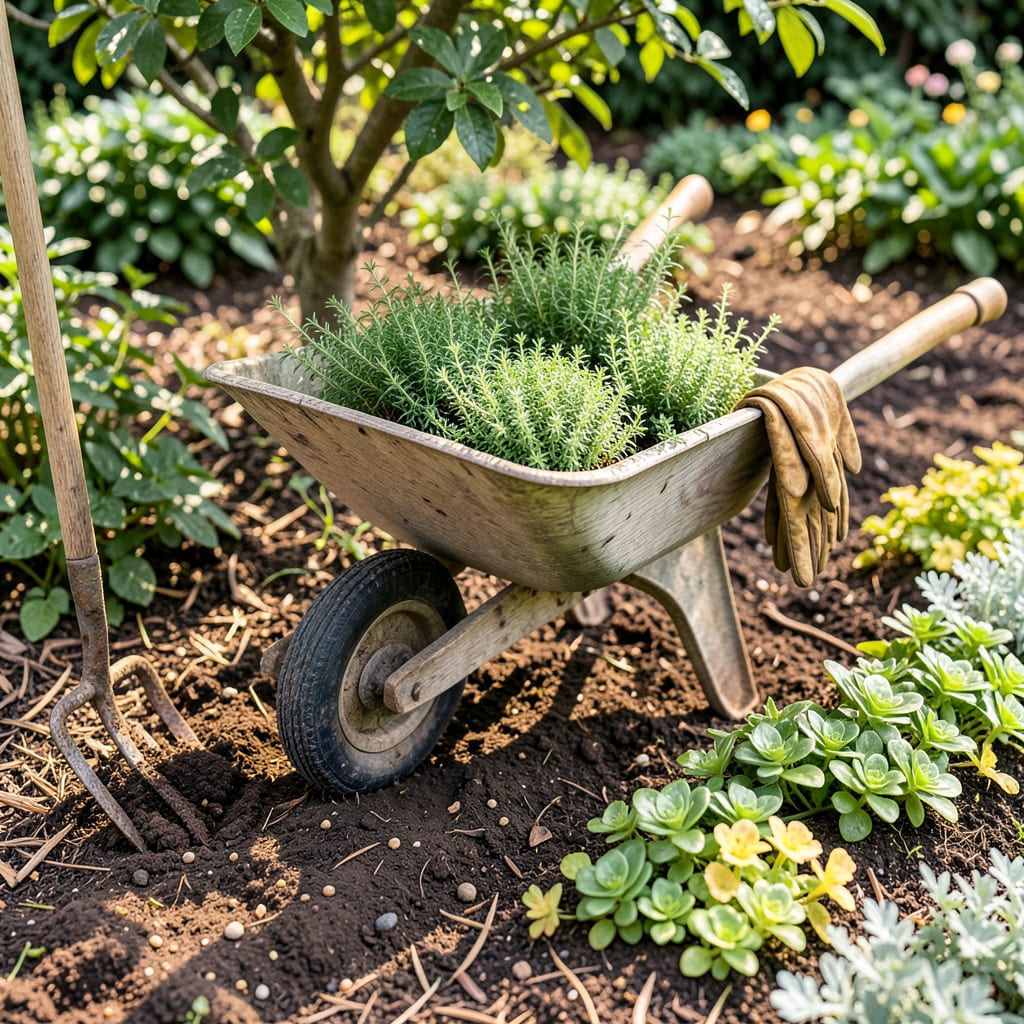
Moving ground cover plants transforms sparse areas into vibrant, weed-resistant carpets—but only if done correctly. I’ve learned through trial (and several failed attempts) that timing and technique make all the difference. Transplant in early spring or fall when temperatures are mild, and you’ll give roots the best chance to establish before summer heat or winter dormancy.
The process itself is straightforward: prepare the new site with loose, nutrient-rich soil, handle roots gently, and water immediately after planting. What surprises most gardeners is how quickly properly transplanted ground cover fills in bare spots—often within one growing season. The key is minimizing transplant shock through careful handling and consistent moisture during the first critical weeks.
📚 In This Guide
This method ensures minimal shock and maximum establishment for your transplanted ground cover plants.
Begin by clearing the new area of all weeds, debris, and competing vegetation. I use a garden fork to loosen the soil to a depth of 6-8 inches, which encourages root penetration while maintaining soil structure. Avoid rototilling—it disrupts the natural soil layers and can damage beneficial fungi networks.
Incorporate a 1-2 inch layer of compost into the top 4 inches of soil to improve fertility and moisture retention. Rake the surface level, then water deeply to settle the soil. This prevents air pockets that could desiccate new roots. The site should be moist but not waterlogged when you’re ready to transplant.
Using a sharp spade, cut sections of established ground cover into 4-6 inch diameter plugs or divisions. For spreading types like creeping thyme, I make clean vertical cuts between stems to preserve root systems. Woody ground covers like cotoneaster require larger divisions—aim for 8-12 inch sections with intact root balls.
Lift each division carefully with a garden fork, preserving as much of the root system as possible. Shake off excess soil to expose the roots, then trim any damaged or excessively long roots with clean pruners. Keep divisions in shade and mist occasionally if you can’t replant immediately—desiccation is the primary cause of transplant failure.
Dig holes in the prepared site that are twice as wide as the root ball but no deeper than the plant was originally growing. The crown (where stems meet roots) should sit level with or slightly above the soil surface—burying it invites stem rot. For mat-forming species, space plugs 6-12 inches apart depending on desired coverage density.
Backfill with native soil, firming gently to eliminate air pockets. Water immediately with a transplant solution (1 tablespoon of seaweed extract per gallon of water) to reduce shock. The solution provides cytokines that stimulate root growth while the plants establish. Create a shallow basin around each plant to direct water to the roots during the critical first week.
Apply a 1-2 inch layer of organic mulch (shredded bark or leaf mold) around—but not touching—the transplanted plugs. This maintains soil moisture, regulates temperature, and suppresses competing weeds. Keep the soil consistently moist (but not soggy) for the first 10-14 days, when new root growth is most vulnerable to drought stress.
Monitor for wilting during the first week, particularly in afternoon sun. Temporary shade cloth (30-50% density) may be necessary for broadleaf evergreens like pachysandra if transplanting during hot weather. Avoid fertilizing until you see new growth—typically 3-4 weeks post-transplant—as the plants need to focus energy on root establishment rather than foliage production.
Mastering these key techniques will significantly improve your success rate when establishing new ground cover areas.
Soil Preparation Insight: In Step 1, when loosening soil to that critical 6-8 inch depth, pay special attention to compacted areas near walkways or under mature trees. I’ve found that working in a 1-inch layer of coarse sand along with the compost improves drainage for heavy clay soils while maintaining the structural integrity you want for root development. This modification prevents waterlogging during the crucial 10-14 day establishment period mentioned in Step 4.
Division Technique Refinement: For Step 2, when creating those 4-6 inch plugs of spreading ground covers, use a serrated knife rather than a straight spade for cleaner cuts through woody stems. The jagged edge creates less tearing of the vascular system. With woody species requiring 8-12 inch sections, look for natural division points where stems emerge from the crown—these indicate strong growth nodes that will establish more quickly in their new location.
Planting Depth Precision: The instruction in Step 3 about keeping the crown level with or slightly above soil surface cannot be overemphasized. I use a simple trick: lay a straight board across the planting hole to check depth before placing the division. For mat-forming species spaced 6-12 inches apart, consider the mature spread pattern—closer spacing (6 inches) creates faster coverage but requires more initial divisions, while wider spacing (12 inches) reduces upfront costs but delays complete ground coverage by 6-12 months.
Aftercare Optimization: During the 10-14 day critical moisture period in Step 4, I recommend setting up a temporary drip irrigation system on a timer rather than hand watering. This provides consistent moisture without disturbing the soil around new roots. The 1-2 inch mulch layer should extend 2-3 inches beyond the root ball diameter to create a moisture reservoir. For broadleaf evergreens showing afternoon wilt, a 50% shade cloth is more effective than 30% during the first week post-transplant.
The ideal time is early spring or fall when temperatures are mild (50–70°F) and plants are dormant or semi-dormant. Avoid extreme heat or frost—this reduces transplant shock and helps roots establish faster. For warm-season varieties (like creeping thyme), late spring works too!
No! Gently loosen the root ball to encourage outward growth, but keep most of the original soil intact. This protects delicate roots and preserves beneficial microbes. Only shake off excess if the soil is poor or waterlogged.
Most ground covers need 4–8 weeks to root firmly, but full spread takes 1–2 growing seasons. Water deeply 2–3 times weekly for the first month, then taper off. Fast-spreading types (like sedum) establish quicker than slow growers (e.g., pachysandra).
Try division or cuttings! For clumping types (like hostas), split the plant with a sharp spade. For creeping varieties (e.g., ivy), snip 4–6″ stems, dip in rooting hormone, and plant in moist soil. Both methods save money and reduce transplant stress.
Common causes:
