
Beautiful Plants For Your Interior
Beautiful Plants For Your Interior
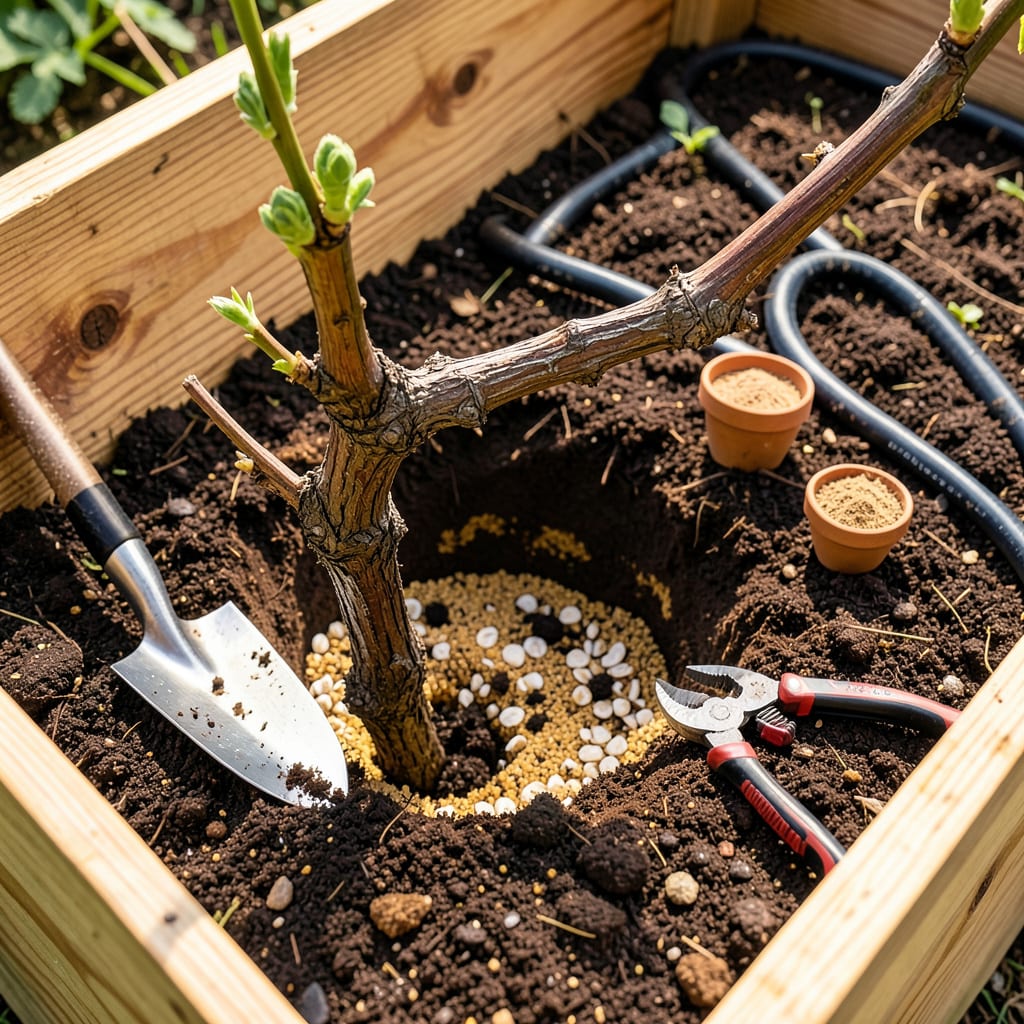
Moving grape vines feels intimidating—until you realize it’s about timing and tenderness. I’ve relocated dozens over the years, and the ones that thrive always follow this rule: late winter or early spring, when the plant is still dormant but the soil is workable. That quiet window gives roots time to settle before summer heat demands productivity.
What surprises most gardeners is how forgiving grapes can be if you respect their roots. A well-prepped hole (twice as wide as the root ball), gentle handling of the woody base, and immediate watering make all the difference. The real magic happens in the first 30 days—mulch heavily, prune aggressively, and watch for new shoots. That’s when you’ll know the transplant took.
📚 In This Guide
Moving established vines takes patience, but this method ensures minimal shock and faster recovery.
Choose a location with full sun exposure (at least 8 hours daily) and well-draining soil. I test drainage by digging a 12-inch deep hole, filling it with water, and checking if it empties within 3 hours. If water pools, amend with compost or plant on a slight slope.
Dig the new hole twice as wide as the root ball but no deeper. This gives roots loose soil to expand into without sinking the vine. Mix a shovelful of compost into the backfill soil—grapevines thrive in moderately fertile ground, but avoid over-enriching which can delay fruit production.
Prune the vine aggressively before moving: remove all but 2-3 main canes and trim these back to 12-18 inches. This reduces water loss through leaves and focuses energy on root recovery. I use sharp bypass pruners sterilized with rubbing alcohol to prevent disease transmission.
Dig a trench around the vine, starting 12-18 inches from the trunk to preserve feeder roots. Work inward, angling your shovel to create a root ball 18-24 inches in diameter. Lift the plant by the root ball—not the trunk—to avoid tearing bark. Wrap the roots in damp burlap if transporting.
Place the vine in the new hole at the same depth it grew previously. The graft union (visible as a bulge near the base) should sit 2 inches above soil level. Backfill with native soil, tamping gently to eliminate air pockets. Water immediately with 5 gallons of water to settle the soil around roots.
Install a 4-foot stake at a 45-degree angle pointing north to protect the trunk from prevailing winds. Secure the vine with soft tree ties, leaving enough slack for trunk expansion. I mulch with 3 inches of wood chips, keeping mulch 6 inches away from the trunk to prevent rot.
Water deeply twice weekly for the first month, then reduce to once weekly unless rainfall exceeds 1 inch. Check soil moisture by digging 6 inches deep—it should feel damp but not soggy. New growth indicates successful establishment, but don’t fertilize until you see 3-4 inches of new shoot growth.
Monitor for stress signs: wilting leaves in morning (needs water), yellowing leaves (overwatering), or cracked bark (sun scald). I shade newly transplanted vines with burlap for the first week if temperatures exceed 85°F. Remove any flowers or fruit clusters that form the first year to direct energy toward root development.
Transplanting grape vines successfully comes down to understanding what happens below the soil. Here’s what I’ve learned from years of trial and error.
Root Ball Preservation: When digging up the vine in Step 2, resist the temptation to shake off excess soil from the root ball. That soil contains beneficial microbes and protects delicate feeder roots during the move. I keep as much native soil intact as possible, only removing what naturally falls away. The 18-24 inch diameter root ball specified isn’t arbitrary—it preserves the critical root zone that supports immediate recovery.
Depth Discipline: In Step 3, planting at the correct depth makes all the difference between thriving and struggling. I use a straight board laid across the hole to verify the graft union sits exactly 2 inches above soil level. Planting too deep suffocates roots, while planting too shallow exposes them to drying. This precision ensures the vine establishes at the same effective depth as its original location.
Water Wisdom: The 5 gallons of water immediately after transplanting in Step 3 isn’t just about hydration—it’s about eliminating air pockets. I water in three stages: first to settle the backfill, then after tamping to compact soil, and finally to create a moisture reservoir. This sequential approach mimics natural rainfall patterns that grapevines evolved with, encouraging roots to spread outward rather than circling.
Stress Signal Interpretation: During the twice-weekly watering in Step 4, pay attention to leaf behavior. Wilting in the afternoon is normal, but morning wilting indicates critical water stress. I check soil moisture at 6 inches deep—not just at the surface—because grapevine roots establish deeply. The transition from twice-weekly to once-weekly watering should coincide with visible new shoot growth, not just the calendar.
Summer’s heat stresses vines, making transplanting risky. Early spring (before buds swell) or late fall (after leaf drop) is ideal. If you must move vines in summer, prune heavily, water deeply, and provide shade to reduce shock. Avoid temperatures above 85°F (29°C).
Plant at the same depth as its original location—look for the soil line on the stem. Too deep risks rot; too shallow exposes roots. For grafted vines, ensure the graft union stays 2–3 inches above soil to prevent scion rooting. Mound soil lightly around the base to settle naturally.
Act fast! Prune back 50% of the foliage to reduce water loss, then soak the root zone (1–2 gallons per vine). Apply a diluted seaweed solution (1 tbsp/gallon) to reduce stress. Mulch with straw to retain moisture. Avoid fertilizer until new growth appears (2–3 weeks).
Yes! Harden off potted vines for 7–10 days by gradually exposing them to outdoor conditions. Water the pot thoroughly 24 hours before transplanting. Gently loosen roots if pot-bound, then plant at the same depth. Skip fertilizer—potting mix often contains nutrients that can burn new roots.
Expect a 1–2 year delay in fruit production. Transplanted vines focus energy on root recovery first. Remove flower clusters the first season to encourage growth. Well-established vines (3+ years old) may fruit the second year post-transplant if cared for properly. Patience pays off!
