
Beautiful Plants For Your Interior
Beautiful Plants For Your Interior
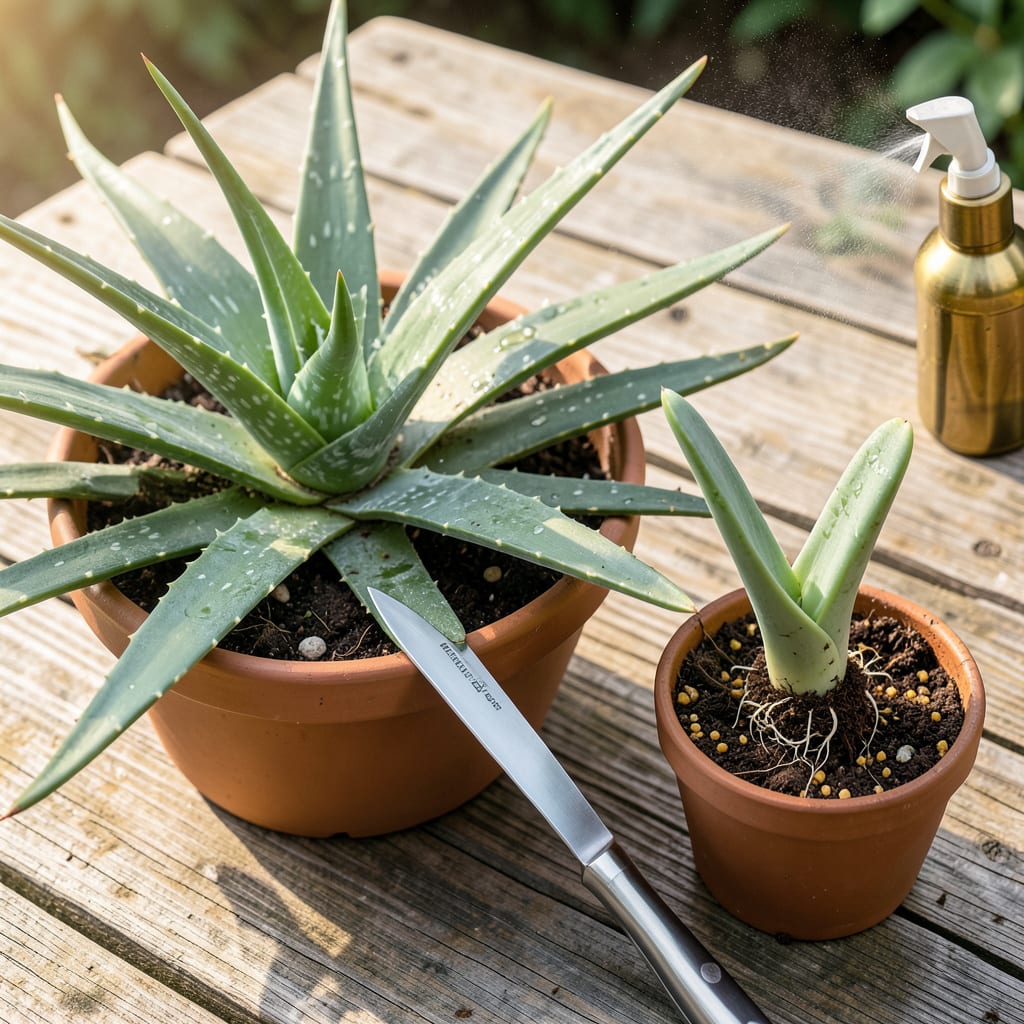
Those little aloe pups popping up around your mother plant aren’t just cute—they’re your ticket to free, thriving plants. I’ve turned one overgrown aloe into a dozen healthy offsets using this no-fail method, and the best part? It takes less than 20 minutes start to finish.
No green thumb required. The secret is timing—wait until pups are 3-4 inches tall with their own roots—then it’s just about clean cuts, the right soil mix, and letting them callous before replanting. You’ll watch those baby aloes take off faster than store-bought plants, with zero transplant shock. Here’s exactly how to do it.
📚 In This Guide
This simple process turns one aloe plant into many—just follow these careful steps for healthy new plants.
Look for pups that are at least 3-4 inches tall with their own root systems. These smaller offshoots grow around the base of the mother plant, often peeking through the soil. Gently wiggle the pup to confirm it has roots—if it resists, it’s ready to separate.
Before removing, water the mother plant lightly 24 hours prior. This softens the soil and reduces stress on both plants. I use my fingers to brush away soil around the pup’s base, exposing where it connects to the main plant.
Use a clean, sharp knife to cut the pup away from the mother plant. Make the cut as close to the mother plant as possible while keeping the pup’s roots intact. I angle the blade slightly downward to avoid tearing the pup’s delicate root system.
If the pup doesn’t come away cleanly, don’t force it. Instead, trim any damaged roots with sterilized scissors. Let both the mother plant and pup sit uncovered for 1-2 days—this calluses the cuts and prevents rot when replanted.
Select pots with drainage holes that are 1-2 inches wider than the pup’s root ball. Aloe plants rot easily in standing water, so drainage is non-negotiable. I prefer unglazed terra cotta because it wicks away excess moisture through the pot walls.
Fill containers with a fast-draining cactus/succulent mix. You can create your own by blending regular potting soil with 50% perlite or coarse sand. Moisten the mix lightly before planting—it should feel barely damp, not wet.
Place the pup in its new container so the base sits at the same depth it was growing before. Burying the stem too deep causes rot, while planting too high dries out roots. Gently firm soil around the base, leaving the lower leaves completely above the soil line.
Don’t water immediately after planting. Wait 5-7 days before the first watering—this gives any minor root damage time to heal. Set the pot in bright, indirect light (no direct sun) for the first week as it establishes.
After the first week, move your new aloe to a spot with 6+ hours of bright light daily. South or west-facing windows work best. Water only when the soil is completely dry—stick your finger 2 inches deep to check. When you do water, soak thoroughly until it runs from the drainage holes.
You’ll know your transplant succeeded when new growth appears at the center of the rosette, usually within 3-4 weeks. Rotate the pot occasionally for even growth, and avoid fertilizing for the first 2-3 months—aloe pups thrive on neglect during establishment.
Here’s what I’ve learned from years of propagating aloe—these small details make all the difference between struggling plants and thriving new ones.
Pup Selection Secret: In Step 1, don’t just look at height—examine the root system. A pup might be 3-4 inches tall but have weak roots. Gently brush away soil to check for thick, white roots at least 1-2 inches long. These establish much faster than pups with underdeveloped roots. I’ve found that pups with at least three strong roots have the highest survival rate.
The Waiting Game: That 1-2 day drying period in Step 2 is crucial—don’t rush it. I learned this the hard way after losing three pups to rot. The cut surfaces need to form a protective callus, which you can actually see as a slightly hardened, lighter-colored layer. If your climate is humid, extend this to the full 2 days. Place them in a warm spot with good airflow to speed up callusing.
Soil Moisture Control: When preparing your cactus/succulent mix in Step 3, here’s what nobody tells you—the moisture level should feel like a wrung-out sponge. I test it by squeezing a handful: if a single drop of water comes out, it’s perfect. Too wet, and your pups will rot before they establish. If you’re making your own mix, sift the perlite or sand to remove fine particles that can compact and hold too much moisture.
Light Transition Strategy: The bright, indirect light mentioned in Step 4 should be truly indirect—no direct sun at all during that first week. I use a sheer curtain to filter sunlight if needed. Watch for stress signs: if leaves start to pucker or turn yellow, the light is too intense. After that first week, gradually introduce direct sunlight—start with just 1-2 hours of morning sun, increasing by 30 minutes daily.
Look for pups that are at least 3–4 inches tall with a few mature leaves (about 1/4 the size of the mother plant). They should have their own root system—gently tug to check for resistance. If they separate easily, they’re ready! Avoid transplanting if they’re still firmly attached.
Pots are ideal for beginners! They let you control soil quality and drainage while pups establish roots. If transplanting outdoors, wait until pups are 6+ inches tall and acclimate them to outdoor conditions for 1–2 weeks first. Ensure the soil is well-draining to prevent rot.
Spring or early summer is perfect—warm temps (60–80°F) and longer daylight help pups thrive. Avoid winter or extreme heat, as stress can stunt growth. If indoors, year-round transplanting works with stable temps and bright, indirect light.
Don’t panic! Mild wilting is normal for 1–2 weeks as roots adjust. Check for overwatering (soggy soil = bad) or underwatering (dry, crispy leaves). Keep the pup in bright, indirect light and water only when the top 2 inches of soil are dry. Avoid fertilizing until it perks up.
Not necessary! Aloe pups root easily on their own. If you’re propagating tiny or weak pups, a light dusting of rooting hormone can speed things up—but skip it for healthy pups. Focus on well-draining soil (cactus/succulent mix) and patience instead!
