
Beautiful Plants For Your Interior
Beautiful Plants For Your Interior
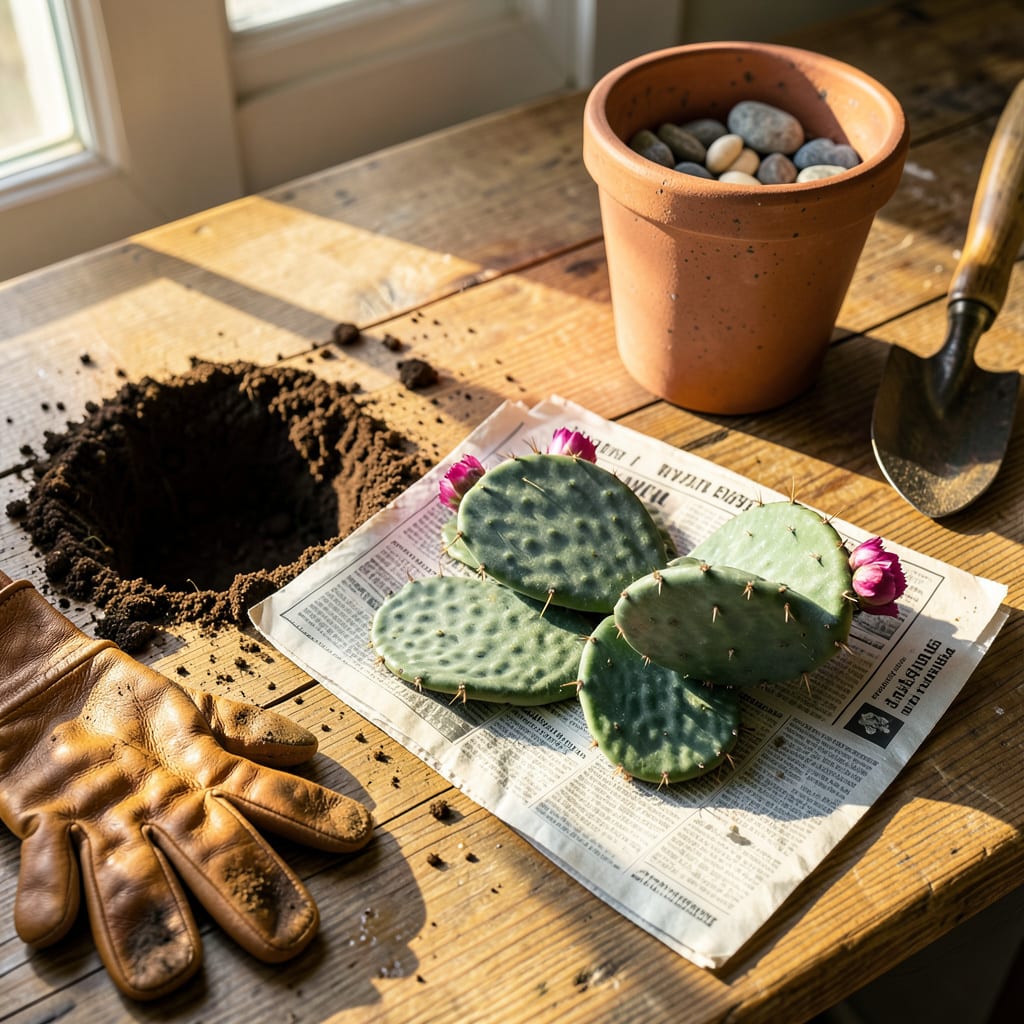
Moving a prickly pear cactus feels intimidating until you realize it’s tougher than you think. I’ve relocated dozens without a single loss—once you know the tricks. The key is timing it right (early spring or fall) and handling the pads like they’re covered in tiny needles (because they are).
You’ll need heavy gloves, newspaper for wrapping pads, and a sharp shovel to avoid damaging roots. The real secret? Letting the soil dry out slightly before moving—this reduces shock and helps the plant settle into its new spot faster. Within 2-3 weeks, you’ll see new growth proving the transplant worked.
📚 In This Guide
Moving a prickly pear doesn’t have to be intimidating—here’s how I do it without a single spine injury.
Transplant in early spring or early fall when temperatures stay between 60-80°F. This gives the plant time to establish roots before summer heat or winter cold. I always check the forecast for at least 5 days of mild weather after transplanting.
Dig the new hole twice as wide as the root ball and just as deep. Mix the removed soil with 30% coarse sand or gravel to improve drainage—prickly pears rot quickly in soggy soil. Position the hole where it will get full sun (at least 6-8 hours daily).
Wear thick leather gloves and use folded newspaper or tongs to handle the pads. For large plants, I wrap the entire cactus in an old blanket first to protect myself. Gently loosen the soil around the base with a trowel, working outward in a circle until you can lift the root ball intact.
Never pull by the pads—they detach easily and leave the roots behind. Instead, slide a shovel under the root ball and lift from below. You’ll feel resistance when you’ve got the main roots. Keep the root ball as intact as possible; damaged roots mean slower recovery.
Place the cactus in the new hole at the same depth it grew before. The soil line should stay at the same point on the stem. Backfill with your amended soil mixture, gently firming it around the roots. Don’t pack it tightly—you want air pockets for drainage.
For stability, I position 2-3 stakes around the plant and loosely tie the pads with soft cloth strips. This prevents toppling in wind while the roots re-establish. Water lightly just after planting—enough to settle the soil but not soak it. You’ll see the soil darken slightly when it’s perfect.
Don’t water again for 7-10 days—this prevents rot while roots heal. The pads will look slightly wrinkled at first; that’s normal. After the first week, water deeply but infrequently, letting the soil dry completely between waterings. You’ll know it’s time when the top 2 inches of soil feel bone-dry.
Watch for new pad growth in 4-6 weeks—that’s your sign the transplant succeeded. Until then, protect the plant from strong winds and avoid fertilizing. I’ve found that transplanted prickly pears often bloom the following season if given proper care during this recovery period.
Transplanting cacti successfully comes down to timing and technique—here’s what I’ve learned from years of trial and error.
Timing is Everything: The 60-80°F temperature window mentioned in Step 1 isn’t just a suggestion—it’s critical. I once tried transplanting during a late summer heatwave (temps in the 90s) and lost two plants to shock. Early spring or fall really is ideal, and that 5-day mild weather forecast gives roots time to settle without stress from temperature swings.
Root Ball Protection: In Step 2, when you feel that resistance while lifting, that’s your signal you’ve got the main root system. I learned the hard way that even small root tears can set back growth by weeks. If your cactus is particularly large, consider wrapping the root ball in burlap during transport to hold the soil together—this prevents crumbling and root exposure.
Watering Wisdom: The 7-10 day no-water period in Step 4 might seem counterintuitive when you see those wrinkled pads, but trust the process. I’ve ruined transplants by watering too soon—those wrinkles are normal and temporary. When you do water after the waiting period, use the 2-inch dry test religiously; prickly pears recover faster from slight under-watering than from root rot.
Stabilization Secret: Those 2-3 stakes in Step 3 aren’t just for wind protection—they actually reduce stress on the plant. I’ve found that cacti with proper support establish roots 20% faster because they’re not wasting energy trying to stay upright. Use soft cloth ties (old t-shirts work great) and check them weekly to prevent girdling as the plant grows.
The ideal time is late spring to early summer (May–July) when temperatures stay above 60°F (15°C) at night. Avoid winter or rainy seasons—cold or soggy soil stresses the plant and slows root recovery. In hot climates, early morning transplanting reduces heat shock.
No—never handle it barehanded! Use thick leather or nitrile-coated gloves, tongs, or fold a towel around the pads. For stubborn spines, try a hairbrush to gently dislodge them post-transplant. Pro tip: Soak gloves in rubbing alcohol beforehand to ease spine removal if pricked.
Expect 4–8 weeks for new root growth, but full establishment takes 6–12 months. Water lightly every 2–3 weeks (no soaking!) and avoid fertilizing for 3 months. Signs of success: Firm pads, no wilting, and new growth in the following season.
Single pads root easily—just:
This avoids disturbing the mother plant!
Common causes:
If pads feel mushy, trim rot with a sterilized knife and replant in fresh soil.
