
Beautiful Plants For Your Interior
Beautiful Plants For Your Interior
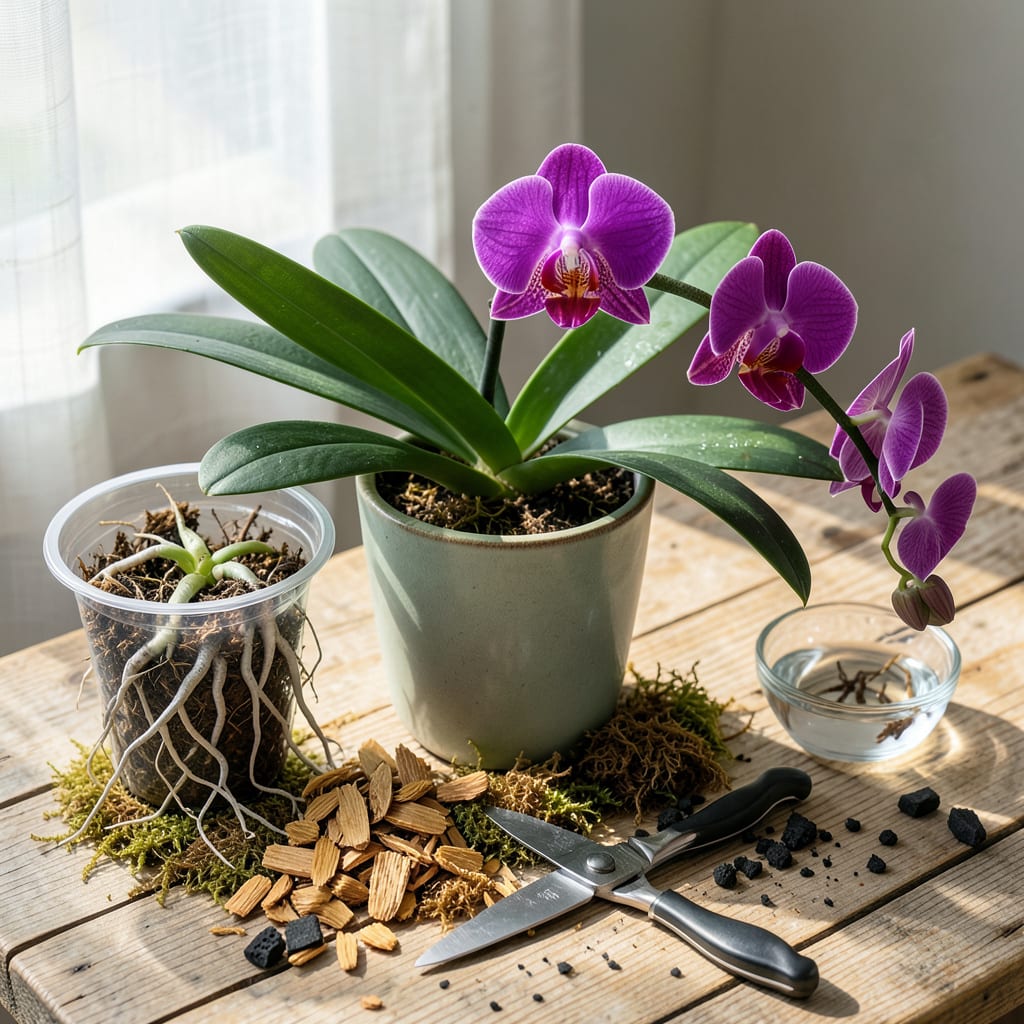
That moment when your orchid’s roots start crawling out of its pot like they’re staging a rebellion? That’s your sign. I’ve learned the hard way that waiting too long to transplant means stressed plants and fewer blooms. The sweet spot is right after flowering, when new growth begins—usually spring or early fall for most varieties.
Here’s the thing—orchids aren’t like other houseplants. They actually thrive on being slightly root-bound, but there’s a tipping point. I’ve rescued orchids with roots so tangled they looked like octopus arms, and seen them bounce back better than ever after a proper transplant. You’ll need just 3 key supplies, about 20 minutes, and the confidence that comes from knowing exactly what those roots need to flourish again.
📚 In This Guide
This gentle process ensures your orchid thrives in its new home with minimal stress and maximum bloom potential.
The best time to transplant is right after flowering when new roots begin growing. You’ll see fresh green or silver root tips emerging—this is nature’s signal that the plant is ready for change. Gather your materials: a clean pot just 1-2 inches larger than the current one, fresh orchid mix, sterile scissors, and lukewarm water.
Work in a shaded area where you can spread out. I like to lay down newspaper or a clean towel to keep everything organized. Soak the new orchid mix in water for 10 minutes before using—this prevents it from repelling water later and helps roots establish contact immediately.
Gently squeeze the sides of the current pot to loosen the root ball, then turn it upside down while supporting the base. If it resists, run a butter knife around the inner edge to free stuck roots. The plant should slide out with minimal tugging—never pull by the leaves or stems.
Rinse the roots with lukewarm water to remove old medium. Healthy roots are firm and green or silver when dry. Trim any black, mushy, or hollow roots with sterile scissors—these are dead and will rot. Don’t worry if you remove several; orchids prioritize new growth over old roots.
Place a 1-inch layer of pre-moistened orchid mix in the bottom of the new pot. Position the orchid so the base sits just below the rim, allowing room for growth. Spread the roots evenly over the mix—they should cascade naturally without bending or crowding.
Hold the plant steady while adding mix around the roots. Tap the pot gently to settle the medium, but don’t press down—orchid roots need air pockets. The base should sit slightly above the mix surface to prevent crown rot. Leave ½ inch of space at the top for watering.
Water thoroughly until it runs from the drainage holes, then let it drain completely. This first watering helps the mix settle around roots. Place the orchid in bright, indirect light (east or north window) and maintain 65-75°F temperatures.
Avoid fertilizing for 2-3 weeks—fresh roots are sensitive. Mist the leaves lightly every few days if your home is dry. You’ll know the transplant was successful when you see new root growth within 4-6 weeks. The first signs are tiny green tips emerging from the base.
Transplanting orchids can feel intimidating, but these practical insights will help you avoid common pitfalls and set your plant up for success.
Timing Secret: The 10-minute soaking time for your orchid mix in Step 1 isn’t just about moisture—it’s about creating the perfect environment for root contact. I’ve found that using lukewarm water (not hot or cold) during this soak helps the medium absorb evenly without shocking the roots when you transplant. This small detail makes a surprising difference in how quickly your orchid adjusts to its new home.
Root Handling Technique: When you’re inspecting roots in Step 2, here’s what nobody tells you—healthy roots should feel firm like cooked spaghetti, not mushy or brittle. If you’re unsure whether a root is dead, give it the “squeeze test”: gently press between your fingers. Live roots will feel solid and springy, while dead ones will either collapse or feel hollow. This simple test has saved me from accidentally removing healthy roots.
Positioning Wisdom: In Step 3, that 1-inch layer of mix at the bottom isn’t arbitrary. I learned the hard way that too little causes poor drainage, while too much can bury the base and lead to rot. The half-inch space at the top is equally important—it gives you room to water without overflow, and prevents salt buildup from fertilizers later on. These measurements create the perfect balance between stability and airflow for the roots.
Acclimation Insight: The 2-3 week waiting period before fertilizing in Step 4 isn’t just caution—it’s when your orchid is most vulnerable. During this time, I recommend placing a humidity tray nearby (just a shallow dish with pebbles and water) to maintain 40-60% humidity around the plant. This mimics their natural environment and reduces stress while new roots establish. The tiny green tips you’ll see after 4-6 weeks are your reward for this patience.
Transplant orchids after blooming (typically spring or early summer) when new roots start growing. Avoid winter or fall—dormant periods stress plants. Look for plump, green root tips as a sign they’re ready for a fresh home!
Nope! Old mix breaks down, loses drainage, and harbors pests/diseases. Always use fresh orchid-specific mix (bark, sphagnum moss, or coconut husk). Think of it like swapping dirty socks—your orchid deserves clean, breathable “shoes”!
How do I know if my orchid needs transplanting?
Check for these red flags: roots spilling over the pot, yellowing leaves, moldy/soggy mix, or no blooms for 1+ year. If roots look circling or mushy, it’s time! A healthy orchid should have room to stretch—like upgrading from a studio to a 1-bedroom.
Don’t panic! Mild stress is normal. Keep it in indirect light, maintain humidity (try a pebble tray), and skip fertilizer for 2–3 weeks. If leaves stay limp beyond a month, check for overwatering or root rot. Patience is key—orchids bounce back!
It’s risky! Blooming orchids focus energy on flowers, not root recovery. Wait until petals drop unless roots are rotting (then trim damaged roots first). Think of it like moving houses—you wouldn’t host a party mid-packing! →
