
Beautiful Plants For Your Interior
Beautiful Plants For Your Interior
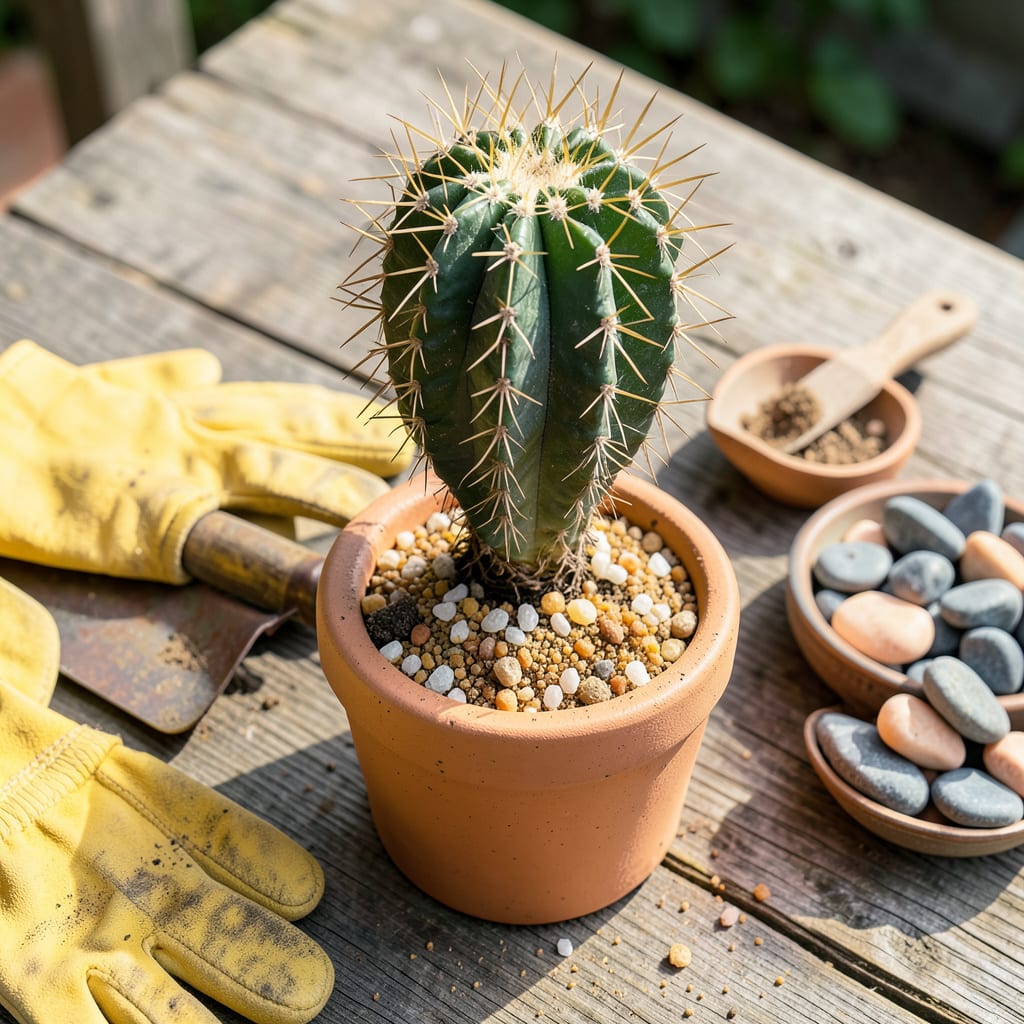
I used to dread transplanting cacti—until I learned the right way. No more pricked fingers or wilted plants. The secret lies in timing, tools, and a gentle touch. A well-executed transplant gives your cactus fresh space to grow, better drainage, and a chance to thrive for years.
You’ll need just three supplies: thick gloves, a sturdy pot, and the right soil mix. The process takes less than 20 minutes, and I’ll walk you through every step—from safely lifting the plant to settling it into its new home. No guesswork, no stress, just healthy cacti.
📚 In This Guide
Here’s how I move cacti without a single prick or shock—tested on everything from tiny mammillarias to towering cereus.
Choose a pot that’s 1-2 inches wider than the current one, with multiple drainage holes. I always use unglazed terra cotta because it wicks away excess moisture that would rot cactus roots. Fill the new pot one-third full with a fast-draining cactus mix—I blend mine with 30% perlite or coarse sand for extra grit.
Tap the pot on a solid surface to settle the mix, then create a shallow depression in the center where the roots will sit. This prevents the cactus from sitting too deep, which can lead to stem rot. Don’t water the soil yet—dry conditions make the next steps much safer for both you and the plant.
Here’s the trick to avoid spines: Wrap the cactus body with 3-4 layers of newspaper or use kitchen tongs on smaller specimens. Grip firmly but gently, then tip the pot sideways while tapping the rim against a table edge. The root ball should slide out intact—if it resists, run a knife around the pot’s inner edge to loosen it.
Inspect the roots immediately. Healthy roots are firm and white; black or mushy roots mean rot. If you find damaged sections, trim them with clean scissors and let the cuts dry for 24 hours before proceeding. This callusing prevents infection when you replant.
Lower the cactus into its new home, centering it in the depression you prepared. The base should sit at the same soil level as before—burying the stem invites rot. Hold it steady with one hand (still wrapped!) while filling around the roots with your free hand. I use a spoon to trickle soil into tight spaces without compacting it.
Don’t water immediately. Wait 5-7 days before the first watering—this gives any disturbed roots time to heal. The cactus will look perfectly happy during this dry period, but it’s actually adjusting to its new environment. Place it in bright, indirect light for the first week to reduce transplant shock.
After the initial dry period, water deeply until it runs from the drainage holes, then wait until the soil is completely dry before watering again. For most cacti, this means every 2-3 weeks in warm months, less in winter. I check moisture by inserting a wooden skewer—if it comes out clean, it’s time to water.
Watch for signs of stress: Yellowing means too much water, while wrinkling indicates thirst. A successfully transplanted cactus will show new growth within 4-6 weeks. Until then, keep it out of intense midday sun and avoid fertilizing—both can overwhelm recovering roots.
After years of pricked fingers and stressed plants, I’ve learned these game-changing tricks to make cactus transplanting smooth for both you and your plant.
Root Handling Wisdom: When you inspect the roots in Step 2, resist the urge to rinse them—even if they look dirty. Wet roots take longer to callus during that critical 24-hour drying period, increasing the risk of rot. Instead, gently brush off loose soil with a dry paintbrush or your fingers (still wrapped in newspaper!). This keeps the drying process efficient while removing debris.
Pot Selection Secret: The 1-2 inch size increase mentioned in Step 1 isn’t arbitrary—it’s the sweet spot. Too large a pot holds excess moisture that leads to root rot, while too small restricts growth. For columnar cacti like cereus, choose a deeper pot; for wide, shallow varieties like prickly pear, prioritize diameter over depth. Terra cotta’s porosity is non-negotiable here—plastic traps moisture against roots.
Light Transition Trick: That first week of bright, indirect light in Step 3 is more critical than it seems. I lost my first transplanted cactus by moving it back to full sun too soon. The plant’s roots are busy healing and can’t support intense photosynthesis yet. A sheer curtain over a south-facing window creates perfect filtered light during this recovery period. Watch for the plant to plump up slightly—that’s your sign it’s ready for more sun.
Watering Confidence Builder: The 5-7 day wait before first watering feels counterintuitive when your cactus looks thirsty, but here’s what’s actually happening: Those tiny root hairs damaged during transplant are sealing themselves off. Watering too soon washes away the plant’s natural wound-sealing compounds. When you finally water after the wait, use room-temperature water—cold water can shock the recovering roots.
Spring or early summer is ideal —when cacti are actively growing. Avoid winter (dormancy) or extreme heat (stress). If you must transplant off-season, keep soil dry for 1–2 weeks post-move to prevent rot.
Yes! Thick leather or nitrile-coated gloves (like for rose pruning) work best. For small spines, wrap the cactus in folded newspaper or use tongs. Pro tip: Double-glove if dealing with hairlike glochids (they’re sneaky!).
Hold off for 5–7 days to let roots heal. Overwatering post-transplant = rot risk. Check soil moisture with your finger—dry is safe. Desert cacti (like Saguaro) can wait up to 2 weeks!
Probably not! A little instability is normal as roots re-anchor. Stake it loosely with a bamboo stick if needed, but avoid tight ties. If it’s top-heavy, repack soil gently around the base.
Nope—regular soil holds too much moisture. Mix 50% cactus/succulent soil with 50% perlite/pumice for drainage. For a DIY hack, add coarse sand (but avoid fine beach sand—it compacts!).
