
Beautiful Plants For Your Interior
Beautiful Plants For Your Interior
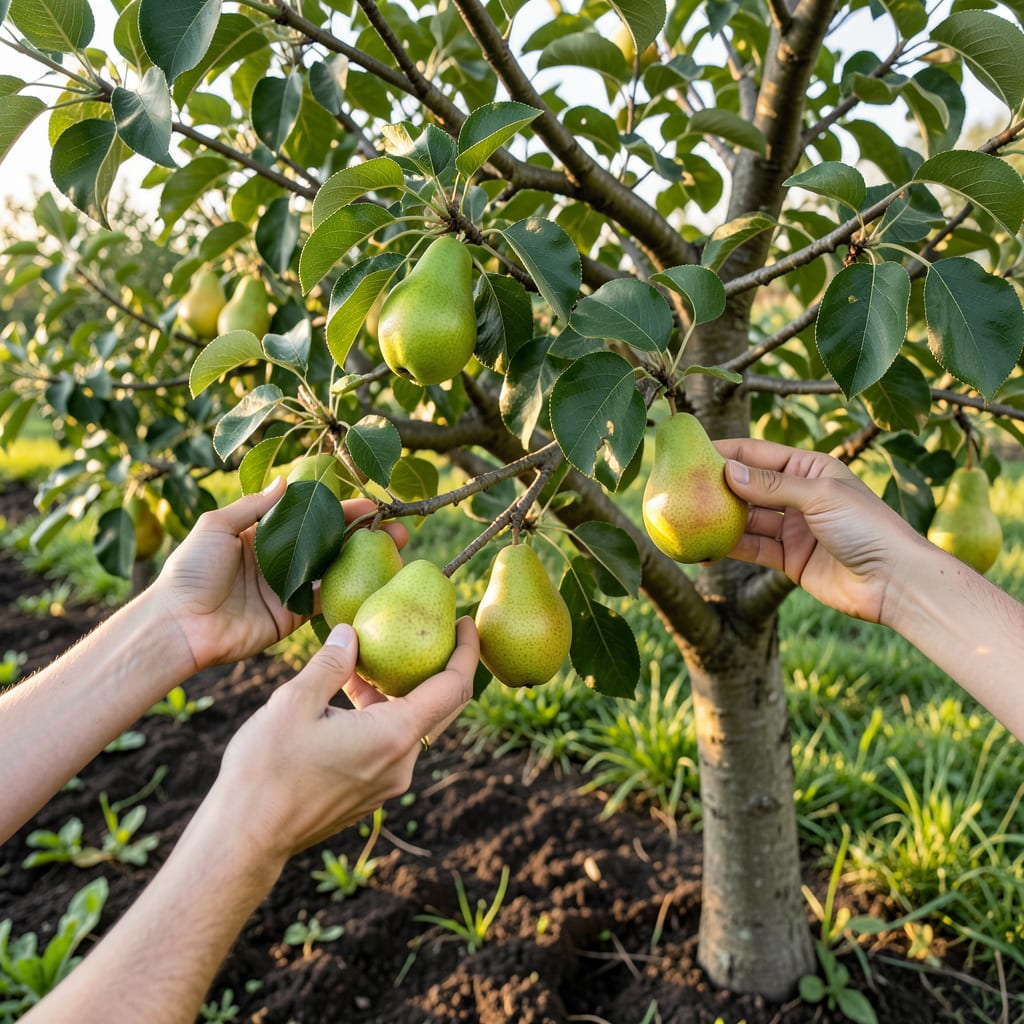
Picking pears at just the right time makes all the difference between crisp, sweet fruit and tough, tasteless ones. The 🍐 Pear doesn’t ripen well on the tree, so knowing the signs is the key to a perfect harvest.
From subtle color shifts to gentle stem separation, I’ll show you how to spot the most important cues. With these tips, you’ll never question whether your pears are ready again.


Timing your pear harvest perfectly ensures sweet, juicy fruit rather than hard, underripe disappointments. Unlike apples, pears don’t ripen on the tree, so you’ll need to watch for subtle signs.
I’ve found that color changes and stem separation are the most reliable indicators. Each variety has its own cues, but the principles remain consistent. 🌳
| Sign | Description |
|---|---|
| Color Shift | Fruit turns yellow, red, or brown from green |
| Stem Separation | Lifts easily when twisted gently |
| Firmness | Slight give at stem end when pressed |
| Aroma | Sweet fragrance near the stem |
| Seed Color | Dark brown/black inside |
Bartlett pears are the easiest to judge—they turn from green to yellow as they ripen. Other varieties like Anjou or Bosc may develop a red blush or deeper color.
For firmness, gently press near the stem. If it yields slightly, it’s ready. If it’s rock hard, leave it for a few more days. Overripe pears feel too soft and may bruise easily. 🌿
The tilt test works well too. Hold the pear horizontally and tilt it. If the stem separates easily from the branch, it’s harvest time. If it resists, it’s not ready yet.
Seasonal timing matters. Most pears ripen in late summer to early fall, but check your specific variety. D’Anjou often ripens in September, while Bosc may wait until October.
Don’t forget the sniff test. Ripe pears emit a sweet, fragrant aroma near the stem. If you don’t smell anything, give them more time on the tree.
If you’re unsure, pick one or two test pears first. Cut them open to check the seed color—dark seeds mean they’re ready. Light-colored seeds indicate they need more time. ✂️
Weather can affect ripening too. A warm, sunny season may speed up the process, while cool, cloudy days can delay it. Always cross-check multiple signs before harvesting.
Once you spot the initial signs, it’s time to verify ripeness with simple hands-on tests. These methods help confirm whether your pears are truly ready for picking.
I rely on the tilt test and gentle squeeze most often. They’re quick, easy, and give reliable results without damaging the fruit. 🌿
The tilt test is my go-to for most varieties. Simply lift the pear and tilt it. If it detaches cleanly, it’s ready to pick. If not, give it more time.
The gentle squeeze works best for softer varieties like Bartlett. Press near the stem with your thumb. A slight softness indicates ripeness, while hardness means it’s not ready. ✂️
For a definitive answer, cut open a pear. If the seeds are dark brown or black, the fruit is ripe. Light-colored seeds mean it needs more time on the tree.
The sniff test is often overlooked but highly effective. Ripe pears have a distinct sweet fragrance near the stem. If you don’t smell anything, the fruit isn’t ready yet.
Combine these tests for the best results. If two or more indicate ripeness, it’s time to harvest. Trust your senses—they’re the best tools for perfect pears. 🌳
Even experienced gardeners can make costly mistakes when harvesting pears. Knowing what to avoid is just as important as knowing the ripeness signs. I’ve seen many a perfect harvest ruined by simple oversights. 🌳
One of the biggest errors is waiting too long. Pears left on the tree past their prime become grainy, soft, or rotten. Unlike apples, they won’t continue ripening properly after picking if left too late.
Don’t wait for full ripeness on the tree—pears ripen best after picking. Never pull pears—always lift and twist gently to avoid damaging the tree. Ignore variety differences at your peril: Bartletts turn yellow, while Boscs stay green but soften.
Ignoring variety-specific cues is another common misstep. Each pear type has its own unique indicators. For example, Anjou pears often stay green but develop a red blush when ready.
Mishandling during harvest can bruise the fruit. Always use a gentle twisting motion and avoid yanking. Place picked pears in a shallow container to prevent bruising from stacking. ✂️
Finally, don’t rely on just one sign. Cross-check color, firmness, and aroma for the best results. If you’re unsure, pick a test pear and check its seeds—this is the most reliable method for beginners.
Most ripe pears change from green to yellow, red, or brown, depending on the variety. Bartletts turn bright yellow, while Bosc and Anjou often develop a red blush or stay green with subtle color shifts. Always check multiple signs.
Overripe pears feel too soft and may bruise easily. They can also become grainy or rotten if left too long. Unlike apples, pears don’t ripen well after this stage, so pick before they reach this point.
Pears ripen best after picking, not on the tree. Waiting for full ripeness can lead to spoilage. Pick when they show initial signs, then let them finish ripening indoors at room temperature.
Yes, but ensure they show other ripeness signs like color change or stem separation. Hard pears will soften off the tree if they’ve started maturing. Test one or two first to confirm.
