
Beautiful Plants For Your Interior
Beautiful Plants For Your Interior
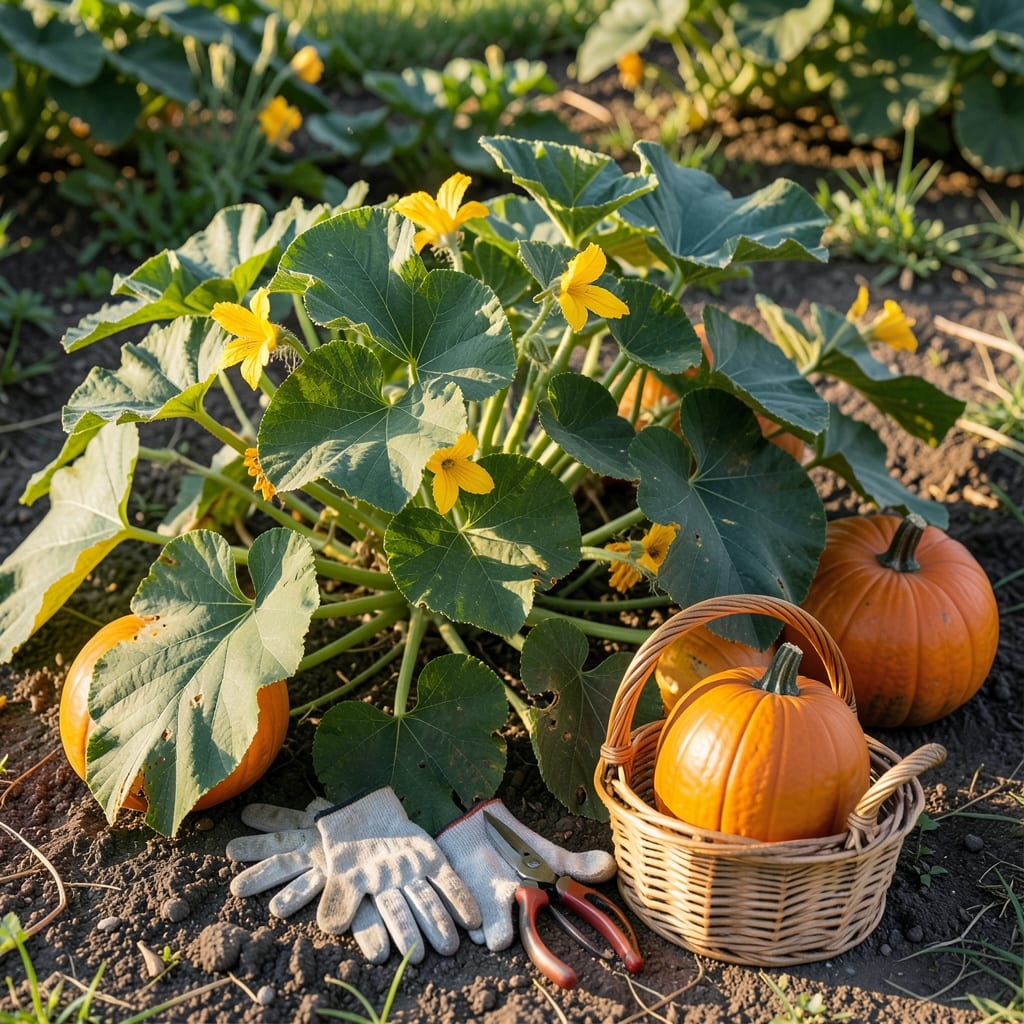
Picking a 🎃 Pumpkin too early means it won’t ripen properly, but waiting too long risks rot. The difference between perfect and inedible often comes down to a few key signs.
I’ve learned the hard way that timing is everything. Here’s how to spot the exact moment your Pumpkin is ready to come off the vine, with no guesswork involved.


Knowing when to harvest a pumpkin can feel like guesswork, but there are clear visual clues to look for. The first sign I always check is the color. A ripe pumpkin will have a deep, solid hue that matches its variety.
Next, examine the rind. When it’s ready, it will be hard to the touch and resist pressure from your fingernail. This hardness means the pumpkin has matured and will store well after picking. 🌱
| Sign | How to Check | What It Means |
|---|---|---|
| Deep Color | Solid, rich orange or variety-specific shade | Pumpkin is fully mature |
| Hard Rind | Cannot be punctured by fingernail | Ready for harvest and storage |
| Dry Stem | Brown, woody, and brittle | Vine has stopped feeding the fruit |
The third key sign is the stem. A ripe pumpkin will have a dry, woody stem that’s starting to harden. If it’s still green and flexible, the pumpkin isn’t ready yet. This is a sure sign the vine has finished nourishing the fruit.
Another way to test is the knock test. Tap the pumpkin with your knuckles. A hollow sound indicates it’s ripe, while a dull thud means it needs more time. I use this trick when I’m unsure about the color or rind.
Don’t ignore the vines. When they start to yellow and die back, it’s nature’s way of telling you the pumpkin is nearly ready. This usually happens as the growing season winds down in late summer or early fall.
If you’re growing a white or green variety, the color rules are different. For example, Jarrahdale pumpkins turn a slate-blue when ripe, while Cinderella pumpkins develop a deep red-orange hue. Always check the seed packet for variety-specific signs.
I’ve found that smaller pumpkins often mature faster than large ones. A miniature pumpkin might be ready in 75 days, while a giant variety could take 120 days or more. Keep track of your planting date to estimate the harvest window.
Remember, size isn’t everything. A pumpkin can grow large but still be immature. Focus on the rind hardness, stem dryness, and color consistency for the most accurate signs. These indicators rarely lie. 🌿
Finally, check the underside of the pumpkin. It should be a uniform color with no green streaks. If you see any green, give it a few more days in the sun. Patience at this stage ensures a perfect harvest every time.
I’ve seen many gardeners make the same pumpkin picking errors year after year. One of the biggest is judging ripeness by size alone—bigger doesn’t always mean ready.
Another common blunder is ignoring the stem condition. A green, flexible stem means your pumpkin still has growing to do, no matter how orange it looks.
⚠️ Avoid These Pumpkin Picking Pitfalls
Over-ripening is another risk. If you leave pumpkins too long, they can split open or attract pests like squirrels and deer. The sweet spot is usually when vines start dying back.
Many gardeners also forget to check the rind properly. Use your fingernail—not your thumbnail—to test for hardness. If it punctures easily, give it more time on the vine.
The knock test can be misleading too. While a hollow sound often indicates ripeness, it’s not foolproof. Combine it with other signs for best results.
Lastly, don’t overlook the ground spot. A ripe pumpkin will have a cream-colored patch where it touched the soil, not white or green.
Timing matters most in fall harvests. In most zones, pumpkins are ready 75-100 days after planting, but always verify with the visual signs. ✂️
When I need to confirm a pumpkin’s ripeness without damaging it, I rely on non-invasive tests. The knock test is my go-to method—tap the pumpkin and listen for a hollow sound, which means it’s ready.
A dull thud indicates it needs more time. This simple trick works because the internal structure changes as the pumpkin matures, creating that distinctive hollow echo. 🌱
💡 Quick Tip: Press your fingernail into the rind. If it resists puncturing, the pumpkin is mature.
Another way is to check the stem’s texture. A hard, dry stem that cracks when bent means the pumpkin is ready. If it bends without snapping, it’s still growing. This test is especially useful for large varieties.
I also look at the vines. When they start to yellow and wither, the pumpkin is nearing maturity. This natural die-back signals the plant is shifting energy from growth to ripening. It’s a clear visual cue I never ignore.
For color confirmation, compare the pumpkin to its variety description. Some types, like Blue Hubbard, turn gray-blue when ripe, while Sugar Pie pumpkins deepen to a rich orange. Consistency is key.
These non-destructive tests help me harvest at the perfect moment every time. 🌿
A ripe pumpkin typically has a deep, solid orange color. However, some varieties like Jarrahdale turn slate-blue or Cinderella develop red-orange hues. Always refer to your seed packet for variety-specific colors.
No, a green stem means the pumpkin isn’t mature yet. Wait until the stem turns brown and woody. Picking too early can result in a pumpkin that doesn’t store well or ripen properly.
Press your fingernail into the rind. If it resists puncturing, the pumpkin is ready. A soft rind that gives easily means it needs more time on the vine.
Yes! Tap the pumpkin with your knuckles. A hollow sound means it’s ripe, while a dull thud indicates it needs more time. This works because the internal structure changes as it matures.
