
Beautiful Plants For Your Interior
Beautiful Plants For Your Interior
Paw paw trees have a way of reaching for the sky when you least expect it. I learned this the hard way when mine shot up 10 feet in just three seasons, threatening to swallow my backyard. The good news? With the right pruning approach, you can keep these native beauties at a manageable height […]
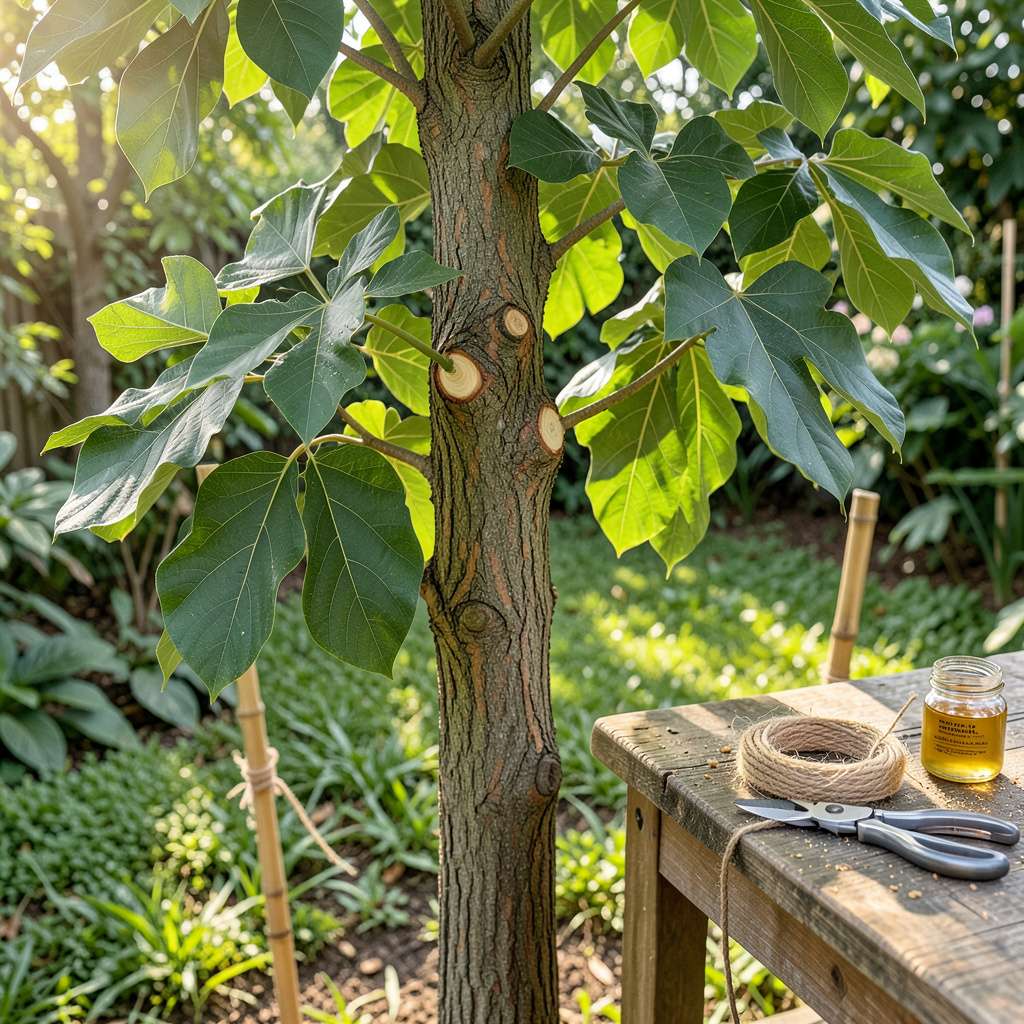
Paw paw trees have a way of reaching for the sky when you least expect it. I learned this the hard way when mine shot up 10 feet in just three seasons, threatening to swallow my backyard. The good news? With the right pruning approach, you can keep these native beauties at a manageable height without sacrificing fruit production or tree health.
The secret isn’t hacking away randomly—it’s about strategic cuts that encourage bushier growth instead of vertical stretches. I’ve found that timing matters most: late winter pruning gives the best results, while summer trimming helps redirect energy. What you’re aiming for is a tree that spreads wide rather than tall, creating that perfect canopy shape.
You’ll notice the difference within one growing season. The tree responds by pushing out more lateral branches, which means more leaves for photosynthesis and ultimately more fruit. Plus, you’ll actually make harvesting easier when those delicious paw paws aren’t dangling from impossible heights.
This method works whether you’re dealing with a young sapling or an established tree that’s gotten away from you. The tools you need are simple—just sharp pruners and a clear plan. Here’s how to make those cuts with confidence.
📚 In This Guide
Here’s the method I’ve refined over years—it keeps trees manageable while protecting their health and fruit production.
Prune paw paw trees in late winter or early spring, just before new growth begins. This timing minimizes stress because the tree is still dormant, but wounds will heal quickly once warmer weather arrives. Avoid pruning in fall—open cuts won’t callus properly before winter, leaving the tree vulnerable to disease.
Look for swollen buds along the branches—this signals the tree is about to break dormancy. If you see tiny green leaf tips emerging, you’ve waited slightly too long, but it’s still safe to proceed. Never prune during active flowering or fruiting; you’ll sacrifice that season’s harvest.
Start by cutting out any fast-growing vertical shoots, called water sprouts. These grow straight up from branches and steal energy from fruit production. Use clean, sharp bypass pruners to remove them at their base, making a smooth cut just outside the branch collar (the slightly raised ring where the sprout meets the branch).
Don’t leave stubs—this invites rot and regrowth. If the sprout is thicker than your thumb, use a pruning saw instead. I’ve found that removing these first opens up the canopy, making it easier to assess the tree’s overall structure before making height-reducing cuts.
To control height, cut back the central leader (the main upward-growing stem) by one-third of its new growth from the previous season. Look for the lighter-colored wood near the tip—that’s last year’s extension. Make your cut just above a healthy bud or side branch, angling slightly away from it.
Next, shorten lateral branches by 12-18 inches, focusing on those growing upward. Aim to create an open, vase-like shape that allows light and air to reach the center. This prevents the tree from becoming top-heavy while encouraging fruit-bearing side branches. I always step back after a few cuts to check the tree’s balance—you want a rounded, not flat-topped, silhouette.
Remove any branches that cross, rub against each other, or grow inward toward the trunk. These create wounds and block airflow, which can lead to fungal issues. Cut problematic branches back to their point of origin, again just outside the branch collar. If two branches compete for the same space, remove the weaker one entirely.
You’re aiming for a canopy where sunlight can filter through to lower branches—this keeps the entire tree productive. I like to hold my hand behind a branch; if I can’t see light through my fingers, that area needs thinning. Don’t remove more than 25% of the total canopy in one season, or you’ll stress the tree.
Paw paw trees grow vigorously, so plan to repeat this process every 1-2 years. Mark your calendar for late winter—consistent pruning is easier than correcting years of overgrowth. After pruning, apply a thin layer of mulch around the base (keeping it 6 inches away from the trunk) to protect roots and retain moisture.
Watch for new water sprouts throughout the growing season and remove them promptly by pinching or cutting. I’ve found that a quick summer prune in early July helps redirect energy to fruit development. Always sanitize tools between cuts with rubbing alcohol to prevent spreading disease between branches.
After years of working with these unique trees, I’ve learned that success comes down to timing, technique, and patience. Here’s what makes the difference between a thriving paw paw and one that struggles after pruning.
Timing Secret: The late winter to early spring window mentioned in Step 1 isn’t just a suggestion—it’s critical. I once pruned in late fall thinking I’d get ahead, and nearly lost a tree to winter dieback. Those swollen buds are your green light; when you see them, it’s go time. If you miss the window and green tips appear, don’t panic, but work quickly before leaves fully emerge.
Branch Collar Technique: In Steps 2 through 4, where you’re making cuts, the branch collar isn’t just a detail—it’s your tree’s healing mechanism. I used to cut flush with the trunk until I noticed dieback spreading. Now I make it a point to find that slightly raised ring and cut just outside it. For thicker branches, I make three cuts: first a notch on the underside, then a relief cut from above, and finally the clean finish cut.
Canopy Balance Check: After shortening branches in Step 3, most people forget to step back and assess. I use the “rule of thirds”—imagine dividing the tree into horizontal sections. You want the bottom third slightly wider than the middle, which should be wider than the top. This pyramid shape prevents top-heaviness while maximizing sunlight penetration to lower fruit-bearing branches.
Tool Maintenance Habit: The sanitizing mentioned in Step 5 isn’t optional. I keep a spray bottle of 70% isopropyl alcohol handy and wipe blades between every major cut, not just between trees. This might seem excessive, but I’ve seen entire orchards lost to fire blight spread by contaminated tools. A quick spray and wipe takes seconds and could save your tree.
No! The best time to prune is in late winter or early spring (before new growth starts). Avoid pruning in fall, as fresh cuts may not heal well before winter. Light trimming for shape can be done in summer, but avoid heavy pruning during extreme heat.
Topping (cutting the main trunk) is not recommended—it can weaken the tree and encourage weak, fast-growing shoots. Instead, use selective pruning to shorten branches and redirect growth. Focus on cutting back lateral branches to maintain height.
Never remove more than 25-30% of the canopy in a single year. Over-pruning stresses the tree and reduces fruit production. Spread major pruning over 2-3 years if needed. A good rule: If it looks drastic, it probably is!
Yes! Varieties like ‘Pennsylvania Golden’ or ‘Sunflower’ are naturally smaller (10-15 ft tall). If you want minimal pruning, opt for these compact cultivars. Check with local nurseries for the best options in your climate.
Suckers (shoots from the roots) are common! Remove them early by cutting at ground level—don’t tear them, or they’ll regrow. For persistent suckers, apply a thin layer of mulch (2-3 inches) to suppress growth, but avoid piling it against the trunk.
Keeping your paw paw tree at a manageable height doesn’t have to be a challenge! With strategic pruning, proper timing, and consistent care, you can enjoy a thriving tree that stays just the right size for your space. 🌿 Remember, patience and regular maintenance are key—your tree (and your backyard!) will thank you.
Ready to put these tips into action? Grab your pruners and start shaping your paw paw tree today—your future self (and harvest!) will be glad you did. Happy gardening! 🌱
