
Beautiful Plants For Your Interior
Beautiful Plants For Your Interior
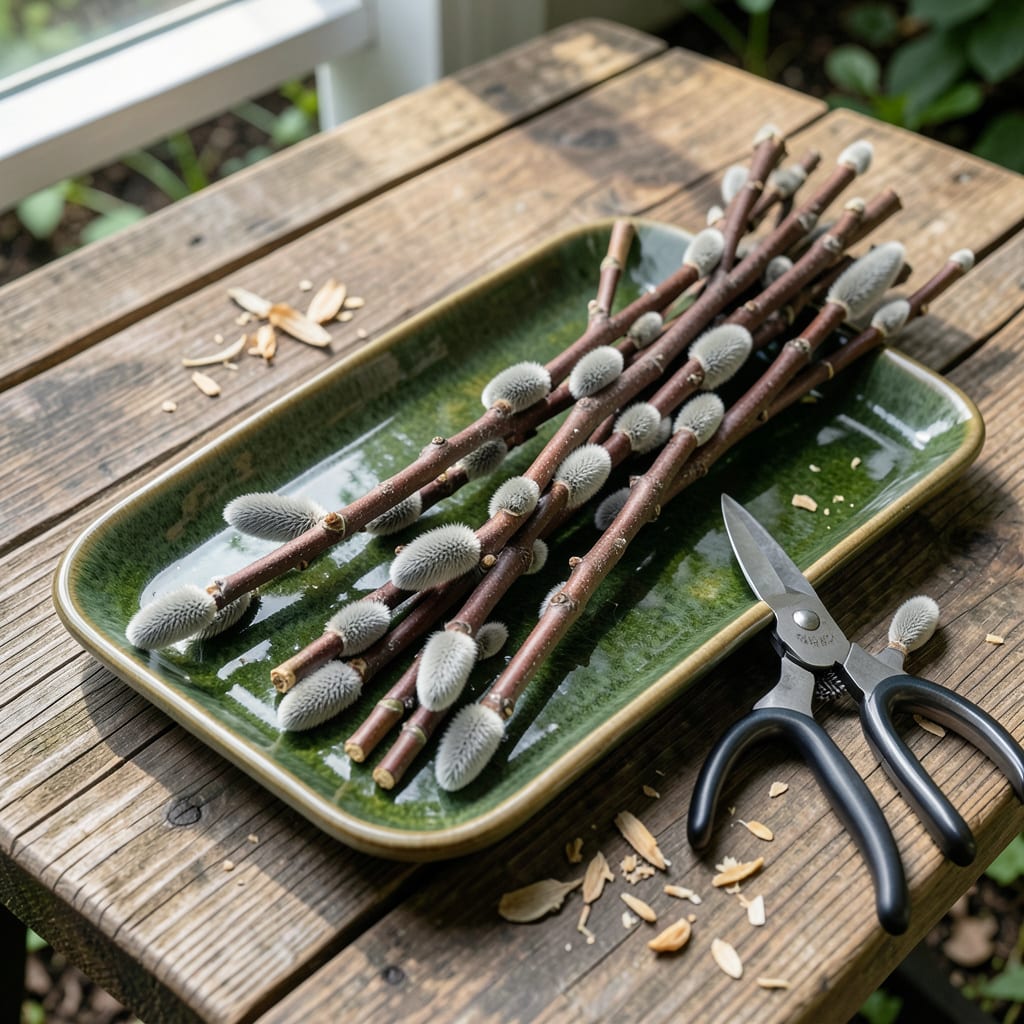
I’ve rooted dozens of pussywillow cuttings with almost no effort. The trick is timing—late winter, just before the catkins swell, gives you the best chance of success.
You’ll need a few 6-inch cuttings, a mix of water and patience, and a bright spot out of direct sun. Within 3-4 weeks, roots appear, and those soft catkins will soon be yours to enjoy year after year.
📚 In This Guide
Here’s the straightforward method I use to propagate pussywillow with near-perfect success every time.
Choose 1-2 year old stems in late winter or early spring when the catkins are just beginning to swell but haven’t fully opened. Look for healthy, disease-free branches about pencil thickness—these root most reliably. Use sharp pruners to make clean cuts at a 45-degree angle, just below a leaf node.
Cut sections 6-8 inches long, ensuring each has at least 2-3 nodes (those small bumps where leaves emerge). Remove any catkins from the lower half of the cutting to direct energy toward root development. I’ve found that cuttings with thicker wood establish faster than thin, whippy growth.
Dip the cut end of each stem in rooting hormone powder (optional but speeds up the process). Tap off any excess—too much can inhibit rather than help. If you don’t have hormone, don’t worry; pussywillow roots readily without it, though it may take a week or two longer.
Fill a container with moist potting mix or a blend of 50% perlite and 50% peat moss for excellent drainage. Insert the cuttings about 2-3 inches deep, spacing them 2-3 inches apart if using a shared container. Firm the mix gently around each stem to eliminate air pockets.
Place the container in a bright location with indirect light—avoid direct sun, which can scorch the developing roots. Maintain a consistent temperature between 60-70°F. A clear plastic bag loosely draped over the container creates a humid microclimate that prevents cuttings from drying out.
Keep the mix evenly moist but not soggy. I check daily and mist the surface if it feels dry to the touch. Roots typically form in 3-6 weeks, but you’ll know it’s working when you see new leaf growth or feel resistance when gently tugging the stem.
Once roots are 1-2 inches long (usually after 6-8 weeks), transplant each cutting into its own 1-gallon container or directly into the garden. Choose a location with full sun to partial shade—pussywillow thrives in both but produces the most catkins in sunnier spots.
Water thoroughly after transplanting to settle the soil around the new roots. For the first 2 weeks, keep the soil consistently moist to help the plants establish. After that, pussywillow is quite drought-tolerant, but regular watering during the first growing season encourages strong growth.
Small adjustments make a big difference when propagating pussywillow cuttings.
Selection Tip: In Step 1, focus on 1-2 year old stems with pencil thickness—these have the right balance of maturity and flexibility for reliable rooting. Avoid older, woody stems as they root much slower, and skip thin, green shoots which often rot before establishing.
Rooting Environment: For Step 3, that 60-70°F range is non-negotiable. I’ve ruined batches by placing cuttings in cooler spots where root development stalled. If your home runs cooler, use a seedling heat mat to maintain consistent warmth without direct heat that could dry out the stems.
Moisture Control: The line between moist and soggy in Step 3 is razor-thin. I mist the surface daily rather than watering deeply, which prevents waterlogging while ensuring the top inch stays damp. If the mix feels cool to the touch, it’s moist enough—pussywillow cuttings hate wet feet.
Transplant Timing: In Step 4, don’t rush the 6-8 weeks—wait until you can see 1-2 inches of white roots before moving cuttings. I test by gently tugging; if there’s resistance, they’re ready. Transplanting too early often shocks the developing roots and sets back growth by weeks.
Early spring, just before new growth starts, is ideal. This timing ensures the plant is in its active growing phase, boosting rooting success. Avoid late summer or fall, as dormant periods slow propagation.
Yes! Water propagation works well. Place cuttings in a jar of water, change it weekly, and wait for roots (2-4 weeks). Transfer to soil once roots reach 1-2 inches long for stronger growth.
Check for old wood—it roots poorly. Use young, green stems, keep humidity high, and ensure consistent moisture. If mold appears, improve airflow and reduce watering.
Honey, aloe vera gel, or cinnamon can act as natural rooting aids. Dip cuttings in these before planting to encourage growth without commercial hormones.
