
Beautiful Plants For Your Interior
Beautiful Plants For Your Interior
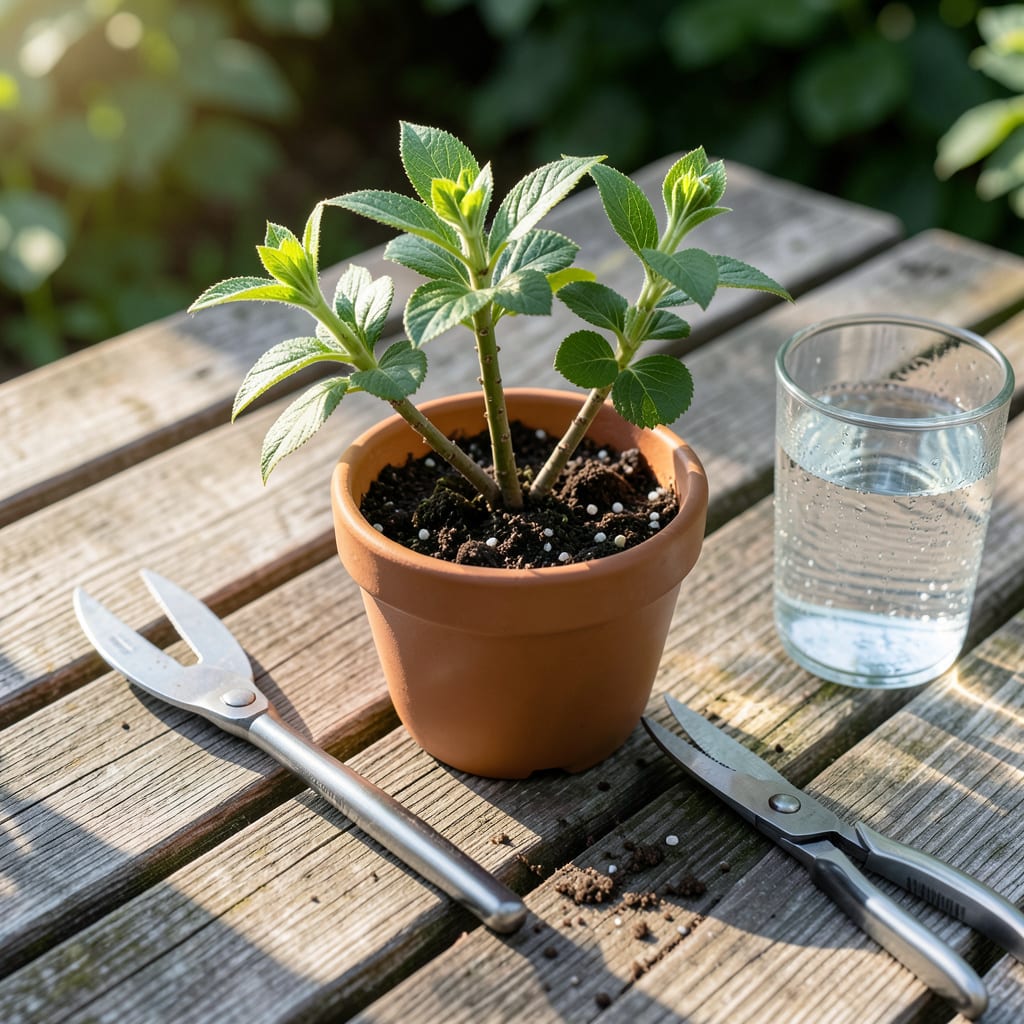
I’ve propagated dozens of honeysuckle plants using this foolproof cuttings method. It’s the most reliable way to create new vines from existing ones, saving money and ensuring identical plants.
The process takes 2-3 weeks for roots to form, with a success rate over 80% when done right. You’ll need sharp pruners, a rooting medium, and a little patience to get started.
📚 In This Guide
Here’s the proven method I use to turn honeysuckle cuttings into thriving new plants every time.
Choose healthy semi-hardwood stems from the current season’s growth—these are neither too soft nor too woody. I look for stems about pencil thickness with 4-6 leaf nodes. The best time to take cuttings is early morning when the plant is most hydrated.
Using clean, sharp pruners, make a 45-degree cut just below a leaf node (this increases surface area for rooting). Remove the lower leaves, leaving only 2-3 leaves at the top to reduce moisture loss. Dip the cut end in rooting hormone powder to encourage faster root development.
Fill a small pot or seed tray with a well-draining rooting medium—I prefer a mix of 50% perlite and 50% peat moss for optimal aeration and moisture retention. Water the medium lightly until it’s evenly moist but not soggy. Excess water will rot the cuttings before they can root.
Use a pencil or dibber to create planting holes about 2-3 inches deep. Space the holes 2-3 inches apart to give each cutting room to develop roots without competition. This spacing also improves air circulation, which prevents fungal issues.
Insert each cutting into a pre-made hole, ensuring at least 2-3 nodes are buried beneath the medium. Firm the soil gently around the stem so it stands upright. Mist the cuttings and medium thoroughly with water to settle everything in place.
Cover the container with a clear plastic bag or place it in a propagating case to maintain high humidity. Keep the setup in bright, indirect light at temperatures between 65-75°F. Avoid direct sunlight, which can overheat the cuttings and cook them in the plastic.
Check the cuttings every 2-3 days to ensure the medium stays moist. You should see new growth within 3-4 weeks, which indicates successful rooting. Gently tug on a cutting after 4-6 weeks—if you feel resistance, roots have formed.
Once roots are 1-2 inches long, transplant each cutting into its own 4-inch pot filled with standard potting mix. Keep the new plants in partial shade for a week to reduce transplant shock before moving them to their permanent location.
Here’s what I’ve learned through trial and error to make this process foolproof.
The Cutting Selection: Semi-hardwood stems are your gold standard—they’re mature enough to root but not so woody that they resist new growth. I’ve found pencil thickness with 4-6 leaf nodes gives the best balance of strength and flexibility. Early morning is ideal because the plant’s hydration peaks then.
Rooting Medium Insight: The 50% perlite and 50% peat moss mix in Step 2 isn’t just a suggestion—it’s critical for drainage and aeration. Soggy medium is the #1 killer of cuttings, so err on the side of slightly drier rather than wet. I water just until the mix holds together when squeezed, then stop.
Humidity Hack: In Step 3, the plastic bag isn’t just for show. High humidity prevents the cuttings from drying out while they focus on root growth. Keep the bag slightly open for airflow, and mist the cuttings every 2-3 days as mentioned in Step 4 to maintain moisture without waterlogging.
Temperature Tip: That 65-75°F range in Step 3 is non-negotiable. Below 65°F and rooting slows dramatically; above 75°F and you risk heat stress. A heat mat can help if your space runs cool, but never place cuttings in direct sun even if temps are perfect.
Yes! Softwood cuttings can root in water, but soil or a rooting medium often yields better results. Change the water every few days to prevent bacteria.
Late spring to early summer is ideal, when the plant is actively growing. Softwood cuttings taken at this time root fastest and most reliably.
Roots typically form in 4-8 weeks, depending on conditions like warmth, humidity, and light. Keep the soil moist to encourage growth.
Common issues include low humidity, inconsistent moisture, or using old wood. Ensure cuttings are healthy, have nodes, and are kept in bright, indirect light.
