
Beautiful Plants For Your Interior
Beautiful Plants For Your Interior
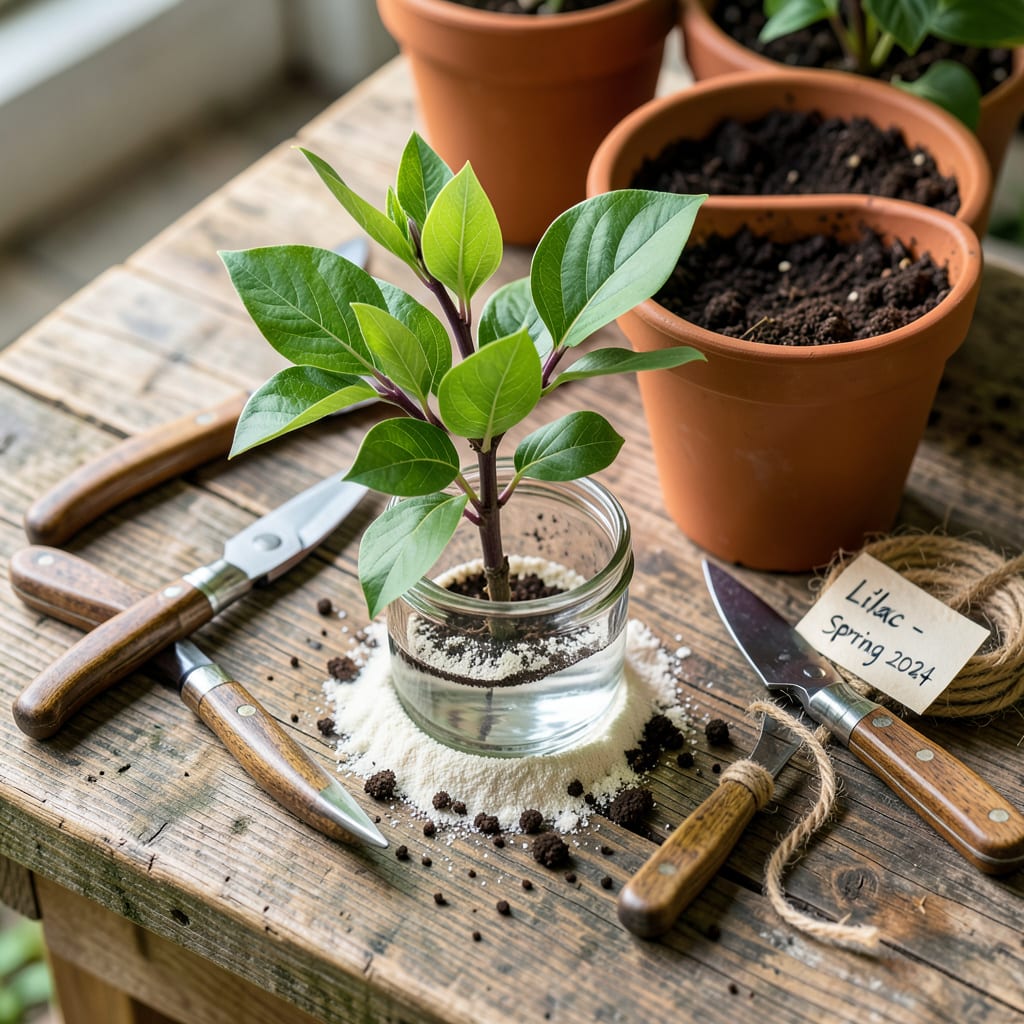
I turned one lilac bush into a dozen using nothing but cuttings and patience. The process is simpler than most gardeners realize, and you don’t need a greenhouse to pull it off.
With the right timing in early summer and a little rooting hormone, you’ll have new plants ready for next spring. No special tools required—just healthy stems and consistent moisture.
📚 In This Guide
Here’s my reliable method for turning a single bush into multiple thriving plants.
Select 4-6 inch semi-hardwood cuttings from the current season’s growth in early summer after the bush has finished blooming. Look for stems that snap when bent but have started to firm up—they should be green with a hint of brown at the base.
Use clean, sharp pruners to make a 45-degree cut just below a leaf node (the bump where leaves emerge). Remove the bottom set of leaves, leaving 2-3 leaf pairs at the top. I always take cuttings in the morning when plants are most hydrated for best results.
Dip the cut end in rooting hormone powder to encourage faster root development. Tap off any excess—too much can actually inhibit growth rather than help it. This step isn’t mandatory but dramatically improves success rates.
Fill a clean container with well-draining rooting medium like perlite or a 50/50 mix of peat moss and coarse sand. Poke holes with a pencil first so you don’t rub off the hormone when inserting. Space cuttings 2 inches apart so leaves don’t touch.
Water the medium thoroughly until it’s evenly moist but not soggy. Cover the container with a clear plastic bag or place it in a propagation box to maintain high humidity. I use chopsticks to keep the plastic from touching the leaves.
Place in bright, indirect light at 65-75°F. Direct sun will cook the cuttings, while too little light prevents rooting. Mist the leaves daily with water to keep humidity high and prevent wilting.
Check for root development after 4-6 weeks by gently tugging on a cutting—you’ll feel resistance when roots form. Don’t pull too hard or you’ll damage new growth. I start checking at 3 weeks just to satisfy my curiosity.
Once roots reach 1-2 inches long, transplant each cutting into its own 4-inch pot filled with potting mix. Keep in partial shade for 1-2 weeks to harden off before moving to full sun. You’ll see new leaf growth within a month, confirming the plant has established.
Small details make the difference between success and disappointment with cuttings.
Timing is Everything: In Step 1, selecting cuttings in early summer after blooming is critical. The stems need to be semi-hardwood—green with a hint of brown. If you take them too early, they’ll be too soft; too late, and they won’t root properly.
Cutting Technique: That 45-degree cut below a leaf node in Step 1 isn’t just for looks. It increases the surface area for root development and helps the cutting absorb moisture more efficiently. Always use sharp pruners to avoid crushing the stem.
Humidity Hack: In Step 3, keeping the plastic bag from touching the leaves prevents rot. I use chopsticks or skewers to create a tent—this maintains airflow while trapping humidity. Mist daily, but avoid soggy conditions, which can lead to mold.
Rooting Patience: The 4-6 week waiting period in Step 4 can feel long, but resist the urge to check too often. Disturbing the cuttings can dislodge new roots. Trust the process, and only tug gently after the full 4 weeks.
Yes! Softwood cuttings taken in late spring or early summer root best. Dip the cutting in rooting hormone, plant it in moist potting mix, and keep it humid (e.g., under a plastic bag) until roots form in 4-8 weeks.
The ideal time is late spring to early summer for softwood cuttings, or early fall for hardwood cuttings. Avoid extreme heat or cold, as this stresses the plant and reduces success rates.
Common issues include low humidity, inconsistent moisture, or poor cutting selection. Ensure your cutting has 2-3 leaf nodes, use rooting hormone, and maintain even moisture without waterlogging.
Yes, but it’s slower and less reliable than cuttings. Seeds require cold stratification (plant in fall or refrigerate for 2-3 months). Expect 2-5 years for blooms, and note that seedlings may not match the parent plant.
